

The worst part of any trip happens three days before you leave, when you remember the thing you forgot and there’s no time left to fix it. An expired passport. A visa you assumed you didn’t need. A prescription that runs out on day nine. Skip the quiet, unglamorous prep and you’ll pay for it somewhere less forgiving — a foreign pharmacy, a canceled flight, a border agent slowly shaking his head. Work through these before you zip the bag.
47. Verify Passport Validity and Blank Pages
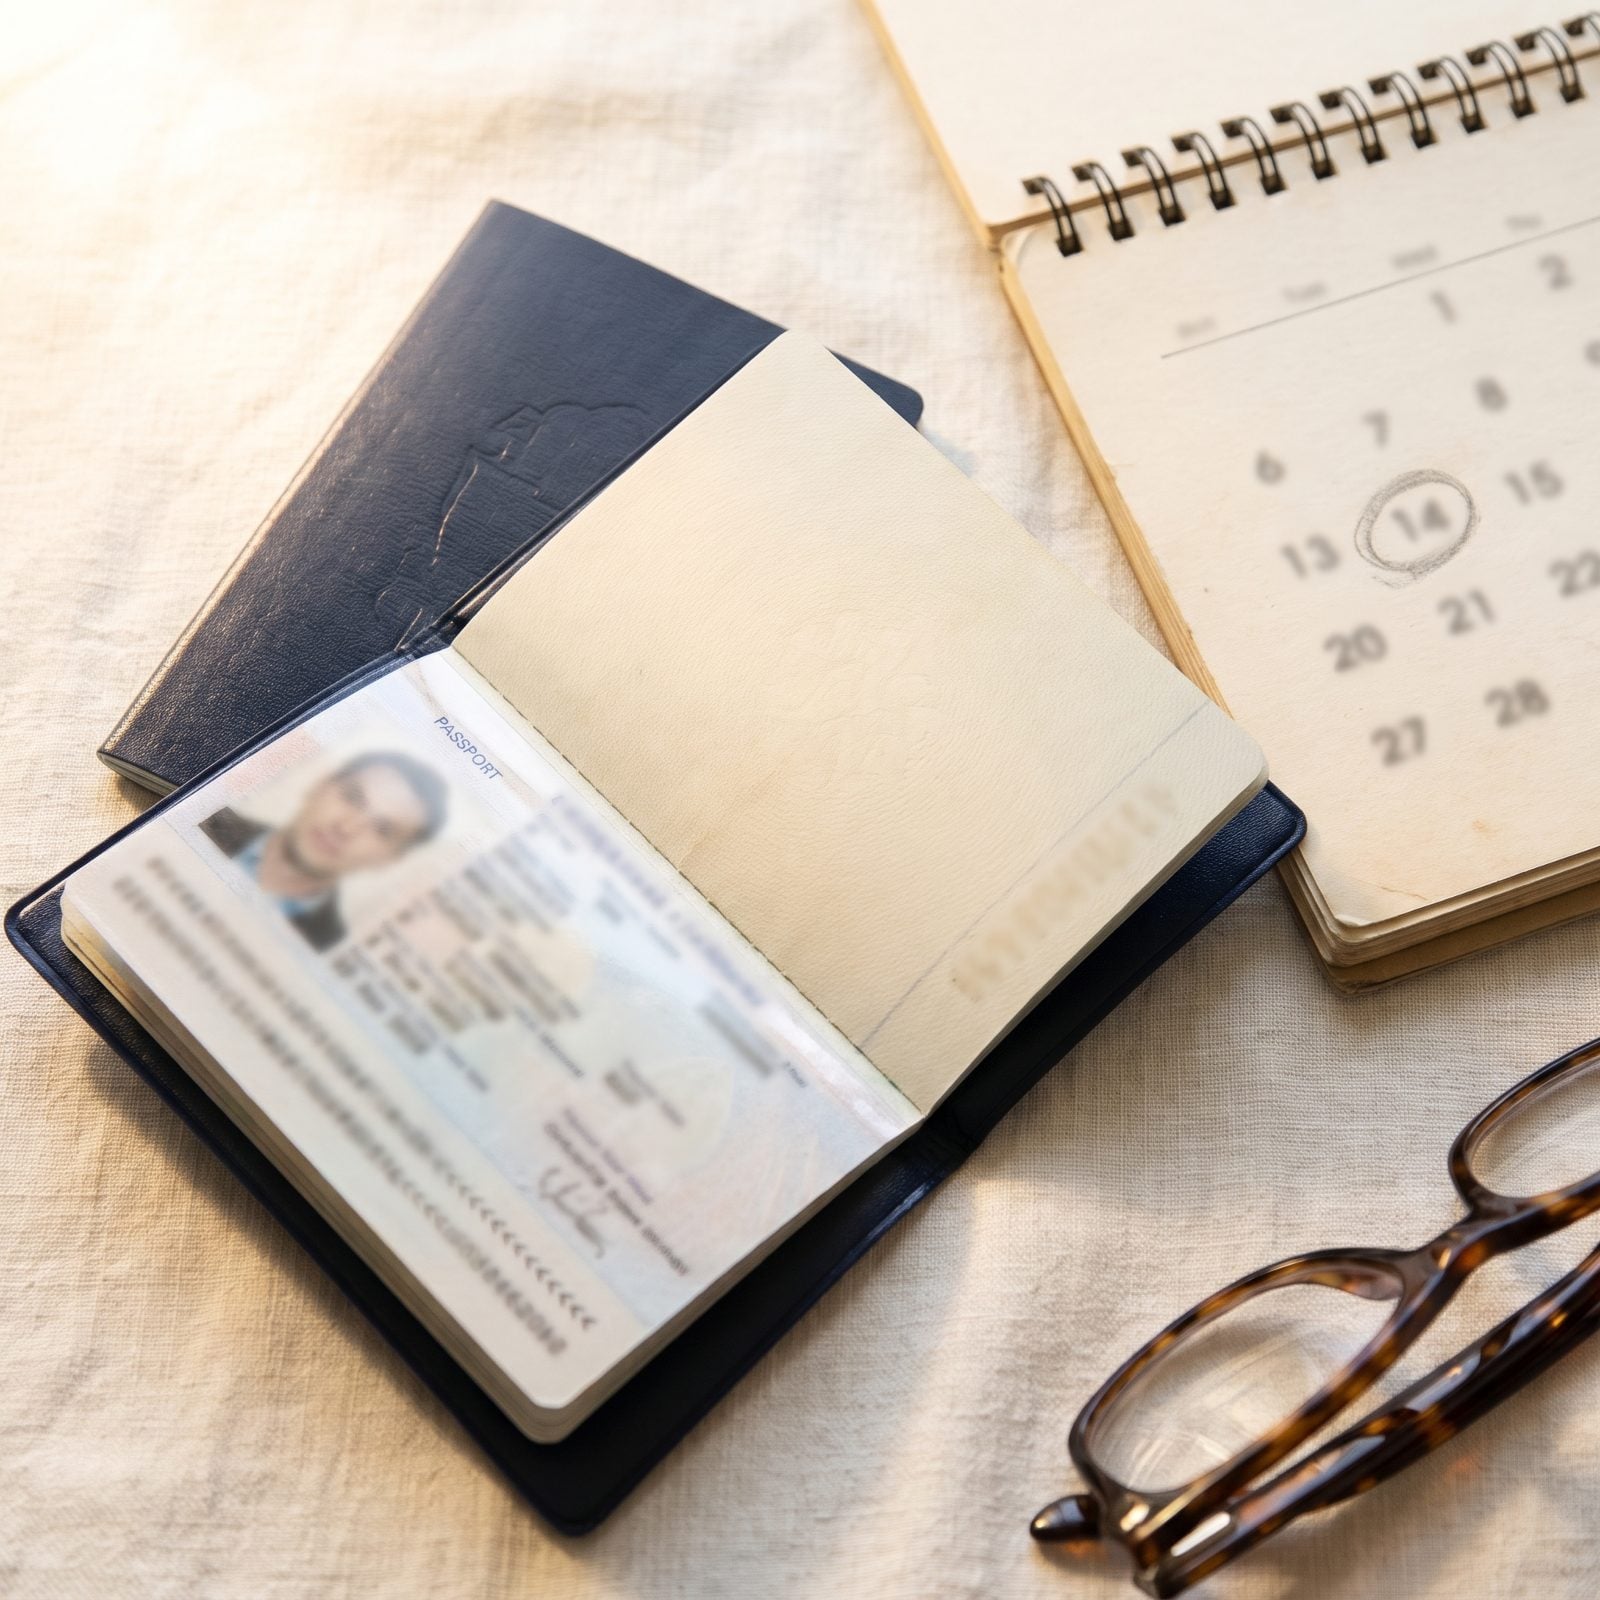
Almost nobody checks this until it’s too late: a passport that’s technically valid can still get you turned away at the gate. Dozens of countries demand six months of validity beyond your return date. Your passport expires in four months? For a lot of destinations, that counts as expired.
Open it, find the expiration date, and count forward six months from the day you fly home. Then flip through and tally your blank visa pages. Many borders want two or three empty ones, and a stamp-happy entry clerk can fill a page fast.
Standard renewal runs six to eight weeks, quicker if you pay to expedite. I’ve watched people learn this at 5am in a terminal. Don’t be them.
46. Confirm Visa and Entry Requirements

“I didn’t think I needed one” is the most expensive sentence in travel. Visa rules shift constantly, and they hinge on your passport, your reason for going, and sometimes just how long you plan to stay. A country that waved you through for a week might demand paperwork at fifteen days.
Check the official government site for your destination. Not a travel forum from 2019. Watch for electronic travel authorizations too — the ETA systems now catching a lot of people off guard. Some take minutes, some take weeks.
Do this the moment you book. A denied visa on top of sunk flight costs is a brutal way to discover that free entry and no entry are two very different things.
45. Check Vaccination and Health Form Requirements

Some countries ask for proof of certain vaccinations before they’ll let you across the line, and a few health forms now live entirely online with deadlines of their own. Miss the window and you’re scribbling paperwork in an airport corridor while your group heads to baggage claim.
Look up your destination’s health requirements and give yourself a cushion. Certain vaccines need weeks to become fully effective, so a shot the day before you fly does nothing. Routine boosters, travel-specific immunizations, any required certificates — sort them early.
Keep your records together, paper and digital. A clinic visit well ahead of time costs you an afternoon. A denied boarding costs the whole trip.
44. Buy Comprehensive Travel Insurance

Insurance is the thing you resent paying for right up until the second you need it. A twisted ankle on a cobblestone street. A canceled flight. A medical evacuation that runs well into five figures. That’s what the coverage is for.
Don’t just grab the cheapest policy and call it done. Read what it actually covers — you want medical, emergency evacuation, trip cancellation, and baggage protection at real limits, not token ones. Check whether it includes pre-existing conditions and the activities you’ve got planned, because the adventurous stuff often gets quietly excluded.
Buy it soon after you book. Some cancellation benefits only kick in if you purchase early. A fortnight abroad without any coverage is a bet you can’t afford to lose.
43. Refill Prescriptions for the Entire Trip
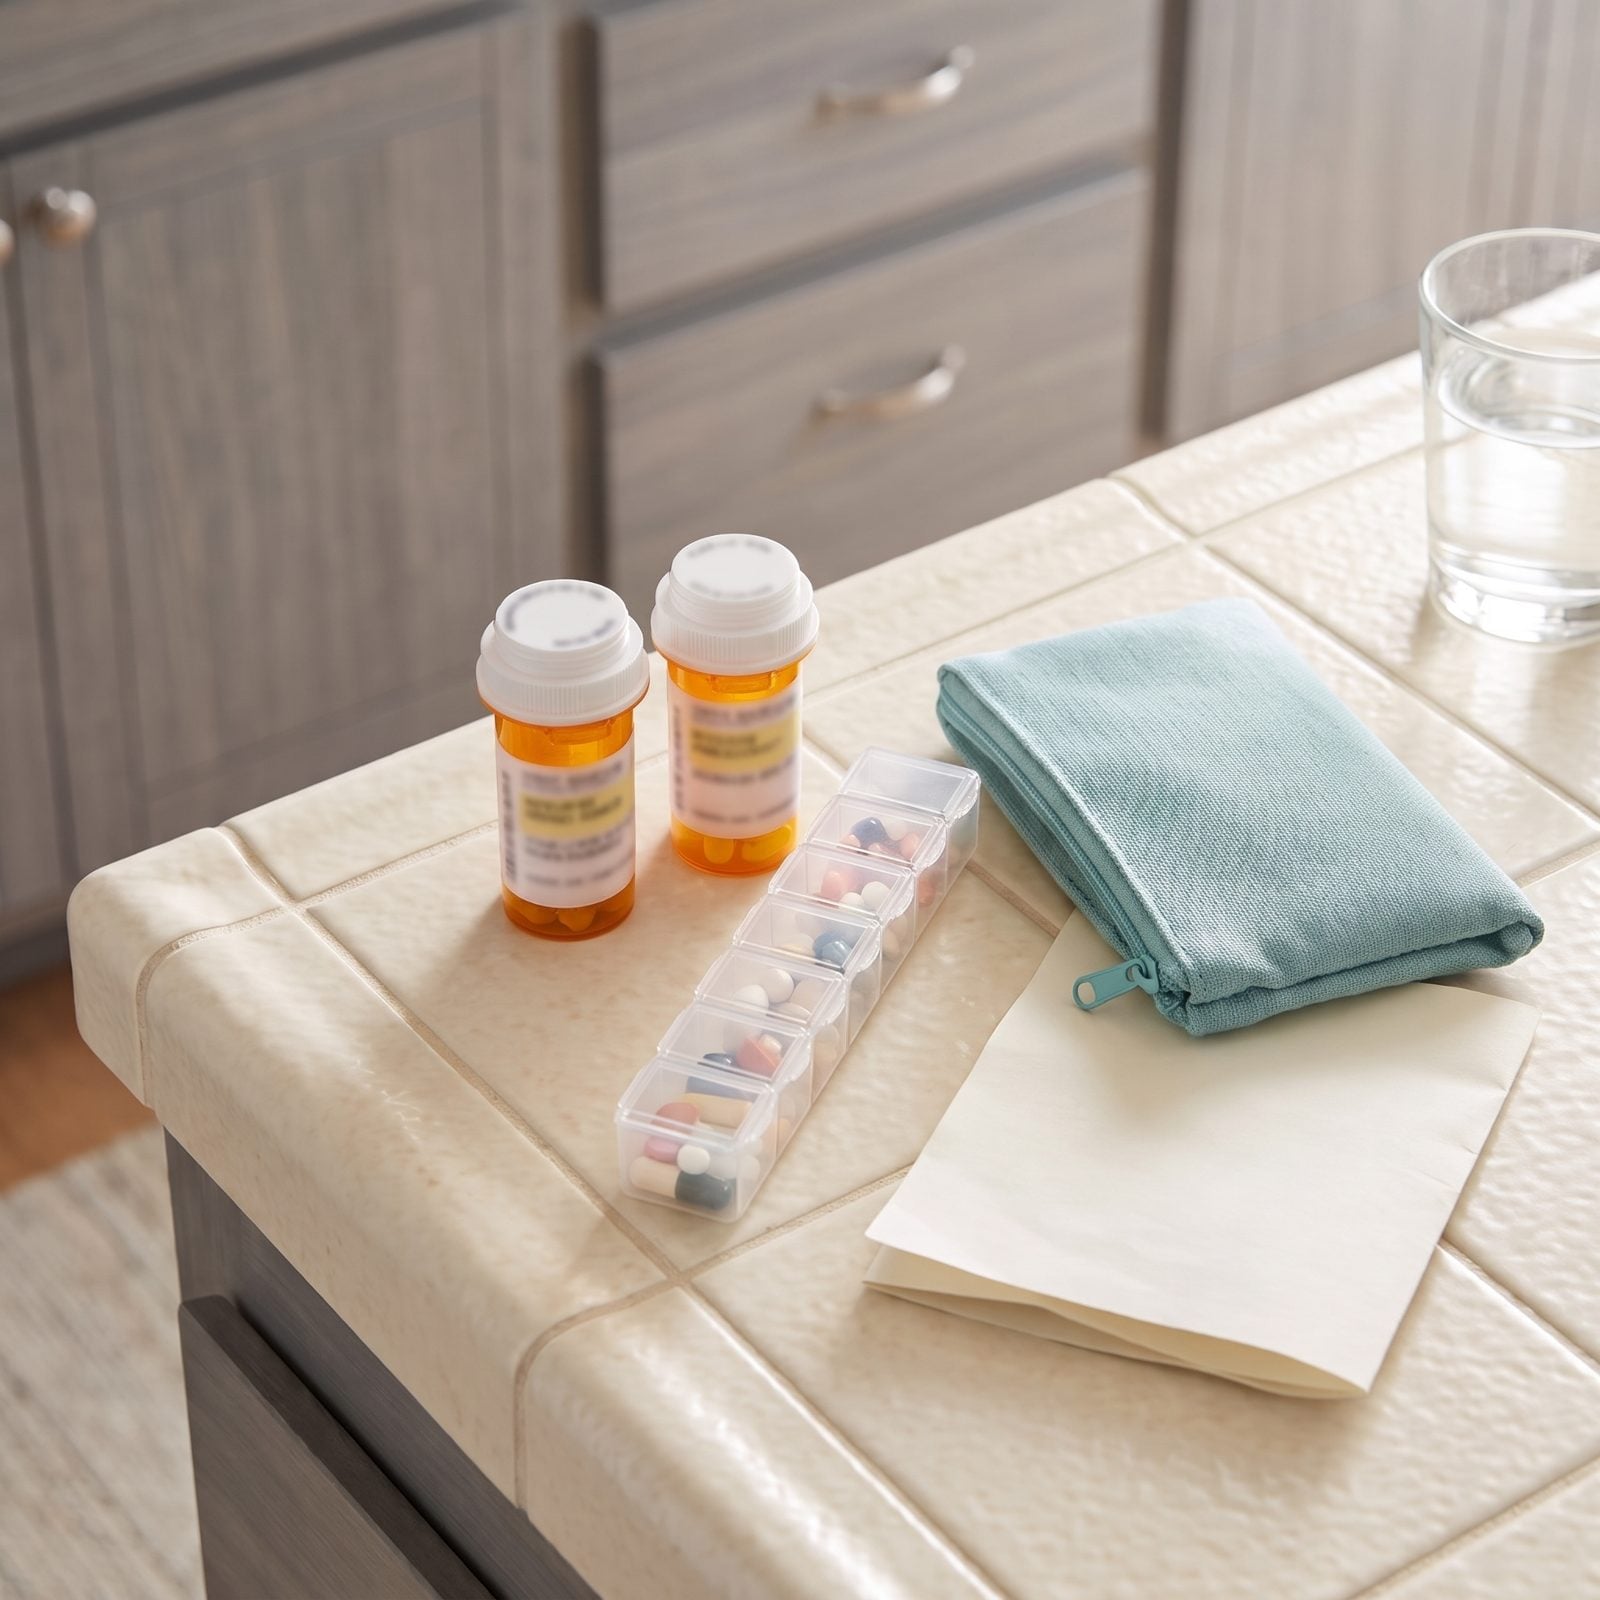
Running out of a medication abroad is no minor hassle. Some drugs are controlled differently country to country, some aren’t available at all, and some pharmacies won’t honor a foreign prescription without a fight.
Count your pills against the full length of the trip, then tack on a buffer week in case a flight slips or you lose a bottle. Call the pharmacy early, because insurance frequently blocks early refills and you may have to argue your way to a vacation override.
Keep everything together in one zippered pouch, carried on, never checked. And pack a printed medication list giving the generic name of each drug — brand names change across borders, and you don’t want a pharmacist squinting at something he’s never heard of.
42. Pack a Basic First-Aid Kit

You don’t want to be hunting for a pharmacy at 11pm over a blister, a headache, or a cut that needs a bandage. A small kit handles most of the ordinary, annoying ailments that travel throws at you.
Build it tight: adhesive bandages, antiseptic wipes, blister pads, pain reliever, antihistamine, anti-diarrheal, motion sickness tablets, tweezers, and a little medical tape. Headed somewhere hot? Add rehydration salts.
Keep it in your day bag, not buried in the suitcase. The whole idea is reaching it fast. I’ve unpacked half a bag onto a hotel floor looking for a single plaster, and it’s exactly as dumb as it sounds.
41. Save Digital Copies of Travel Documents

A stolen bag or a lost wallet is a bad day. A stolen bag with your only copy of everything inside is a disaster. Digital backups quietly demote the disaster back to a bad day.
Photograph or scan your passport photo page, visa, insurance policy, flight and hotel confirmations, and your prescriptions. Store them somewhere you can reach from any device, then email yourself a set as a backup to the backup.
People skip the next part: save at least one version offline on your phone, not only in the cloud. Standing in an embassy with no signal and no wifi, a document you can’t open might as well not exist.
40. Print Essential Reservations and Tickets
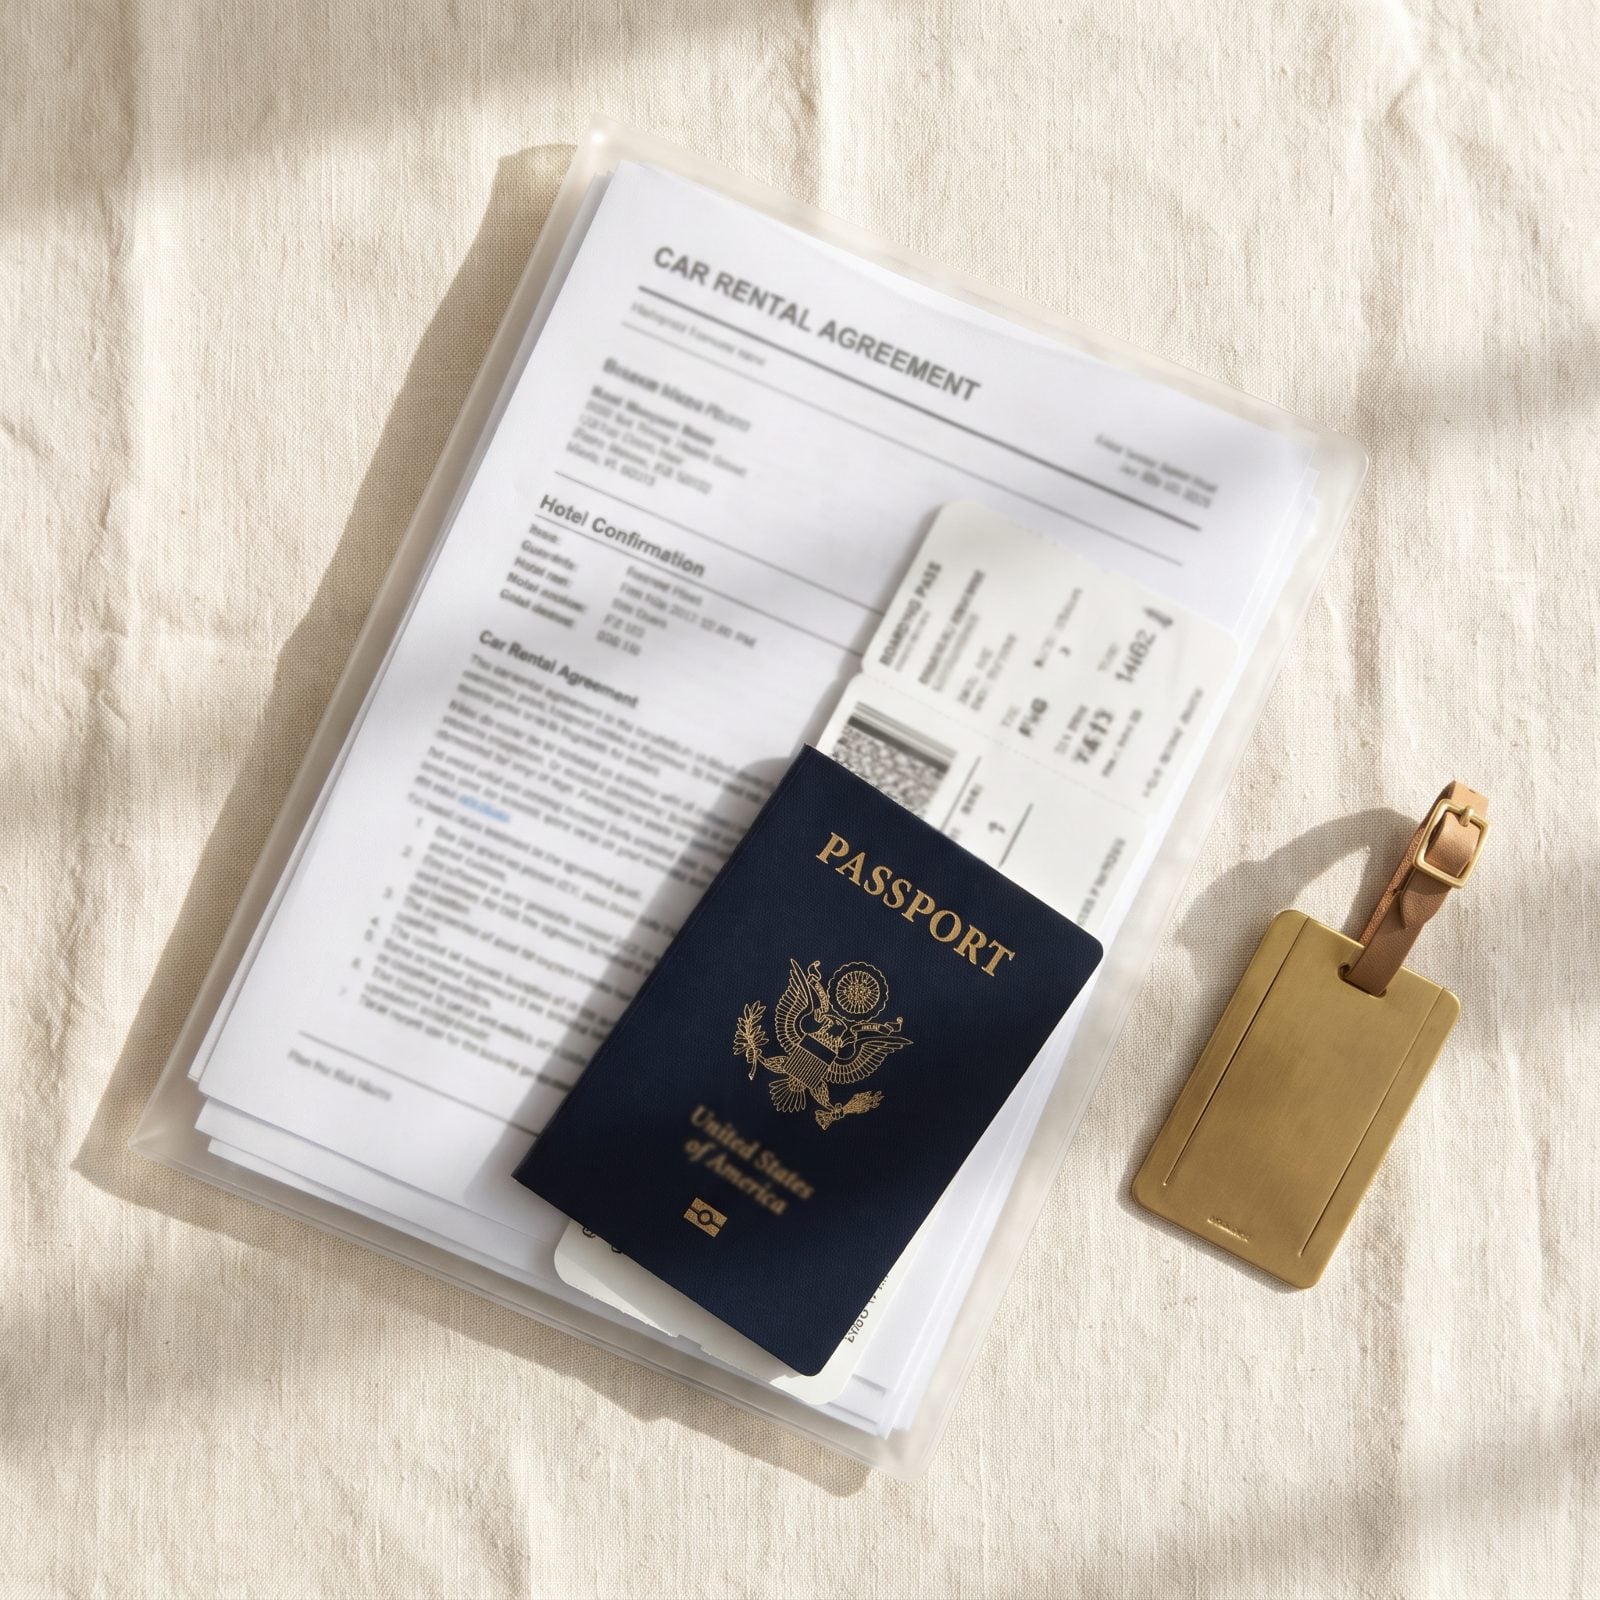
Phones die. Batteries drain in a queue, screens crack, apps crash, and foreign wifi fails at the precise moment you need to show a confirmation. Paper never runs out of charge.
Print the things that get you through a door or past a checkpoint: flights, first-night accommodation, airport transfers, any prepaid tours with set times. No need to print the entire trip — just the anchors that would strand you if the phone quit.
Tuck them in a single folder near your passport. Clearing immigration into a country that wants proof of onward travel is not the moment to be poking at a frozen screen.
39. Share Your Itinerary With a Trusted Contact

If something goes sideways, someone back home should know where you were supposed to be and when. Not vaguely. Specifically.
Send a trusted person your flight details, hotel names and addresses, and a rough daily plan, plus your passport number, insurance info, and the phone number of the nearest embassy or consulate. Agree on a loose check-in rhythm — a text when you land, a message when you change cities — so a sudden silence actually means something.
None of this is about being fearful. It’s the single cheapest safety measure you’ve got. One person holding your details can set help in motion fast when you can’t make calls yourself.
38. Schedule Upcoming Bills for Autopay

Coming home relaxed only to find a late fee, a lapsed insurance policy, or a service shut off for nonpayment — that’s a sour way to cap off two good weeks. Bills don’t pause just because you did.
Go through anything due while you’re gone: credit cards, utilities, rent or mortgage, subscriptions, the mobile plan you’ll actually be leaning on abroad. Set them to autopay or pay them ahead, and confirm the account holds enough to cover it all.
While you’re in there, tell your bank and card company your travel dates so a legitimate purchase in another country doesn’t get flagged and frozen. A declined card on day one, far from home, is the kind of small disaster you can head off completely.
37. Arrange Foreign Currency and Emergency Cash

Airport exchange counters are a quiet tax on the unprepared. You land tired, you need a cab, and you take whatever rate the kiosk hands you — losing real money on the spread. So order a modest amount of local currency from your bank before you leave, enough to cover the first day: taxis, tips, a coffee, a vending machine that laughs at your phone.
Then tuck a separate emergency stash somewhere that isn’t your wallet. A hundred in your home currency, flat, folded, buried in an inside jacket pocket or a zippered pouch deep in your bag where a rushed thief won’t dig.
36. Remove Unneeded Cards From Your Wallet

Your everyday wallet is carrying dead weight. The grocery loyalty card, the second video rental membership you forgot existed, three gift cards with four dollars left on them — none of it helps you abroad, and all of it turns into a headache if the wallet walks off.
Empty it on the kitchen table. Keep only what the trip needs: one or two payment cards, your ID, your travel insurance card, maybe a backup card stashed somewhere else entirely. Everything else goes in a drawer at home.
Fewer cards means a shorter cancellation list when things go sideways, plus a thinner wallet that rides flatter in a front pocket a pickpocket can’t reach. Write down the numbers you’d need to cancel and leave that list with someone you trust.
35. Enable Credit Card Transaction Alerts

Most people learn this too late: the fastest way to catch a stolen card number is a ping on your phone the second it gets used. Turn on real-time transaction alerts in your bank’s app before you go — a text or push notification for every charge, or at least every charge over some small threshold you set.
Overseas, a cloned card can rack up charges in a city you’ve never visited while you’re asleep in a hotel. The alert turns a week-long disaster into a two-minute phone call.
Set the alerts, then run a test purchase at home and make sure the notification actually lands.
34. Confirm Phone Roaming or eSIM Service

Nothing sours a first morning abroad like discovering your phone has become a very expensive brick. Call your carrier or open the app and sort out how you’ll have service before you fly — an international plan for the two weeks, an eSIM you load the night before, or a local SIM you’ll buy on arrival if you’ve unlocked the handset.
I’ve watched people assume roaming “just works” and come home to a bill with more zeros than their hotel. Confirm the exact rate per day or per gigabyte, in writing, and know whether calls and texts are bundled in or billed on top.
Going the eSIM route? Install and activate it while you’re still on home wifi. Fumbling with a QR code in an airport with no signal is a special kind of frustration.
33. Download Offline Maps and Translation Tools

You will lose signal. In a subway, inside an old stone cathedral, up a hill where the carrier gave up, in a country where your data plan quietly stopped working. Download your maps for offline use before you leave — the whole region, not just the hotel block.
Do the same with a translation app’s offline language pack, so you can read a menu or a train sign without any bars. That pack is a chunky download, so grab it on home wifi, not in the departure lounge.
32. Back Up Phones and Cameras

Back up everything the night before you leave, because the only photos you truly own are the ones in two places. Phones get dropped in canals. Cameras get left in cabs. A memory card can corrupt for no reason at all and take three years of birthdays down with it.
Run a full backup of your phone — to the cloud and to a computer both. Then clear your camera’s memory card so you start the trip with empty storage and no old shots clogging it up.
After that, set your phone to auto-upload photos over wifi while you travel, so the sunset you shot on day three isn’t riding on one fragile piece of plastic in your pocket. Future you, stranded in an airport having lost a bag, will be very grateful.
31. Charge Devices and Portable Power Banks

A dead phone at the wrong moment is more than annoying when it’s also your map, your boarding pass, and your only way to call the hotel. Charge every device to full the night before, then charge your power bank too — and don’t trust that it’s full just because it was last month. These things bleed charge sitting in a drawer.
Pack the power bank in your carry-on, never checked. Airlines won’t let lithium batteries fly in the hold.
30. Pack Correct International Plug Adapters
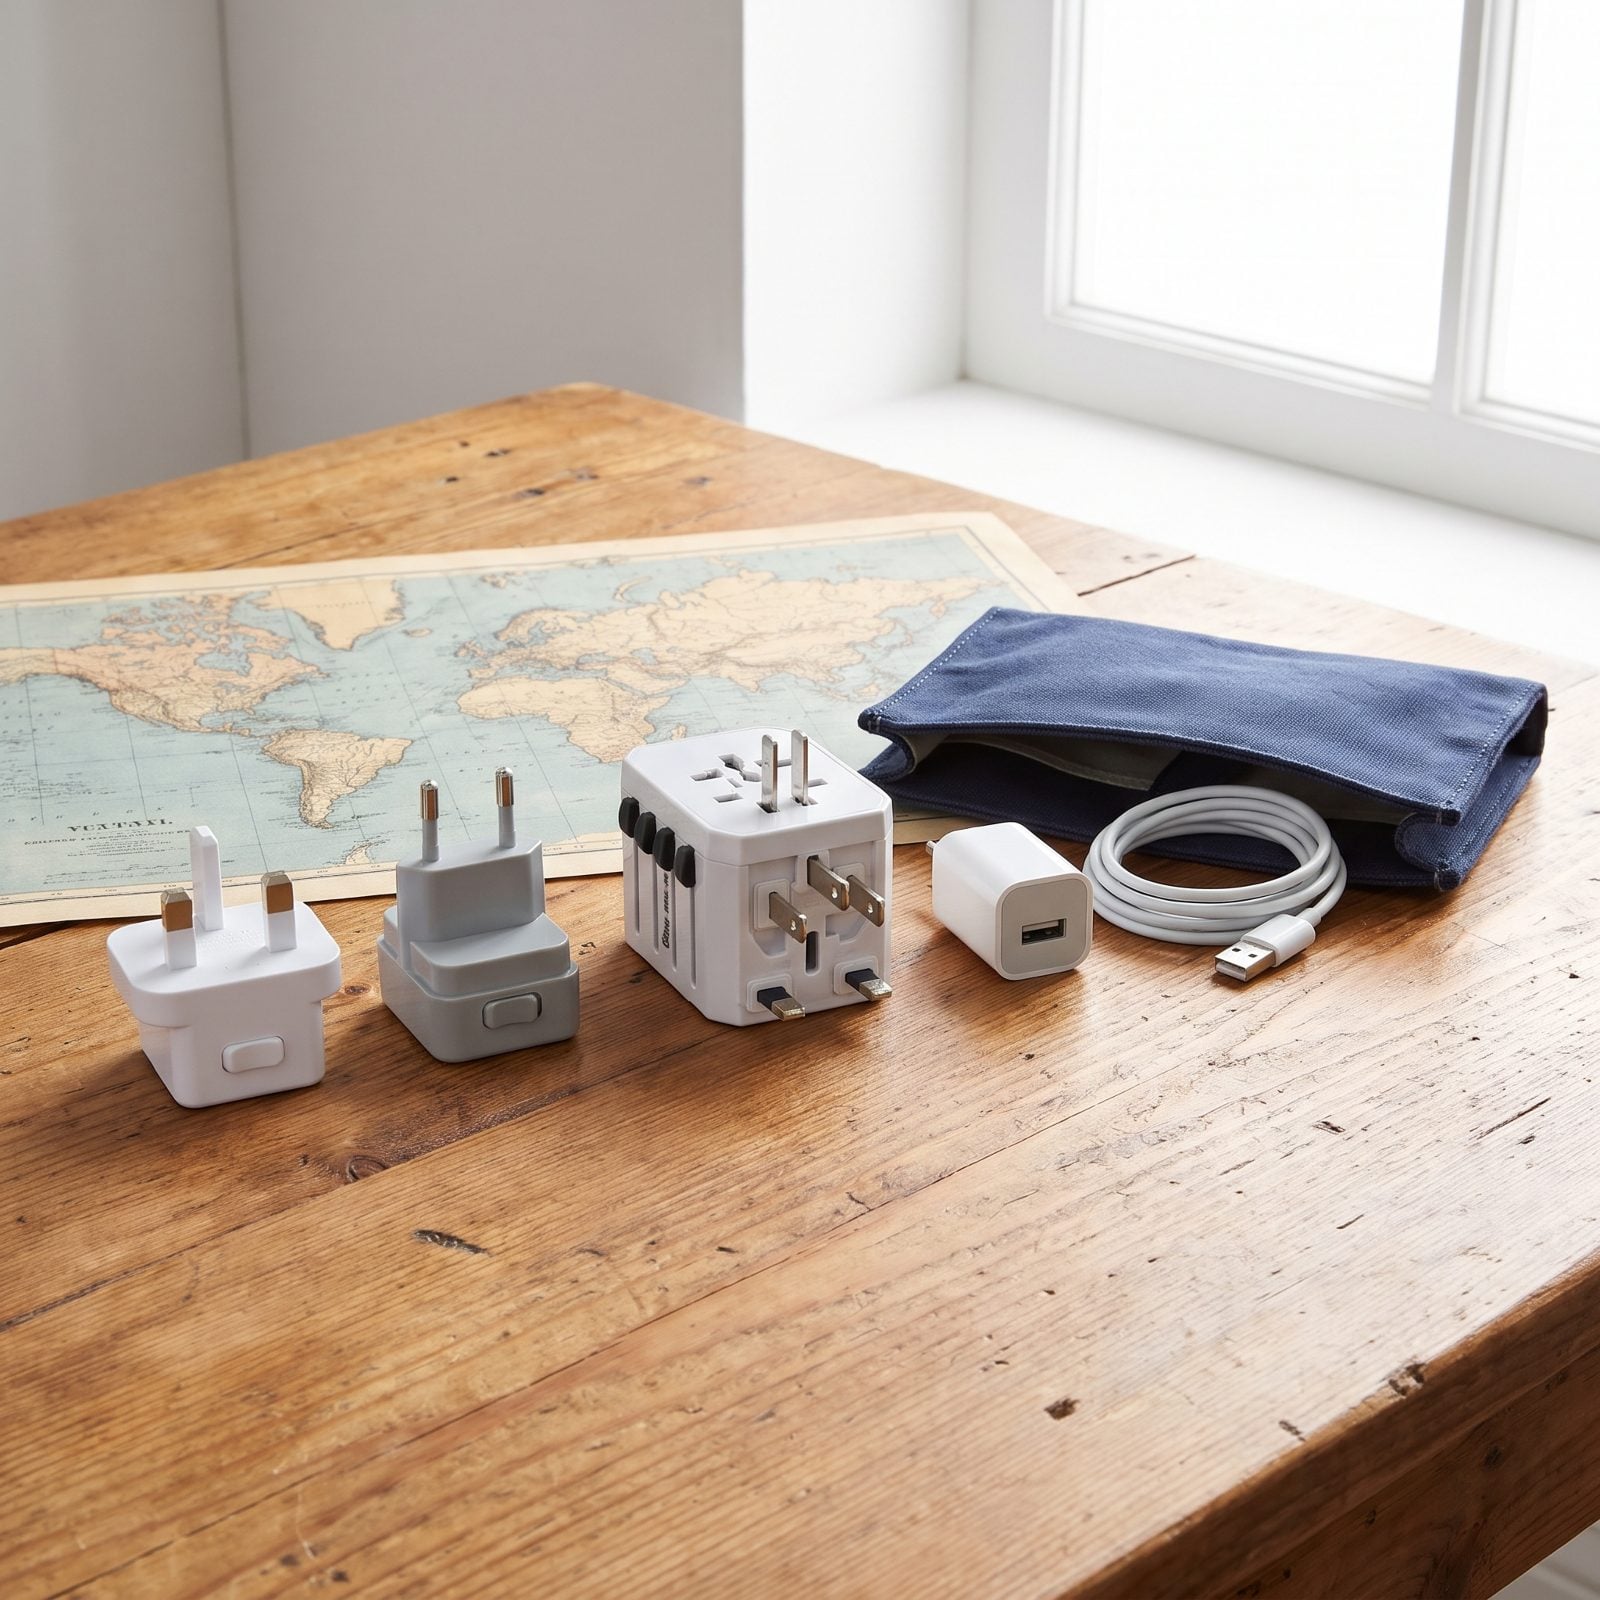
The adapter that worked in London does nothing in Rome, and the Rome one is useless in Tokyo. Look up the plug type and voltage for every country on your route, not just the first one. The two-country trip is exactly where people get caught.
Pack at least two adapters, since you’ll want to charge a phone and a power bank at the same time — and hotel rooms are stingy with reachable outlets.
Check voltage while you’re at it. Most modern chargers handle the global range, but older hair tools and some gadgets don’t, and plugging a 110-volt device into a 220-volt socket makes a smell you won’t forget. One good universal adapter covers most of the world and lives in your bag between trips.
29. Confirm Flight Times and Terminals
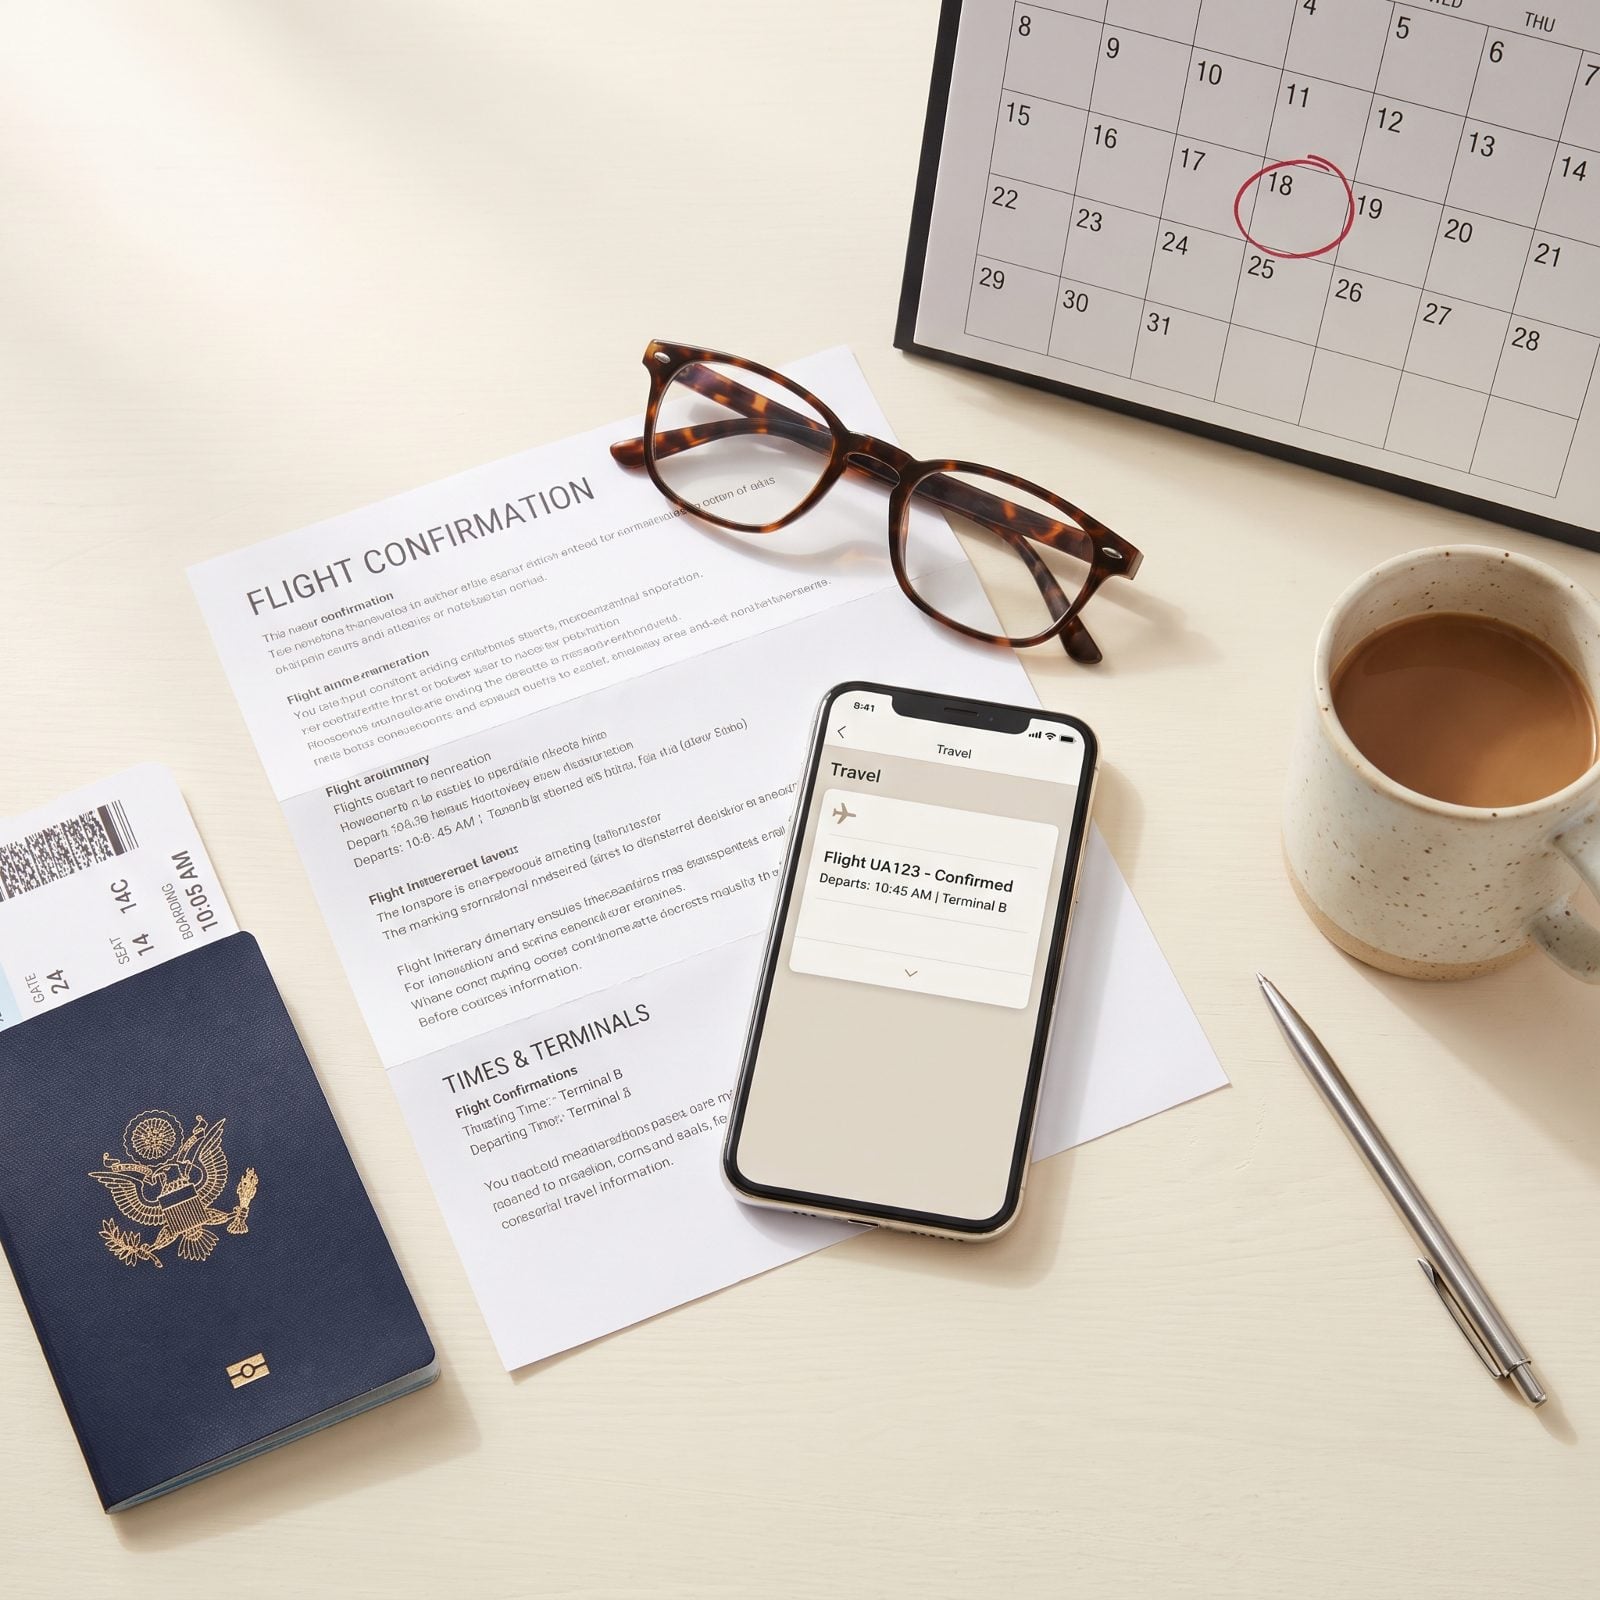
Flight times move. Not often, but exactly when you’ve stopped checking. A schedule change buried in an email you skimmed three weeks ago turns into a sprint through a terminal, a missed connection, or a night on the floor.
The day before you fly, open the airline’s app and confirm the departure time, the terminal, and the gate if it’s posted. Big airports keep their terminals a shuttle ride apart, and showing up at the wrong one is a genuine way to miss a flight you arrived early for.
28. Check In and Save Boarding Passes Offline
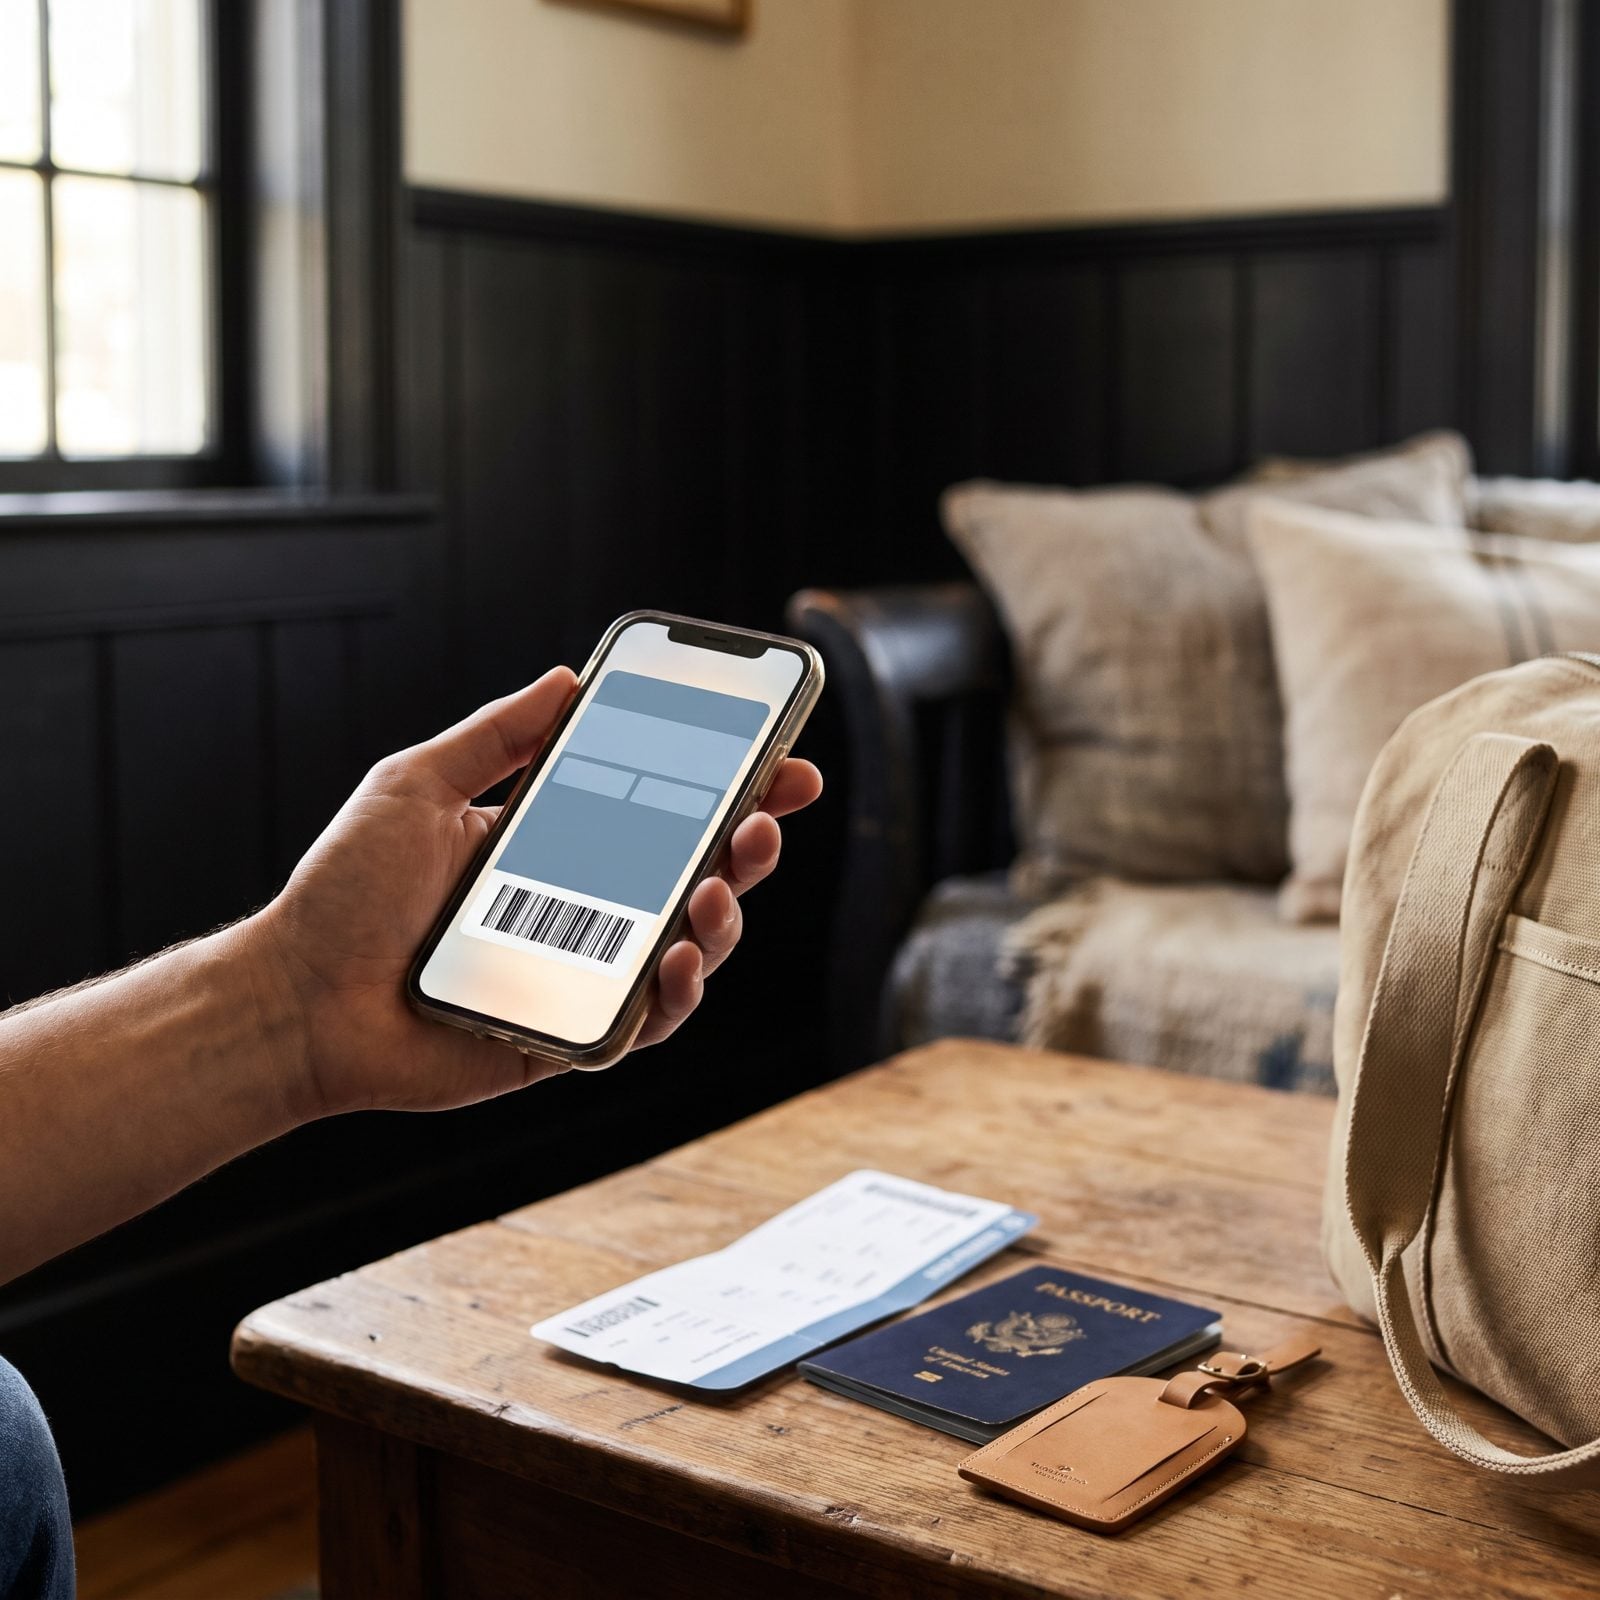
Online check-in usually opens a day before departure, and doing it early snags you a better seat and skips a line. But here’s the part people miss: a boarding pass living inside the airline app is useless the moment airport wifi chokes and your data’s gone.
Add the mobile pass to your phone’s wallet, where it loads without a signal. Then screenshot it as a second layer, because apps crash and screenshots don’t.
And print a paper copy if you can. It costs nothing, weighs nothing, and when a phone dies at the worst possible second, a slip of paper walks you right onto the plane while everyone around you is frantically restarting their device.
27. Reconfirm Every Accommodation Booking

Confirmation emails lie. Not on purpose, but booking systems drop reservations, overbook peak dates, and quietly cancel a room you paid for six months ago. You find out at the front desk at 11pm with luggage at your feet.
Call the property directly, not the booking site, because a real human voice at the desk beats any automated confirmation. Ask them to read your reservation back to you — the dates, the room type, the number of guests — and get the name of the person you spoke with.
Here’s the detail most people skip. Confirm your check-in time against your actual arrival, because land at midnight and reception may be closed with no way in. Ask how late the desk is staffed before you need to know the hard way.
26. Reserve Airport or Station Transfers

The taxi line at a foreign airport after a ten-hour flight is where good trips go sideways. You’re exhausted, you don’t speak the language, and someone is about to drive you twice the distance for triple the fare.
Book your transfer before you leave home. A pre-arranged car, a shuttle, or a confirmed ride means someone is holding a sign with your name on it while everyone else haggles with strangers. Confirm the pickup point, the flight number they’re tracking, and what happens if your flight runs late.
And here’s what most travelers forget: save the dispatcher’s direct phone number somewhere separate from the booking. When your driver isn’t where the app swears they’ll be, you want a human in sixty seconds — not an inbox to scroll through.
25. Confirm Rental Car Pickup Details
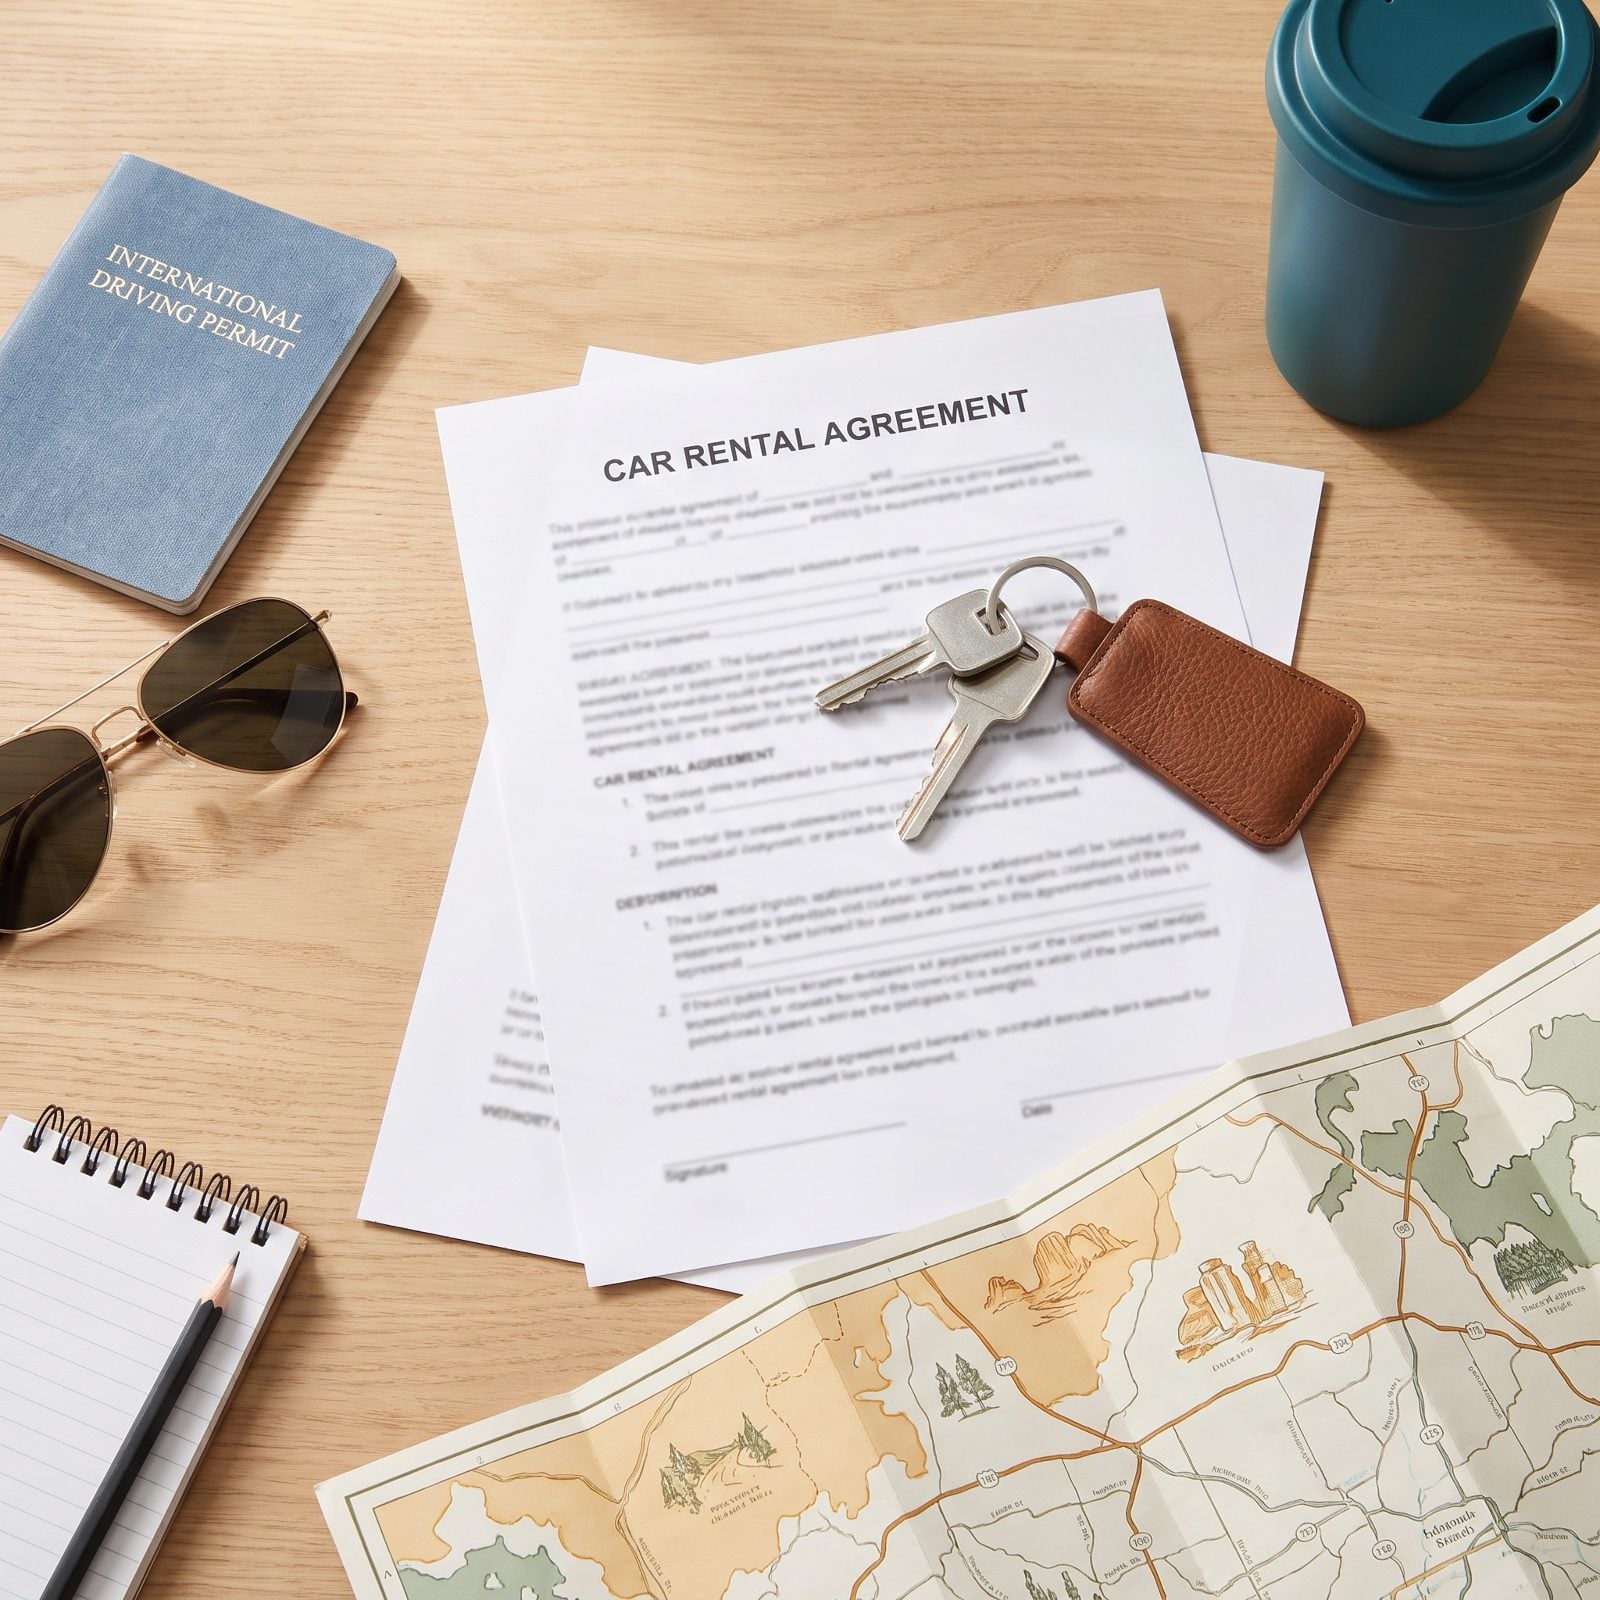
The counter is where they get you. A reservation confirms the car. It does not confirm the price, the insurance, or whether that economy hatchback actually exists when you arrive.
Reread your rental agreement before departure. Check the pickup location — some airports have off-site lots with their own shuttles — the hours the desk is open, and whether you need to return with a full tank. Confirm the driver named on the booking matches your license exactly.
Here’s what catches people. Drive abroad and many countries demand an International Driving Permit alongside your home license, and you cannot grab one at the airport. You apply at home, usually through your auto club, and it takes a few days. Sort it now or hand your keys back at the desk.
24. Check Destination Weather Forecasts

A two-week forecast is mostly a guess. The seasonal picture isn’t, though, so pack for the actual place and the actual month — not the postcard version living in your head.
Look up average highs and lows for your destination, plus the historical rain pattern for that week. A Mediterranean city in October swings from short sleeves at noon to a jacket by nine. Mountains make their own weather regardless of what the valley reports.
Nobody checks this until it’s too late: humidity and sun intensity, not just temperature. Seventy degrees in dry mountain air feels nothing like seventy in tropical soup, and strong sun at altitude burns faster than the thermometer lets on. Pack the layer, the hat, and the rain shell even when the numbers look friendly.
23. Review Local Customs and Dress Codes

You’ve watched a tourist get turned away at a cathedral door for bare shoulders. The guard isn’t being difficult. You just didn’t do the homework.
Spend twenty minutes reading how people actually dress and behave where you’re headed. Many religious sites require covered knees and shoulders for everyone, and some countries read certain gestures, colors, or footwear choices very differently than you do. A scarf tucked in your day bag covers a lot of situations at a moment’s notice.
What trips people up most isn’t one grand rule — it’s the small daily ones. Removing shoes indoors, how you greet someone, which hand you use, whether tipping is expected or flat-out insulting. Getting these right earns you a warmth you’ll feel the whole trip.
22. Plan Mix-and-Match Daily Outfits

Everything should talk to everything else. That’s the whole trick to packing light for two weeks and never looking like it.
Build around a tight color story — two or three neutrals that pair with every top you bring. When each bottom works with each top, a handful of pieces becomes a dozen outfits. Lay them all out on the bed first and physically count the combinations before a single thing goes in the bag.
The move most people miss is layering for range. One thin knit and a packable jacket let the same summer dress handle a cool evening or a breezy church. Fold in one slightly nicer outfit for a dinner that turns out to matter.
21. Choose Broken-In Walking Shoes

New shoes on day one is how a dream trip becomes a blister-counting exercise. The shoe store feels fine. Mile four of cobblestones does not.
Wear your travel shoes hard for two weeks before you leave — full days around the house, errands, a long walk. You want the leather softened and your feet and the footbed already on speaking terms. If a hot spot shows up at home, better there than on a hill in a foreign city with a whole day of walking ahead of you.
Here’s the overlooked part. Bring a second pair you’ve also broken in, because feet swell on long travel days, one pair gets soaked in a downpour, and rotating shoes gives aching feet the kind of relief a single pair never will.
20. Pack Prescription Eyewear and Spares

Lose your only glasses abroad and the whole trip blurs, literally. There’s no running home for the backup pair, and foreign opticians can’t always fill an unfamiliar prescription fast.
Pack a spare pair of glasses and split them from the primary pair — one in your day bag, one in the suitcase. Wear contacts? Bring more than you think you need plus a full glasses backup, because dry cabin air and long days give eyes a reason to quit.
The detail nearly everyone forgets: carry a photo or printed copy of your actual prescription. If you do need replacements overseas, those numbers turn a multi-day ordeal into a same-afternoon fix. Add prescription sunglasses too, since squinting across two weeks of bright days gets old fast.
19. Weigh All Packed Luggage

Finding out your bag is overweight at the check-in counter is a special kind of misery. You’re repacking on the terminal floor while the line behind you grows, or paying a fee that would’ve bought a nice dinner.
Weigh every bag at home with a handheld luggage scale. Check your airline’s limit for both checked and carry-on, and remember those limits often shrink on regional and budget flights. Weigh the carry-on too — gate agents do spot-check it, and the dreaded scale at the gate ends arguments fast.
The smart bit: leave real room on the way out. You will buy things. Pack to about four-fifths of the limit so a couple weeks of small souvenirs don’t force a painful decision at the airport on the way home.
18. Photograph Packed Bags and Contents
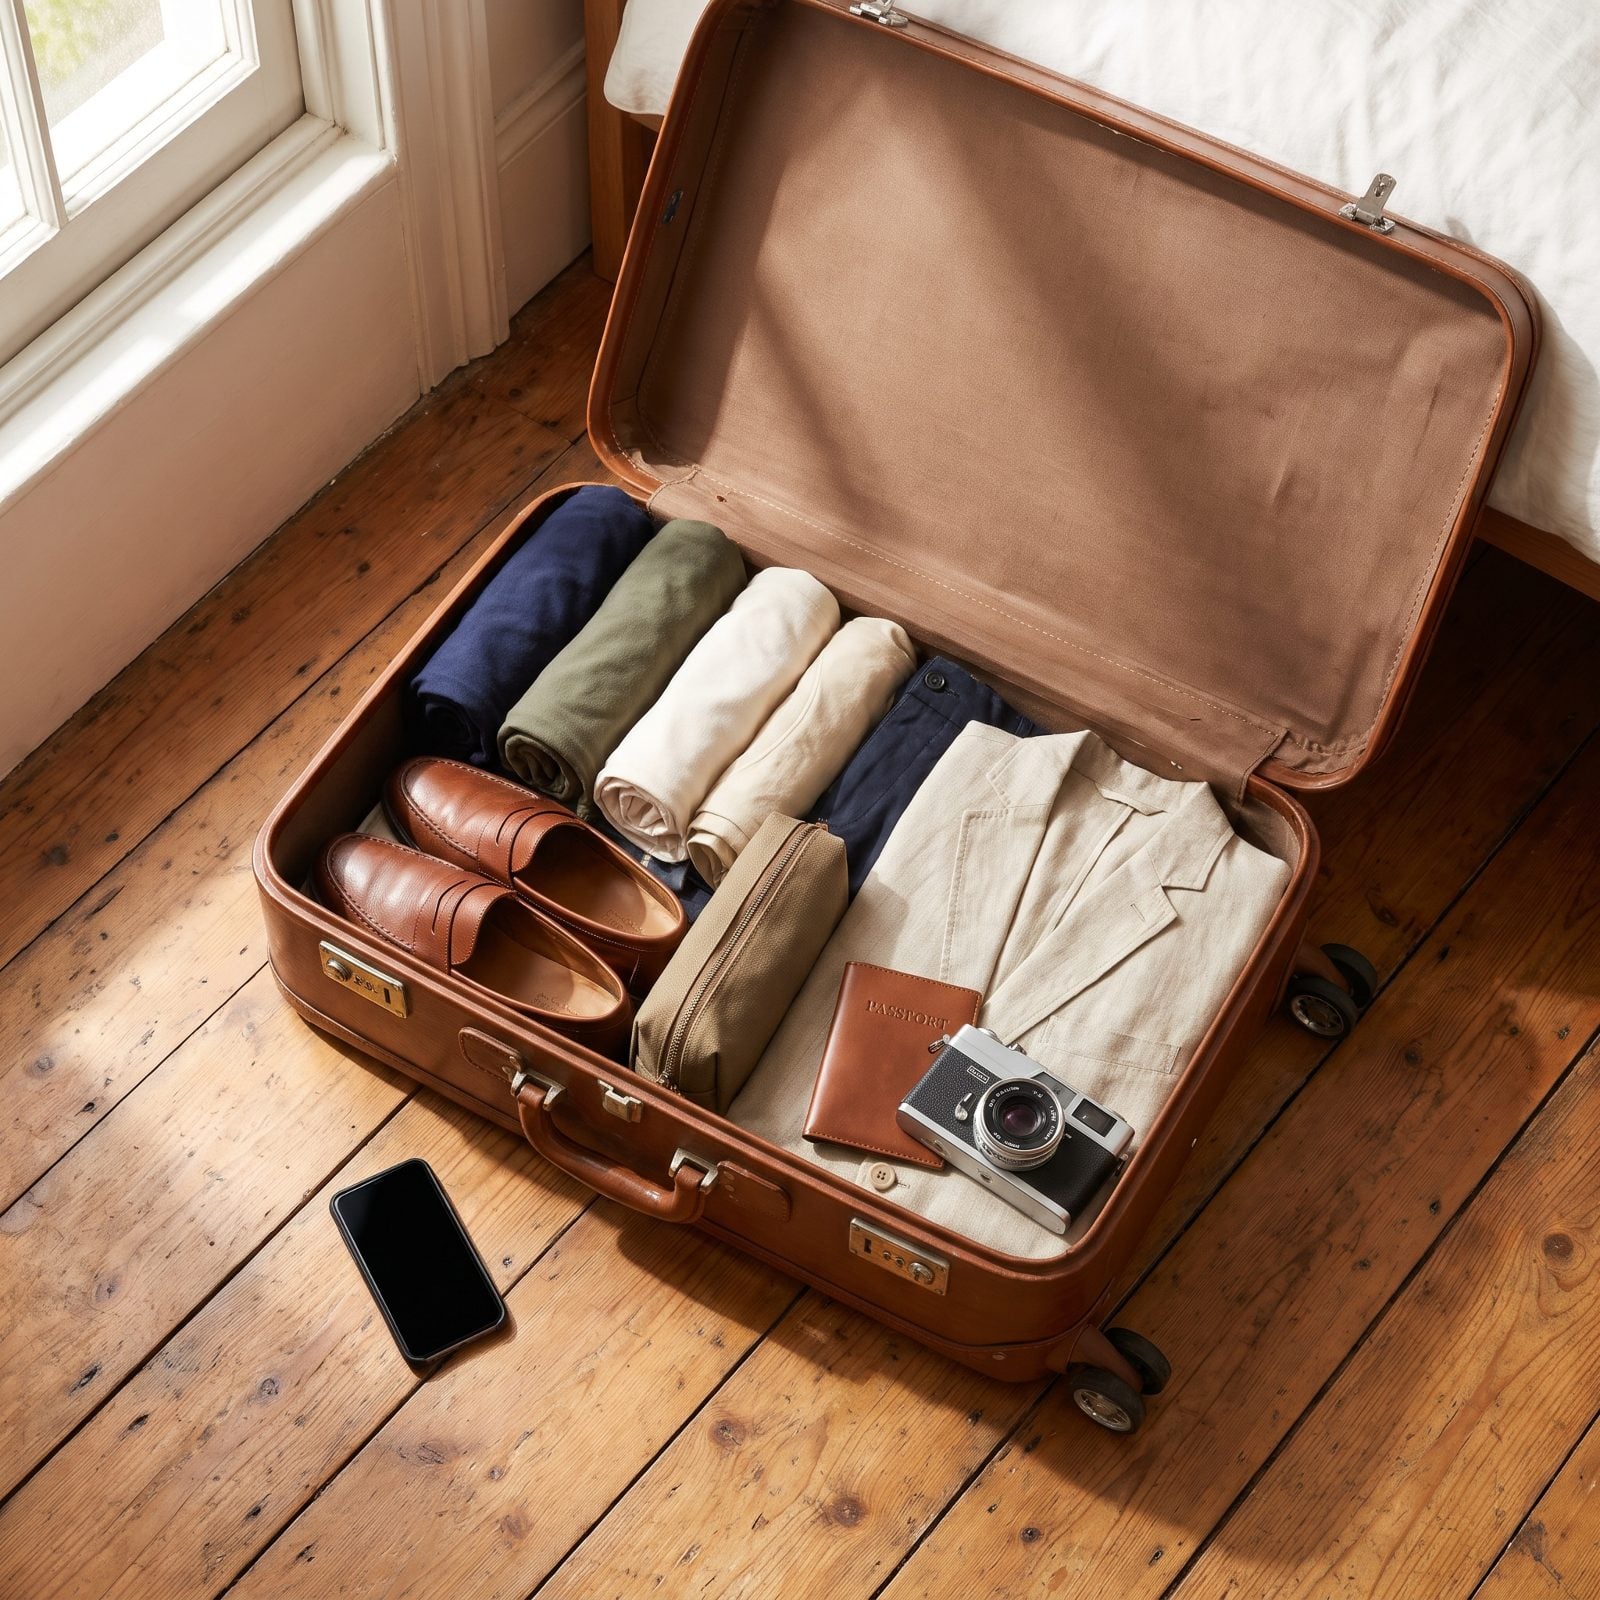
Lost luggage claims go a lot smoother when you can show an airline exactly what was inside. Before you zip anything shut, lay the contents out and take two or three photos: the open bag, a close-up of anything valuable, and the exterior with its color and brand visible. Sixty seconds of work, and a vague argument at the baggage desk becomes proof you can hold up.
Most people shoot the clothes and forget the receipts. Snap the serial numbers on electronics too, then keep everything in a dated album on your phone. If a bag vanishes, you’ve got contents and condition, timestamped, ready to send.
17. Secure Trackers Inside Checked Bags

A tracker only helps if it’s buried deep and charged. Toss one loose in an outside pocket and a careless handler can pull it right out. Tuck it in the center of your clothing instead — inside a sock, or a zipped interior pocket — where it rides along quietly for the whole trip.
And here’s the part people skip: check the battery the night before, not the morning of. Most coin-cell trackers run for months, but the one time yours is flat is the one time a bag goes to Lisbon without you. A charged tracker won’t stop a lost bag. It’ll tell you your suitcase is sitting in Chicago while you’re in Denver, which beats any apology from a baggage desk.
16. Arrange Pet Care With Instructions and Supplies

A sitter who knows your pet’s name still doesn’t know your pet’s quirks. Two weeks is long enough for a missed medication or a wrong feeding to turn into a real problem. So write it all down, even the obvious stuff: amount, timing, which door stays closed, the vet’s number, and what normal looks like versus a reason to call.
Leave more supplies than the trip needs. Food, litter, meds, all of it, with a week of cushion in case a flight gets delayed. The detail most owners forget is a named emergency contact who can authorize vet care, plus your payment on file, so nobody ever has to choose between a sick animal and your wallet.
15. Schedule Indoor Plant Watering

Come home to crispy leaves and you’ll wish you’d planned this. Most houseplants handle a week on their own; two weeks is where things start to die. Match the plan to the plant. A succulent couldn’t care less, but a fern will crisp in a hot, dry room in days.
Group thirsty plants in the bathroom or a shaded corner, away from direct sun, and they’ll dry out slower. Self-watering globes or a wick dropped in a reservoir buy you time too. What people get wrong is overwatering right before leaving — that drowns roots and invites rot. Water normally, rig up a slow drip, and ask a neighbor to glance at the fussy ones.
14. Tell a Trusted Neighbor Your Travel Dates
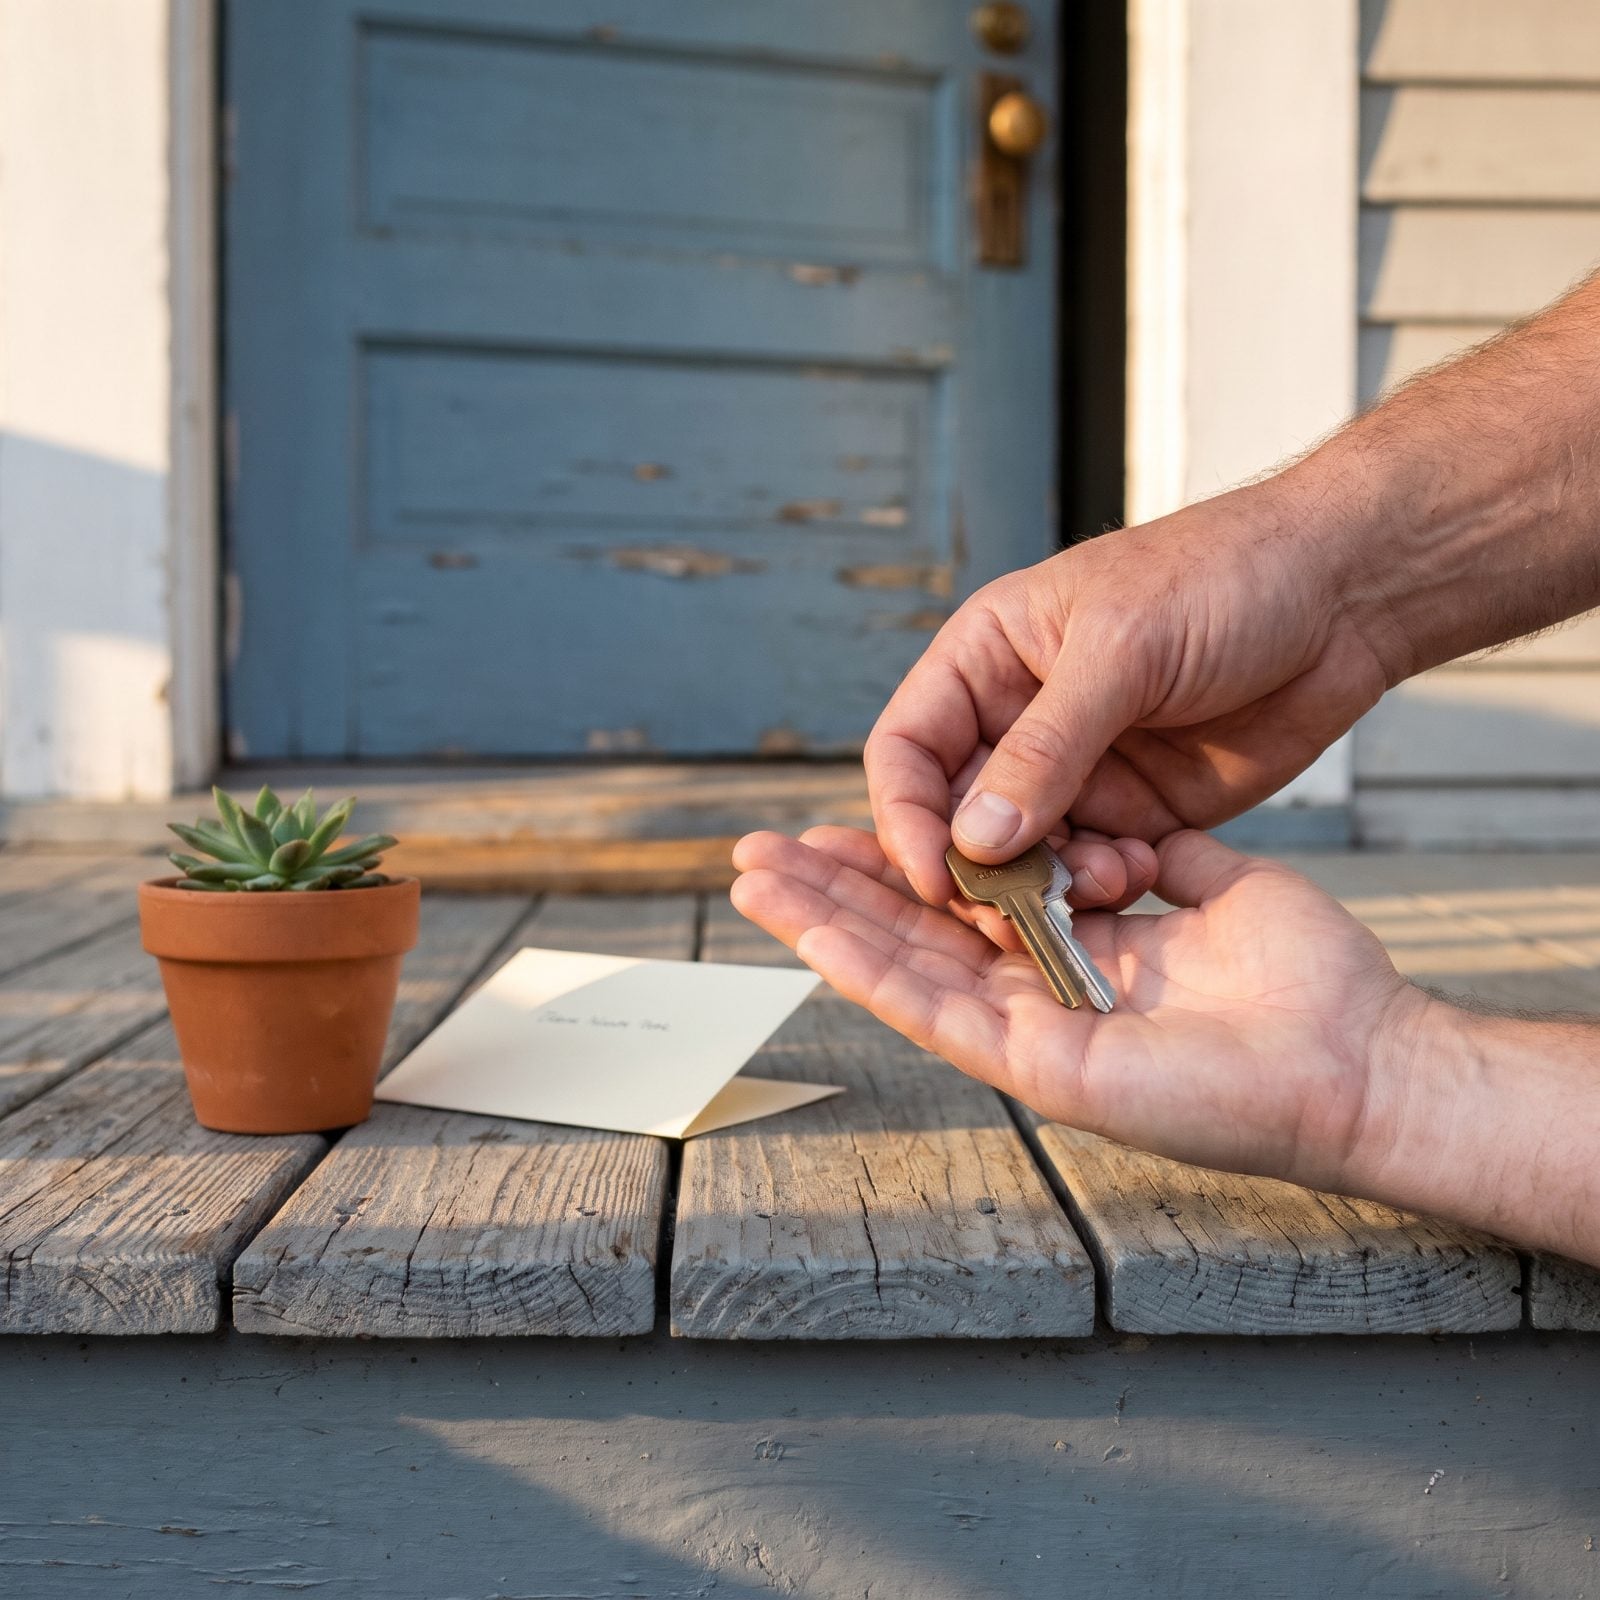
An empty house announces itself. Piled papers, dark windows every single night, a package nobody grabs off the step. One neighbor who knows you’re gone quietly fixes most of that — give them your dates, a key, and a number to reach you.
Tell them what normal looks like so they can spot what isn’t: the car stays in the driveway, nobody should be at the back door, the porch light runs on a timer. And leave an actual way to reach you. A neighbor who spots a broken window at 9pm needs more than a shrug — hand over your itinerary and a backup contact, and make the call easy.
13. Pause or Redirect Mail and Deliveries

A mailbox stuffed to the hinge is a billboard that says nobody’s home. Put a hold on your mail through the postal service, and pause recurring deliveries so boxes don’t pile up on the step for two weeks.
Set the hold to resume the day after you land, not the day you land, so nothing arrives at an empty house while you’re still in the air. People handle the mailbox and then forget the subscription boxes, the meal kits, the pharmacy refill. Cancel or pause each one on its own. A single abandoned package on the porch undoes the whole effort, so chase down every standing delivery you’ve got running.
12. Use, Freeze, or Discard Perishables

Two weeks is long enough for milk to turn, bread to mold, and a forgotten bag of spinach to liquefy into a smell you will never, ever forget. Go through the fridge three days out. Eat down what you can, freeze bread and leftovers, toss anything that won’t survive the trip.
The spot everyone misses is the fruit bowl on the counter and the half-eaten takeout shoved to the back of a shelf. Those are the ones waiting to greet you at the door. Wipe the drawers while you’re in there. A clean, mostly empty fridge on your return beats a science experiment every time.
11. Empty Every Household Trash Bin

The kitchen bin is the obvious one. But the bathroom bin, the bedroom bin, the little one tucked under the desk? Those are what stink up a closed house for two weeks. A single banana peel or coffee filter left behind ripens into something you can smell from the front door.
Walk every room, empty them all, and carry the bag to the outdoor can the morning you leave. Rinse the kitchen bin if anything leaked. Ten minutes now, and you walk in relaxed instead of holding your breath.
10. Shut Off the Main Water Supply

A burst washing-machine hose or a cracked supply line while you’re gone doesn’t just drip. It floods, for days, into floors and walls and the ceiling below. Shut the main valve off and that whole nightmare disappears. Find it before your trip — usually in the basement, a utility closet, or near the water meter.
Turn it clockwise until it stops, then open a downstairs faucet to drain the pressure out of the lines. The step most people skip is simply locating the valve ahead of time. Hunting for it the morning you leave, suitcase already by the door, is how it never gets done at all.
9. Set Water Heater to Vacation Mode

Why heat a full tank of water for two weeks so nobody can shower in it? Every gas or electric water heater has a vacation or low setting, usually marked “VAC” on the dial or buried in the thermostat panel. Flip it, and the unit idles instead of heating around the clock.
You’ll trim the utility bill and take some wear off the tank. On gas models, vacation mode keeps the pilot lit but drops the burner, so it fires right back up once you’re home. One thing worth remembering: set a phone reminder to switch it back on the day you return, because a cold shower after a red-eye is a rough welcome home.
8. Adjust Thermostat for an Empty Home

Nobody needs the living room at 72 degrees for two weeks of talking to an empty couch. You’re paying to heat or cool nothing. So push the thermostat up to around 85 in summer, and in winter drop it to 55 — low enough to save real money, high enough to keep the pipes from freezing on a cold snap.
Here’s the detail most people skip. If you’ve got a programmable or smart thermostat, set a hold instead of a schedule. A schedule will cheerfully fire the heat up every morning at six for an empty house. A hold locks your setting until you cancel it.
7. Unplug Nonessential Electronics and Appliances
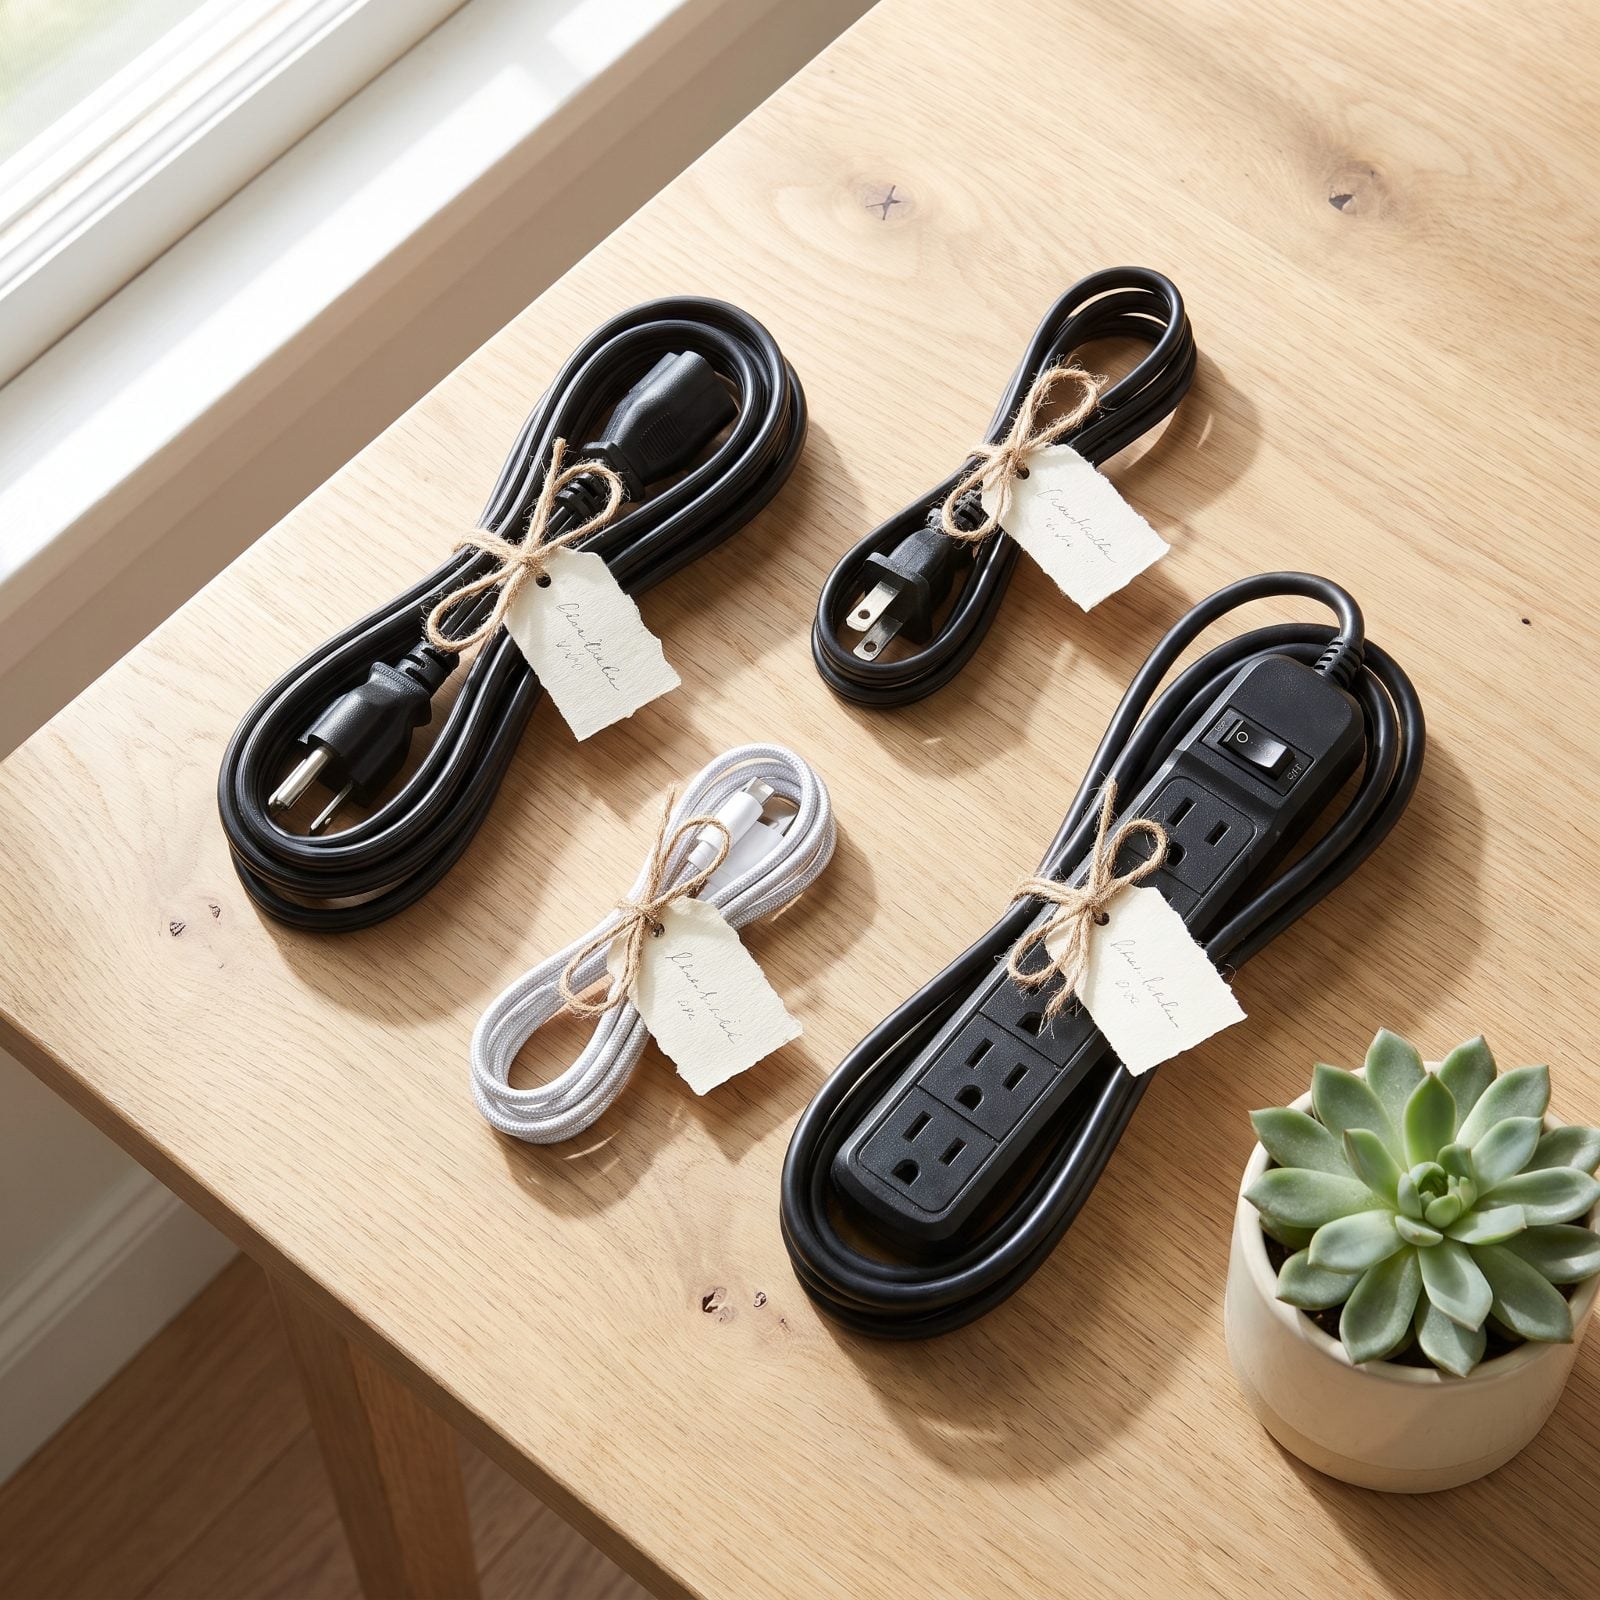
A surge can ride in on a summer storm and fry a TV that was doing nothing but waiting. And two weeks is plenty of time for weather to come find your electronics.
Walk the house and pull the plug on anything that holds a charge or draws standby power — TVs, computers, the coffee maker, the toaster, phone chargers dangling in empty outlets. Leave the fridge, the freezer, and anything riding a security or sump circuit alone. Those earn their keep.
Now the part people forget. Unplug the garage door opener’s logic board if your model draws standby power separately, and kill power strips at the switch instead of yanking each cord loose. One flick and you’re done.
6. Test Smoke and Carbon Monoxide Alarms

A chirping dead-battery alarm won’t stop a fire. And you won’t be home to swap that battery when it starts complaining at 3 a.m. to nobody — which is exactly why you test before you go.
Press and hold the test button on every unit until it sounds, smoke detectors and CO detectors both. A weak or short beep means the battery’s on its way out. Replace it now, not when you land.
While you’re up there, run a cloth over the vents. Dust is a slow killer of sensitivity.
5. Set Interior Lights on Timers

A house that goes dark at 6 p.m. and stays that way for fourteen straight nights announces itself to anyone paying attention. Trouble is, one light burning in the same window all night does nearly the same thing.
Put a couple of lamps on timers and stagger them — a living room light from dusk to about 10, a bedroom light from 9 to 11. What you want is the rhythm of someone drifting through a home, not a lone porch bulb blazing till dawn.
The move most folks miss: grab a timer with a randomize feature. It nudges the on-off time a few minutes each night so the pattern never looks mechanical. A dumb timer that fires at 7:00 sharp every single evening? Reads as exactly what it is.
4. Lock All Windows and Patio Doors

You locked the front door. Of course you did. It’s the window over the kitchen sink — the one you crack for the dish steam — that you’ll forget every time.
Do a full lap of the house, every floor and every window, and physically shove each sash to confirm the latch actually caught. Half-engaged locks feel locked and aren’t. Give the basement and ground-floor windows a second look, because those are the ones anyone would try first.
And that flip latch on your sliding patio door? Barely a deterrent. Drop a cut-to-length wooden dowel or a metal bar into the floor track so the door can’t budge even if someone beats the latch. Costs a few dollars, takes ten seconds.
3. Secure Garage and Disable Spare Remotes

The garage is the softest door in most houses, and people treat it like an afterthought. A spare remote clipped to a sun visor in a car parked out front is an open invitation. Pull every spare remote and bring it inside, or lock it away.
Most modern openers have a vacation mode or lockout switch on the wall-mounted control panel. Slide it to LOCK and no remote signal will raise that door until you come home. One switch, and a stolen or copied remote is suddenly worthless.
One more thing. Don’t leave the interior garage-to-house door unlocked. If someone gets the overhead door up, that flimsy door is the only thing standing between them and your living room. Deadbolt it like a front door, because it is one.
2. Lock Away Valuables and Documents

The jewelry box on the dresser and the passport drawer by the bed are the first two places anyone looks, for the simple reason that everyone keeps them there. A thief knows your house better than you’d like to believe.
Move irreplaceable documents and small valuables into a locked safe, a bank box, or at the very least somewhere nobody would check first. A fireproof box bolted inside a closet beats a decorative chest sitting out in plain view.
And those passports you’re leaving behind? Lock them away too. A stolen identity outlasts a stolen TV by years.
1. Arm Alarm and Verify Security Cameras
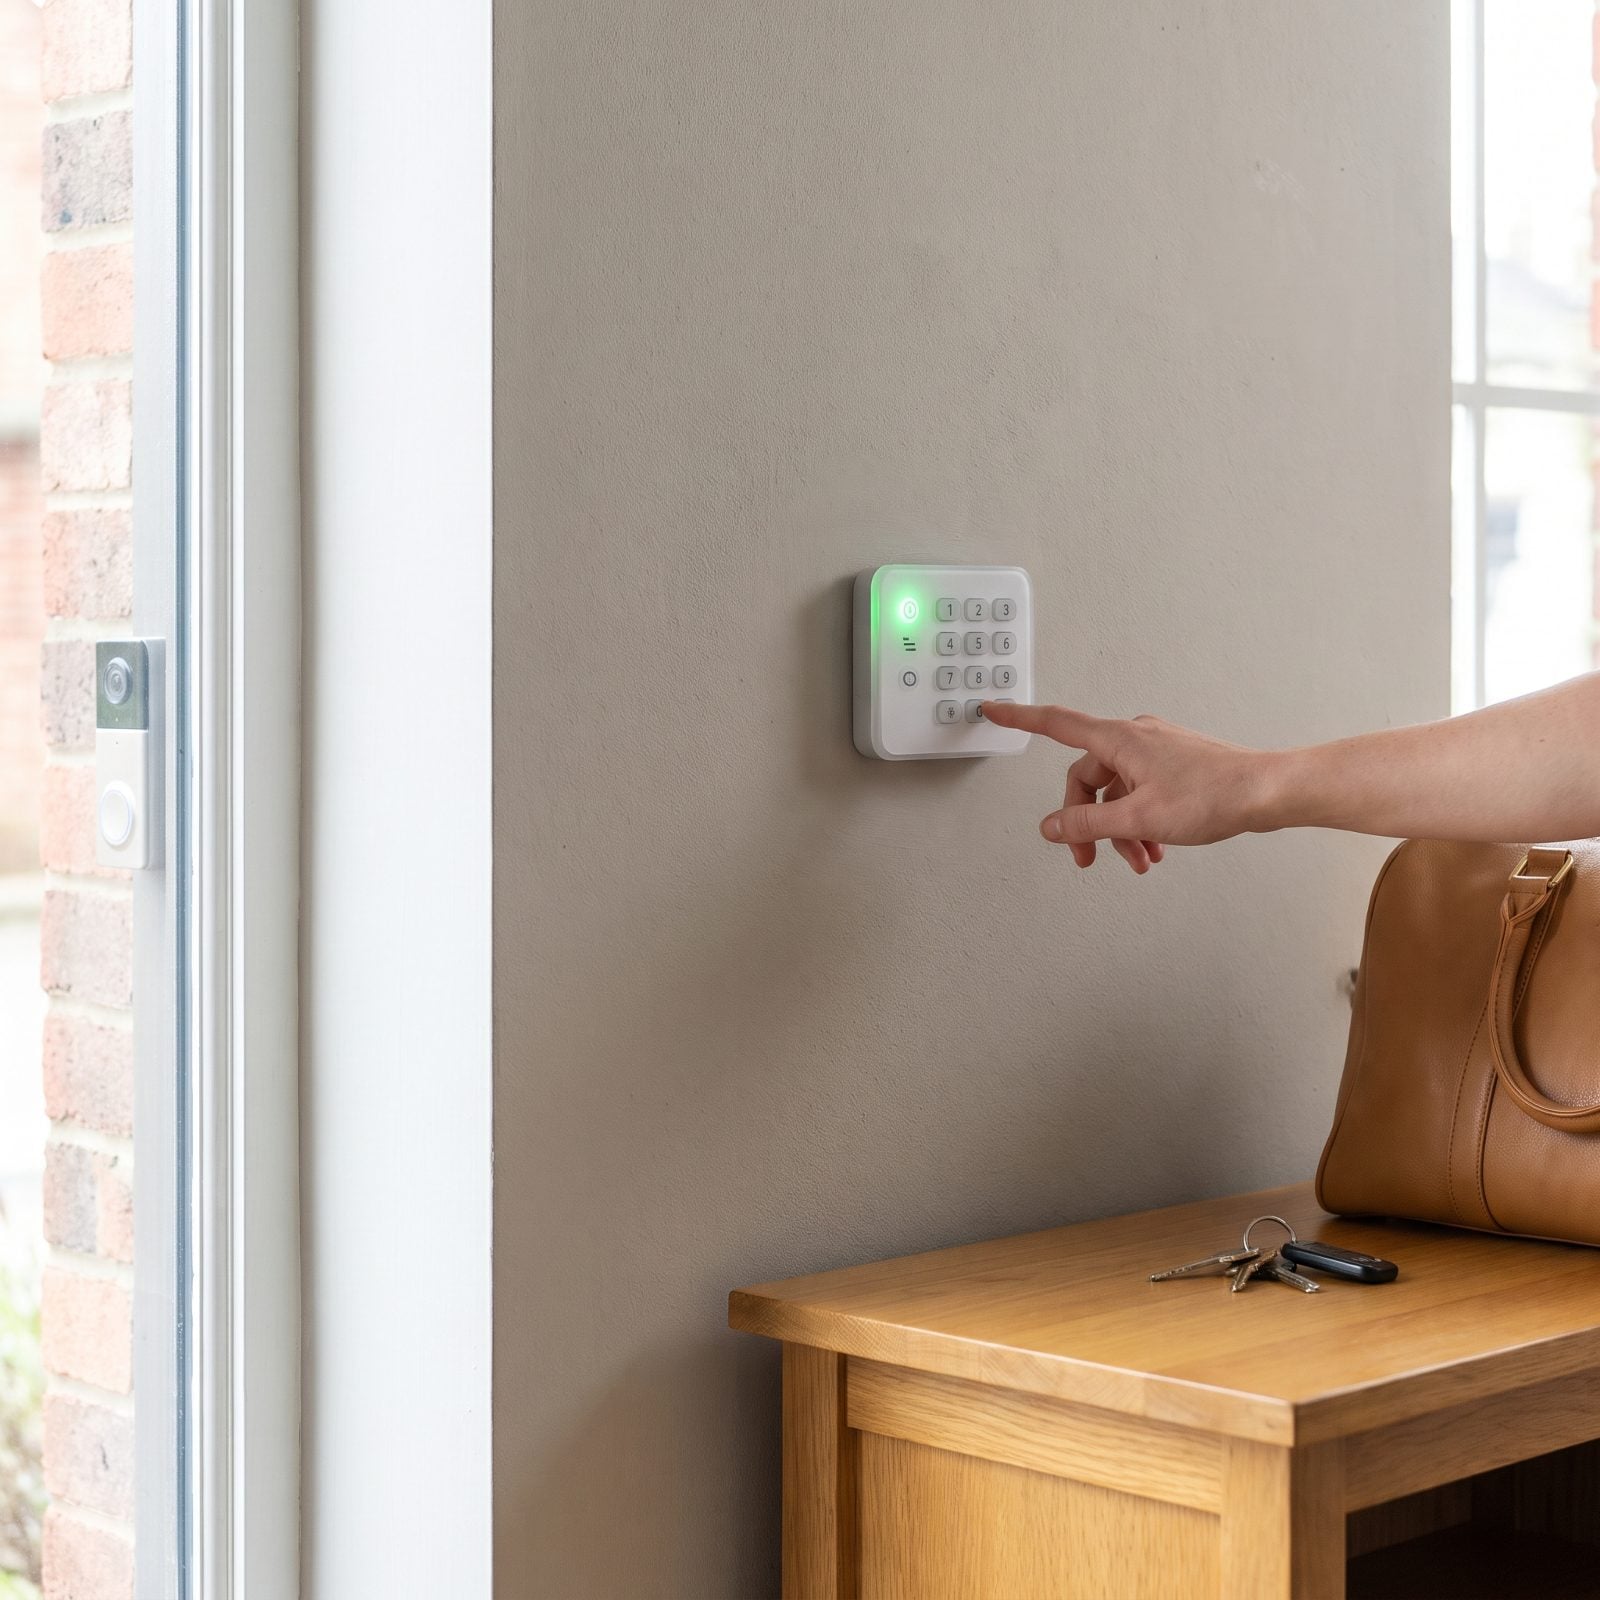
An armed alarm you never tested is just wall decoration. And the last thing you want is to find out the back-door sensor quietly died in March — right about the time you’re a couple thousand miles away with no way to fix it.
Arm the system before you walk out and confirm every door and window sensor reads secure on the panel. See a fault? Fix it now.
Cameras need more than an on-light. Pull up the live feed on your phone, check that the angles still cover the entry points, and make sure motion alerts actually land on your phone instead of vanishing into a settings menu. A camera recording to a feed you can’t watch from the road is doing half a job.
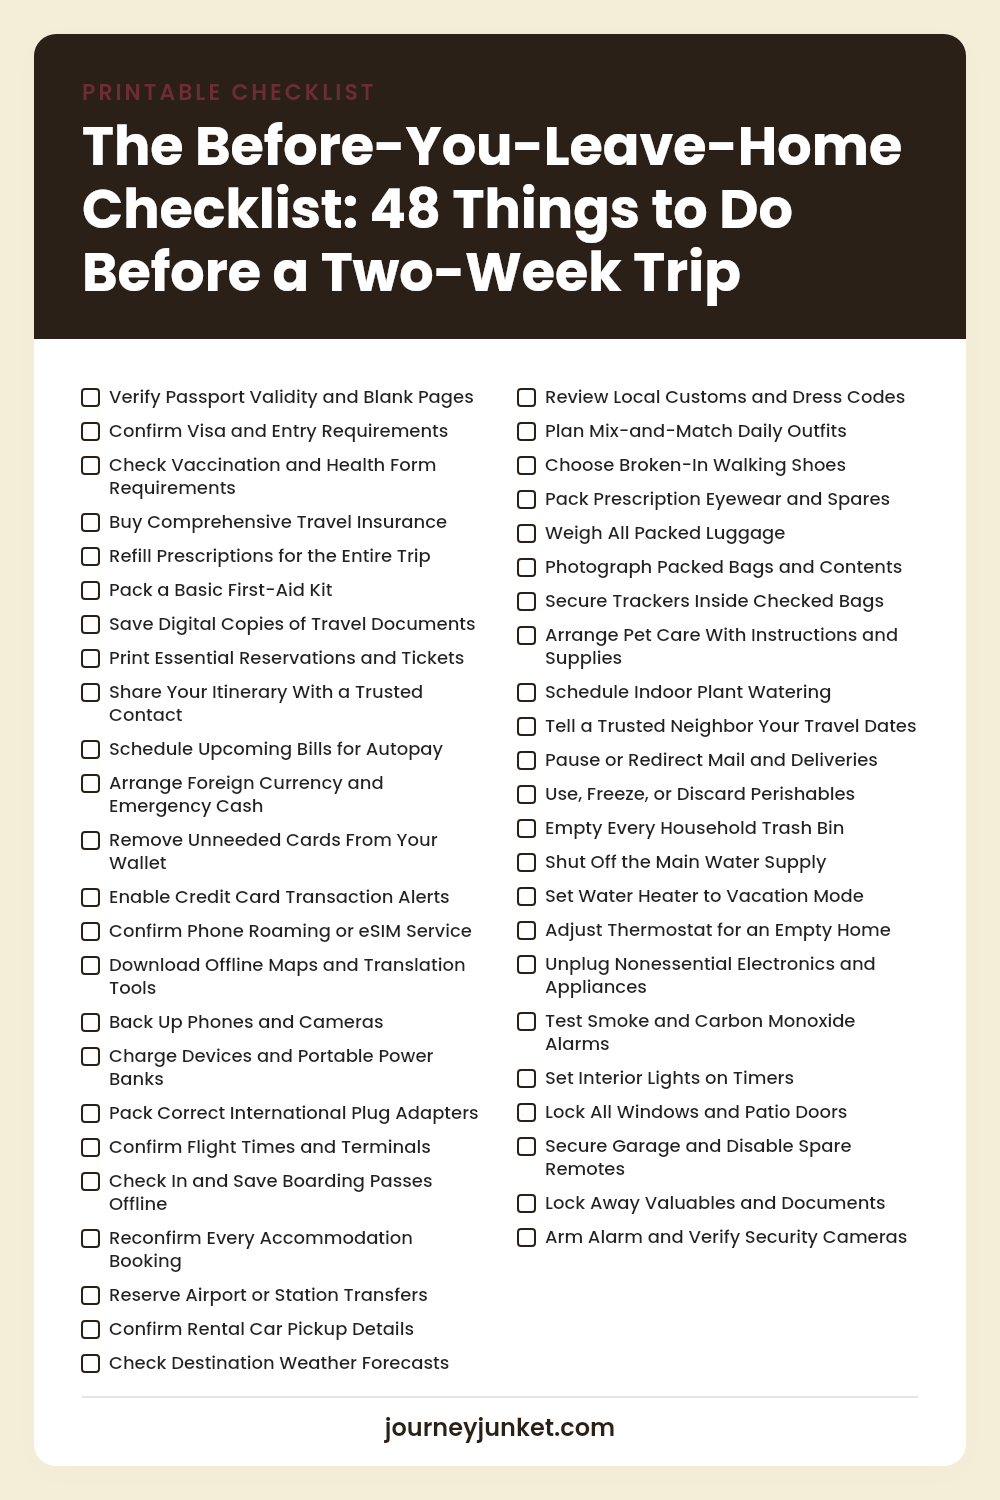
Your Printable Checklist
Save it to Pinterest or print it — every check from the list above on one page.
Please note that some of the imagery in this article were created with the aid of AI image generators.