
🔥 Would you like to save this?
Nobody plans a camping trip expecting to spend the first night fantasizing about their own bed. Yet it happens all the time—and it usually doesn’t start with bad weather, wild animals, or getting lost. It starts with one “smart” gear decision after another that doesn’t reveal itself as a mistake until you’re cold, damp, hungry, exhausted, or lying awake at 2:00 a.m. wondering whose brilliant idea this was.
The cruel part is that most camping gear mistakes look like good decisions when you’re standing in the store or scrolling online reviews. They promise comfort, convenience, or savings, then quietly betray you when you need them most. Before you load up the car or shoulder a backpack, take a look at these 33 camping gear mistakes that have turned countless exciting weekends into long, uncomfortable lessons.
33. The Two-Burner Propane Stove You Bought for a Solo Backpacking Trip
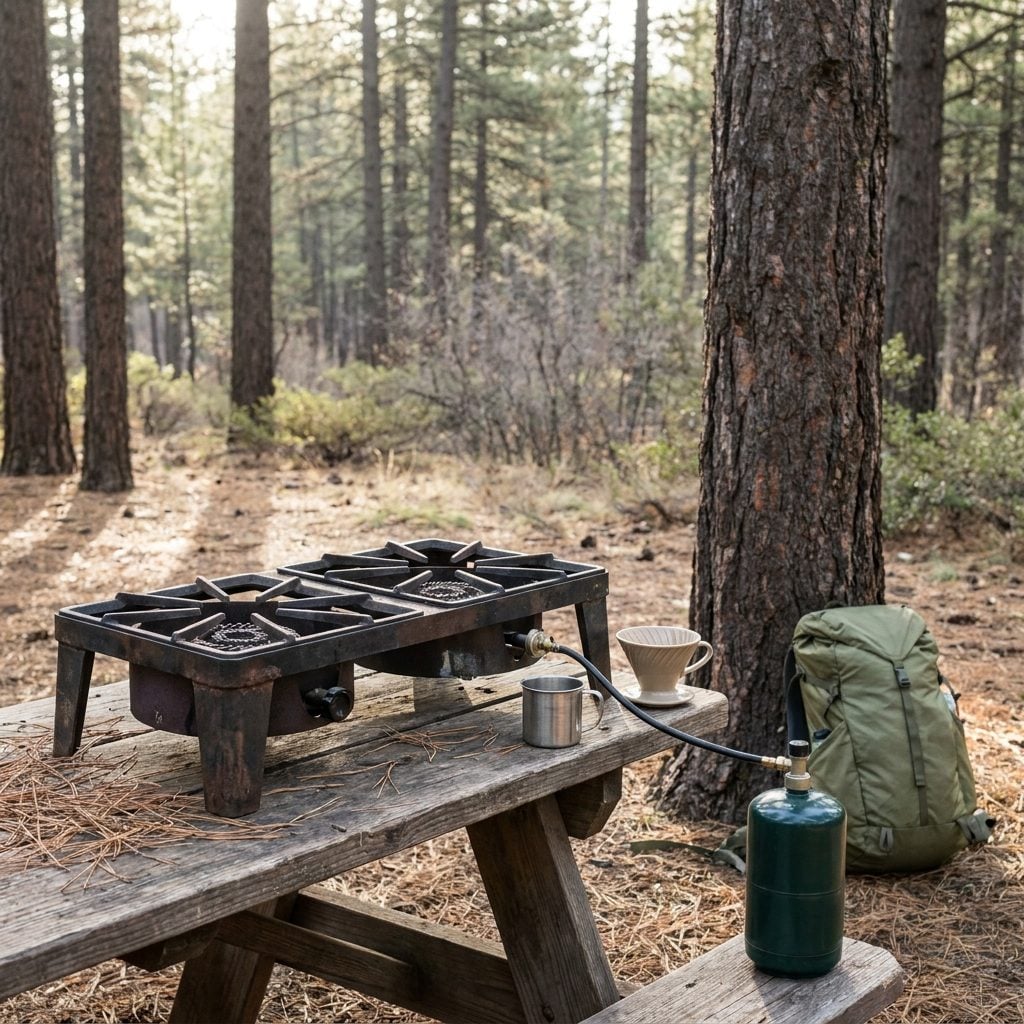
The two-burner propane stove is a great piece of gear. For car camping with four people, a Dutch oven, and a cooler full of food, it earns every ounce. For one person walking six miles in with a pack, it’s a cast-iron anchor you paid $70 for and will never use again.
Solo backpackers need a canister stove the size of a hockey puck, a Jetboil or a simple screw-top burner that runs on the small isobutane canisters. Under four ounces. Boils water in under three minutes. Does the one job a backpacker actually needs. The two-burner stays home where it belongs.
32. Skipping Gaiters Because You Didn’t Know What They Were
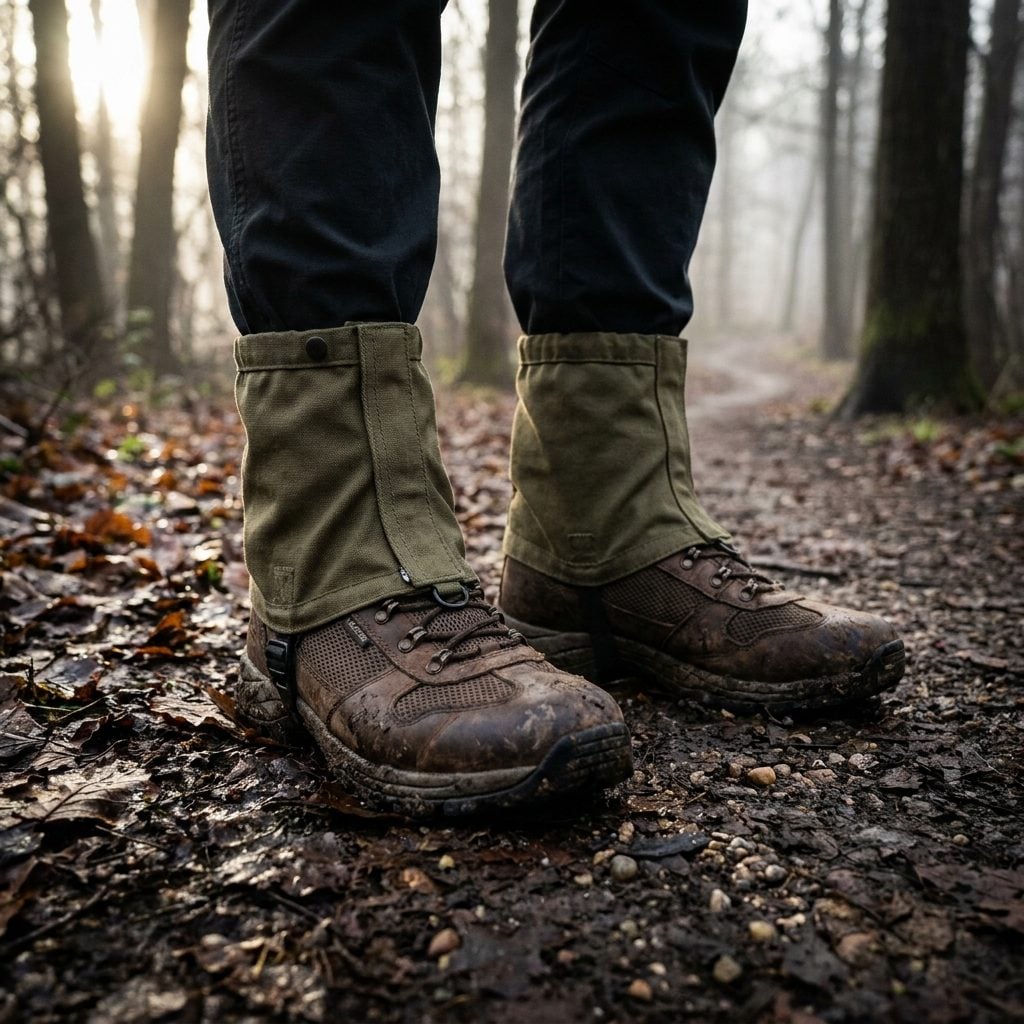
Gaiters are the piece of gear nobody explains and beginners skip entirely. Then they spend a four-mile stretch stopping every twenty minutes to shake gravel, pine needles, and wet debris out of their boots.
Low trail gaiters, the ankle-height ones, not the mountaineering versions, cost around $25 to $40, weigh almost nothing, and snap over the top of any hiking boot. They keep the trail out of your shoes on wet days, brushy trails, and loose scree. One muddy creek crossing and you’ll understand why people who hike a lot never leave without them.
31. Buying a Tarp Instead of a Footprint and Wondering Why the Tent Floor Is Wet
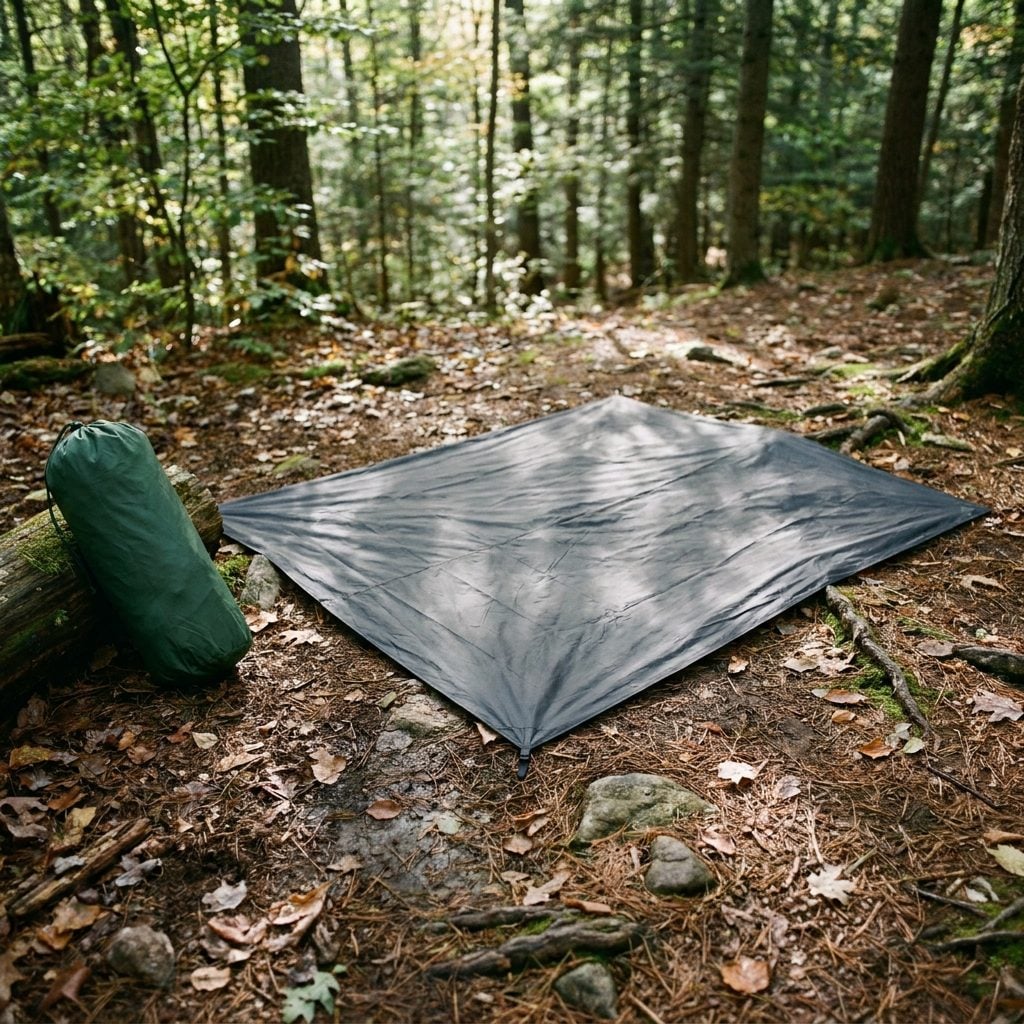
A blue poly tarp folded under the tent seems like the logical budget move. It costs four dollars and feels like the same idea as a footprint. The problem is size. Most beginners cut or fold it wrong, leaving edges sticking out past the tent floor, and those edges funnel rainwater directly underneath you like a collection tray.
A footprint is cut to match your specific tent model, often with corner attachments that keep it from shifting. Your tent floor stays dry, the abrasion from rough ground is absorbed by a replaceable $30 piece of nylon instead of your $300 tent, and you stop waking up in a puddle.
30. Packing a Lantern That Runs on D Batteries You Forgot to Check
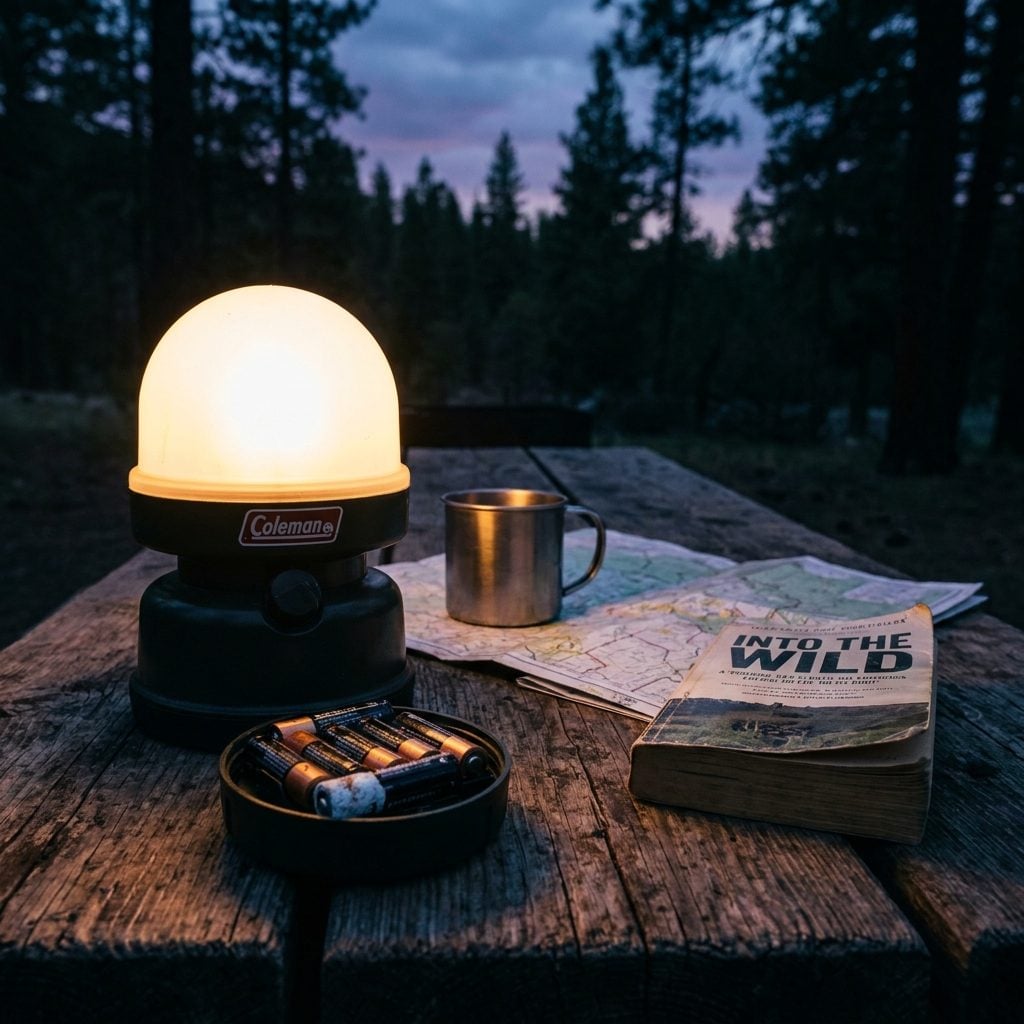
Four D batteries. That’s what the big dome lantern takes, and most beginners don’t think to check until they’re at the trailhead parking lot at 5pm. Dead, corroded, or just missing, one of those three, every time.
USB-rechargeable lanterns have made the battery question mostly irrelevant. A charged lantern lasts two to four nights on a single charge, collapses flat for packing, and can be topped off from the same power bank you’re already carrying for your phone. They cost $20 to $40 and eliminate one more thing to forget.
29. Storing All Your Food in a Single Stuff Sack Hung from the Wrong Tree Branch
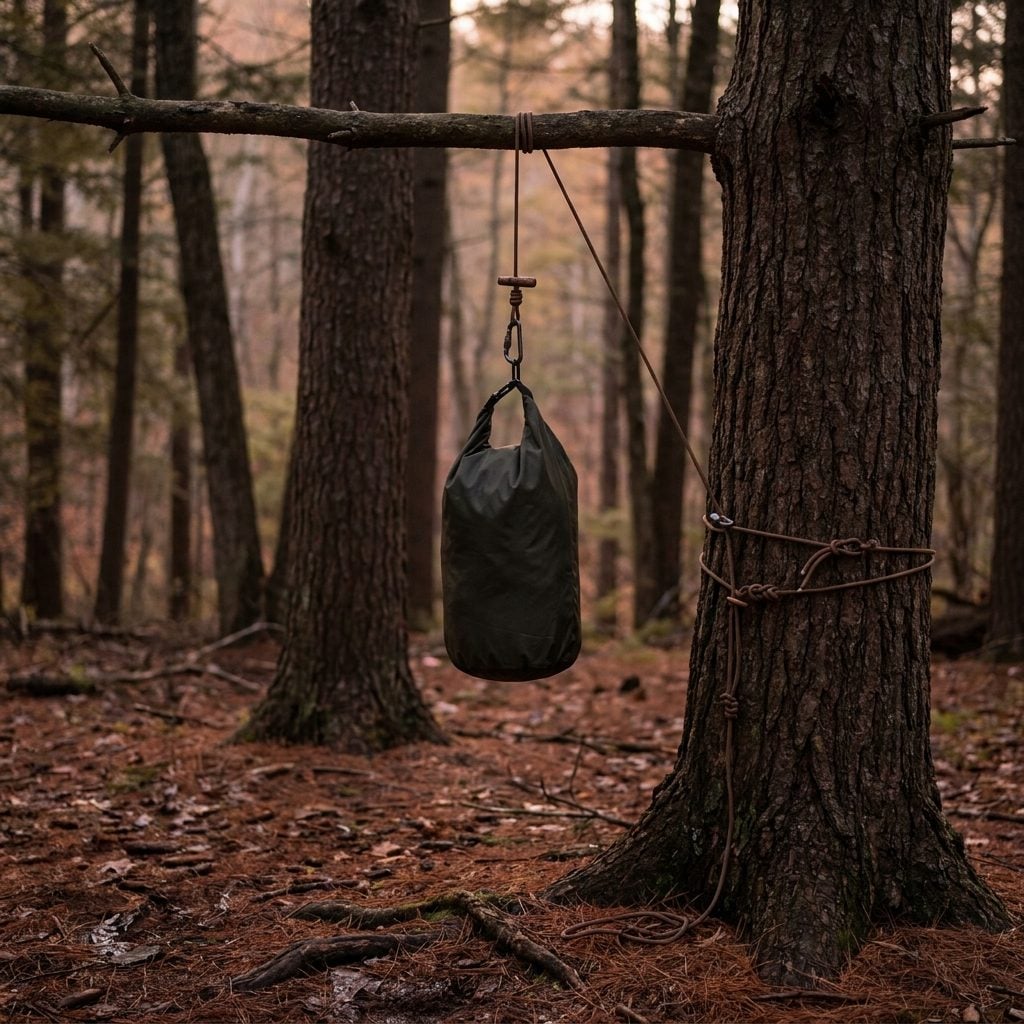
A stuff sack hanging from the nearest branch six feet up is not a bear hang. It is a gift basket. Bears in any campsite with foot traffic know exactly what that shape means, and a branch barely above head height is no obstacle at all for an animal that routinely climbs to get food.
The standard for a proper hang: at least twelve feet off the ground, six feet from the tree trunk horizontally, using the PCT two-tree method or a bear canister entirely. If the campsite has provided bear boxes, use them. The food you protect is your own, and your camp neighbors will appreciate not sharing a bear encounter at 2am.
28. Buying a Sleeping Bag Stuffed in a Compression Sack Before You Check Its Packed Size
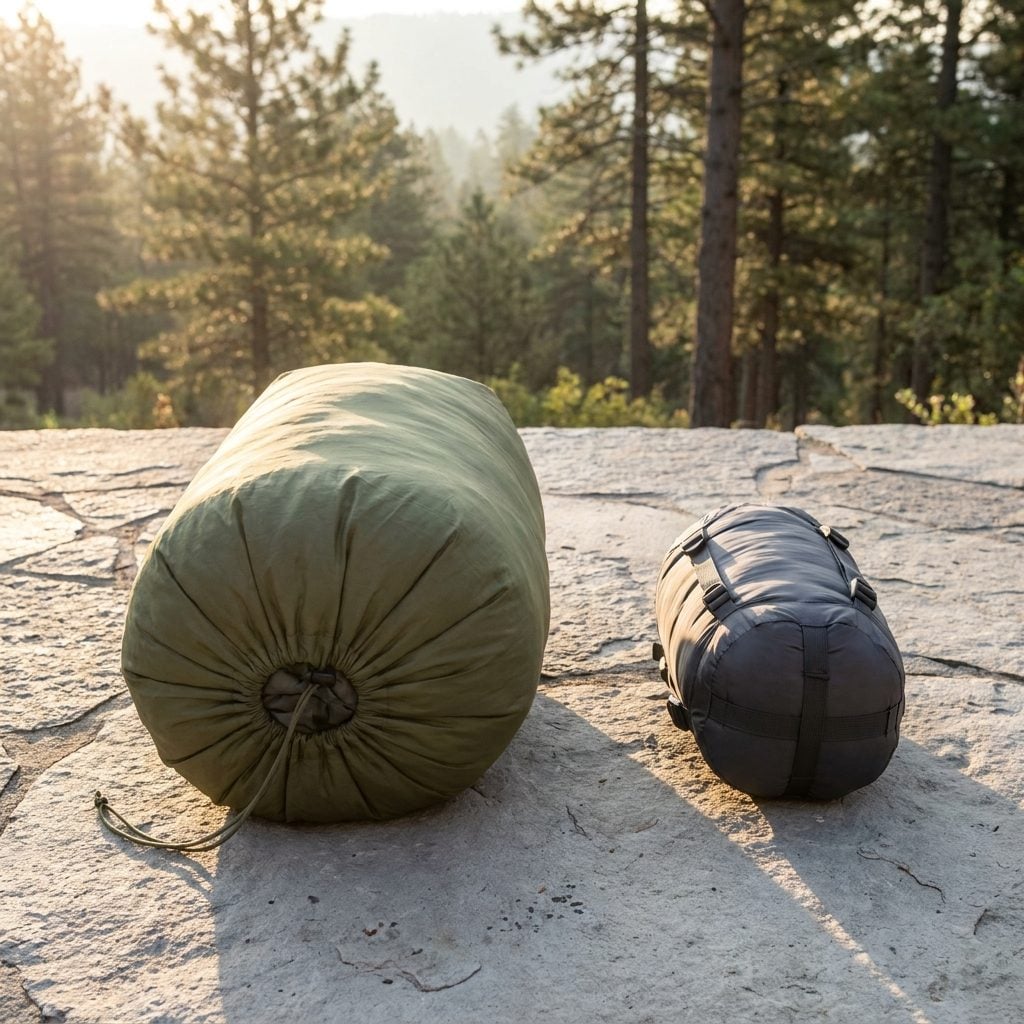
Packed size is the number most beginner gear lists never mention. Temperature rating gets the attention. The fact that a budget synthetic sleeping bag compresses to the size of a carry-on bag does not.
Before buying any sleeping bag for backpacking, check the compressed dimensions. A quality down bag at a 20-degree rating should pack down to roughly the size of a Nalgene bottle. Synthetic bags rated the same temperature run two to three times larger. Neither is wrong, synthetic handles moisture better, but you need to know which tradeoff you’re making before you try to close your pack lid with a sleeping bag the size of a basketball inside it.
27. Assuming Your Water Filter Works the Same at 35 Degrees as It Does at 65

Squeeze filters and pump filters share a vulnerability beginners don’t find out about until it matters: freezing destroys the ceramic membrane. Sleep with a Sawyer Squeeze in your tent’s outer pocket on a 30-degree night, try to filter water in the morning, and you now have a $40 piece of plastic that moves water and removes nothing.
In cold conditions, sleep with the filter body inside your sleeping bag. Or carry chemical treatment as a backup, iodine tablets or Aquatabs weigh almost nothing and work at any temperature. Both plans cost you almost nothing. Replacing a failed filter mid-trip costs you everything.
26. Packing Your First Aid Kit Without Knowing What’s in It
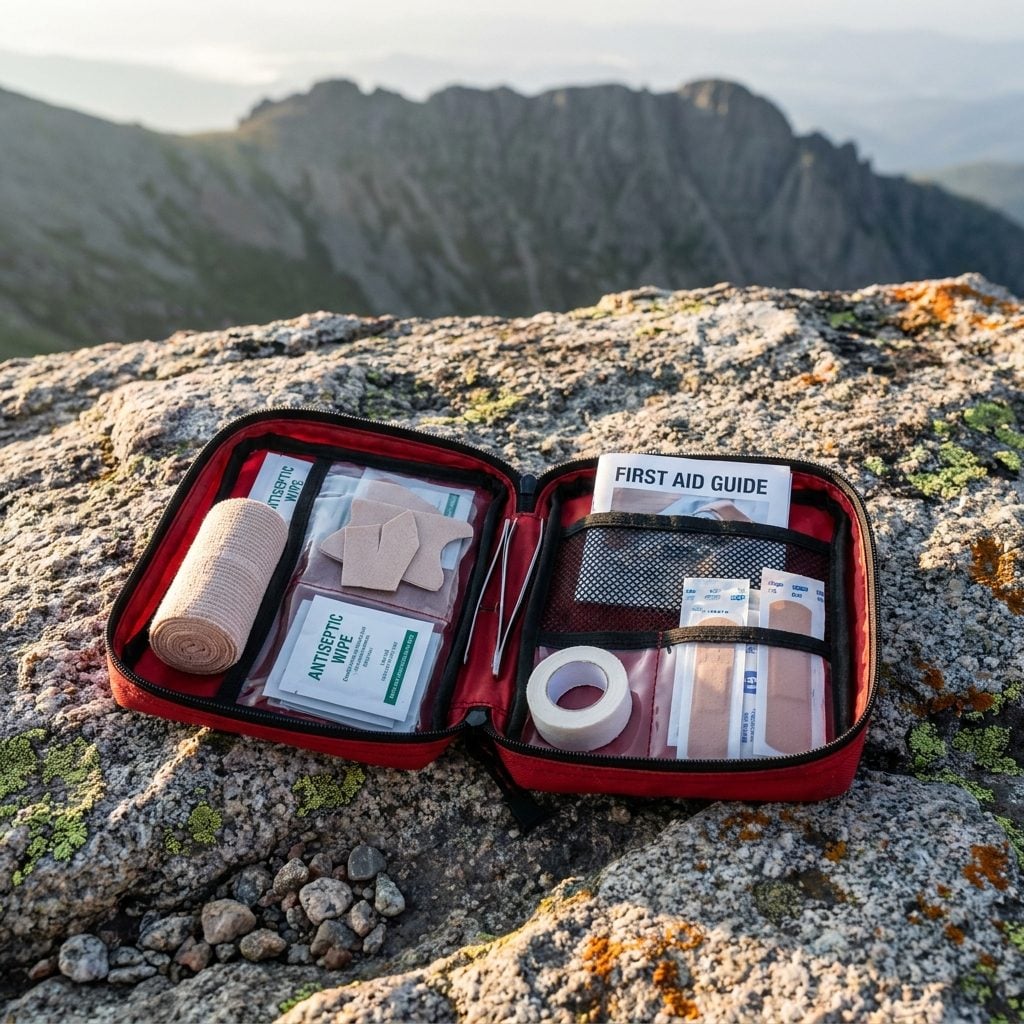
Most beginners buy the $18 prepackaged first aid kit, drop it in the pack, and never open it. It becomes security theater. When blisters appear at mile three or a cut needs cleaning at mile seven, they’re digging through unfamiliar foil packets trying to figure out which one is the antibiotic ointment.
Open the kit before you leave home. Know where everything is. Supplement what’s missing: moleskin for blisters, SAM splint if you’re going remote, any personal medications. A first aid kit you’ve never looked at is almost the same as no kit at all, except heavier.
25. The Bargain Headlamp That Dies on the Trail at Midnight
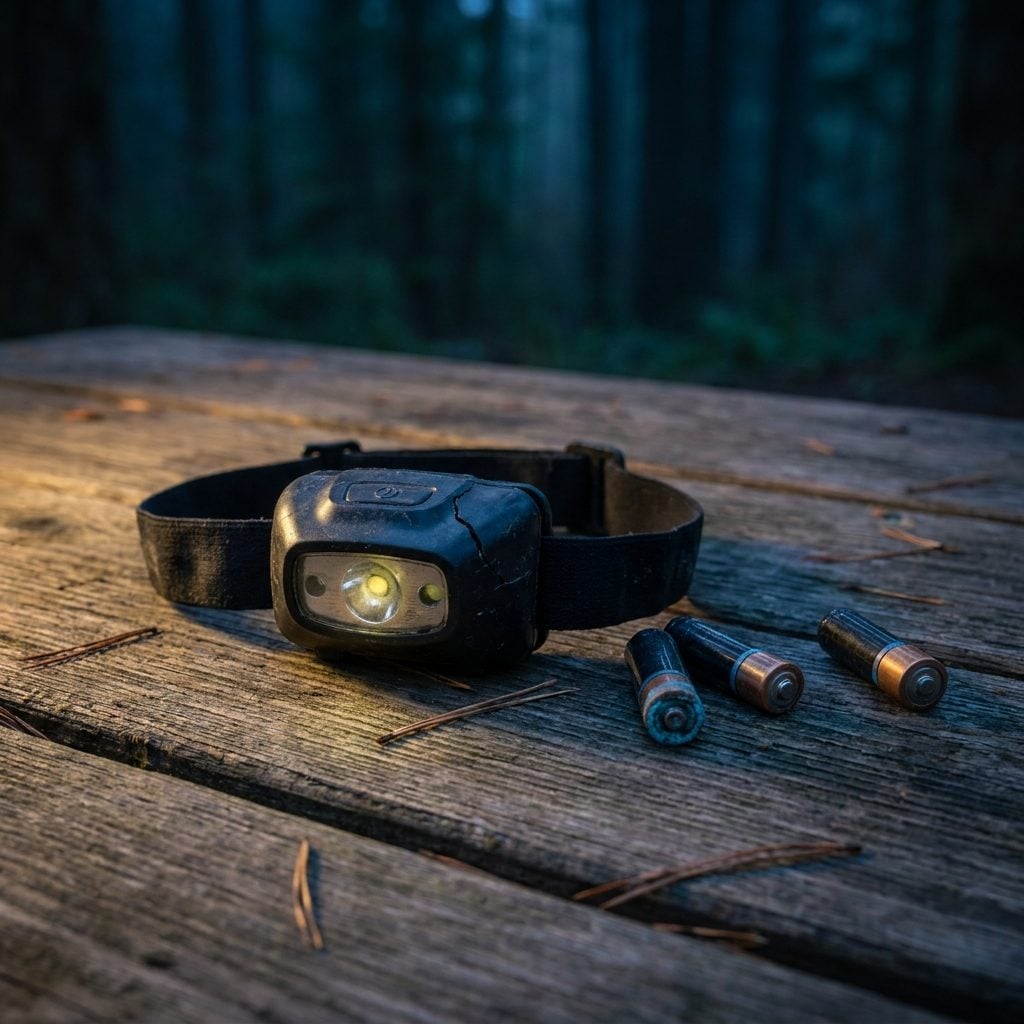
A five-dollar headlamp looks like a headlamp. It has a strap. It has a button. It produces something that technically qualifies as light. What it does not have is the output to read a map, find a tent zipper, or navigate a trail without squinting at the ground like you’re looking for a lost contact lens.
Cheap lamps run on AAA batteries that drain in two hours and produce maybe 30 lumens of yellowish nothing. A rechargeable LED headlamp in the 200-to-400-lumen range costs $25 to $40 and lasts a full night on one charge. That’s the one to buy first, not after the first bad night.
24. Sleeping Bag Temperature Ratings You Took at Face Value
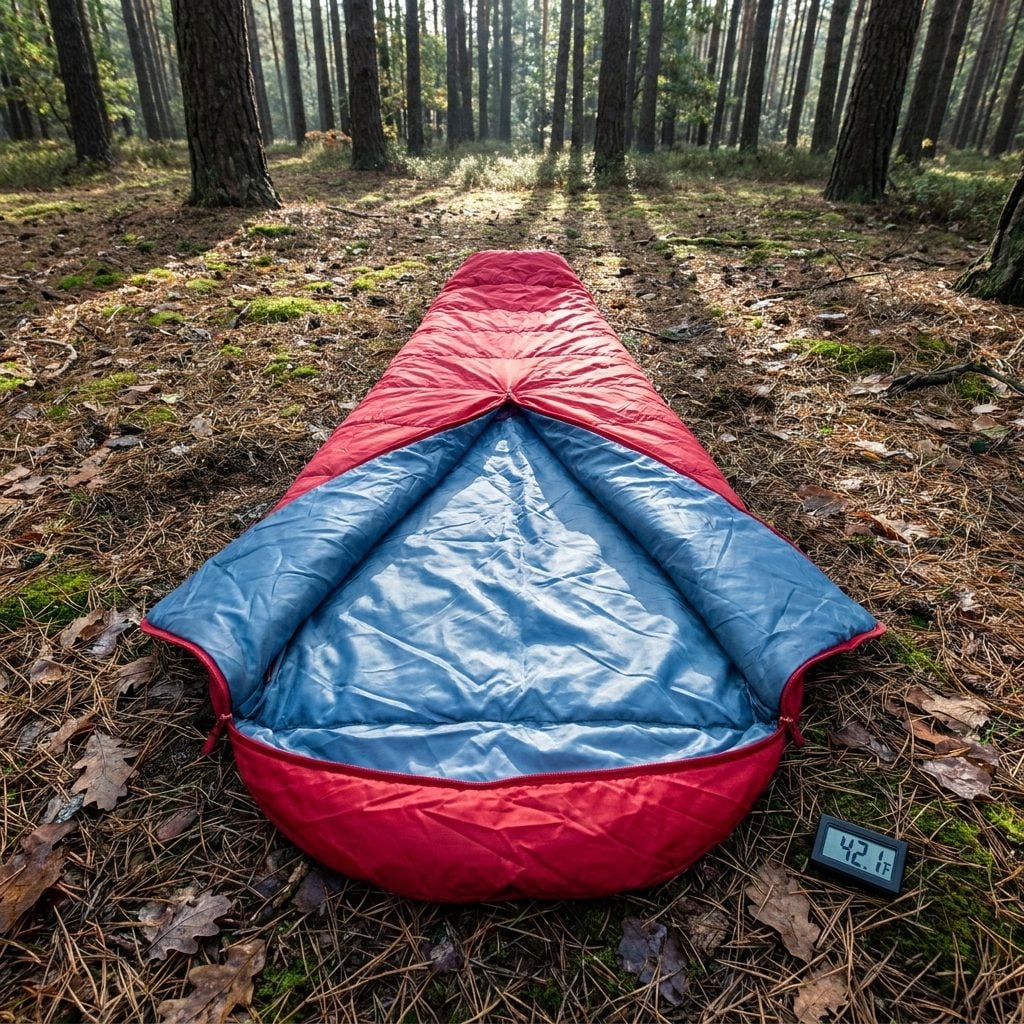
Here is what the temperature rating on a sleeping bag actually means: that rating is the lowest temperature at which an average person will survive the night without hypothermia. It does not mean comfortable. It does not mean warm. It means alive.
A bag rated to 40°F will leave most people shivering at 45°F. The fix is straightforward, buy a bag rated 10 to 15 degrees colder than the lowest temperature you expect to encounter. A mummy-style sleeping bag rated to 20°F covers nearly every three-season camping scenario and doesn’t cost much more than the bag that leaves you miserable.
23. Cotton Base Layers Because They Were Already in the Drawer
🔥 Would you like to save this?
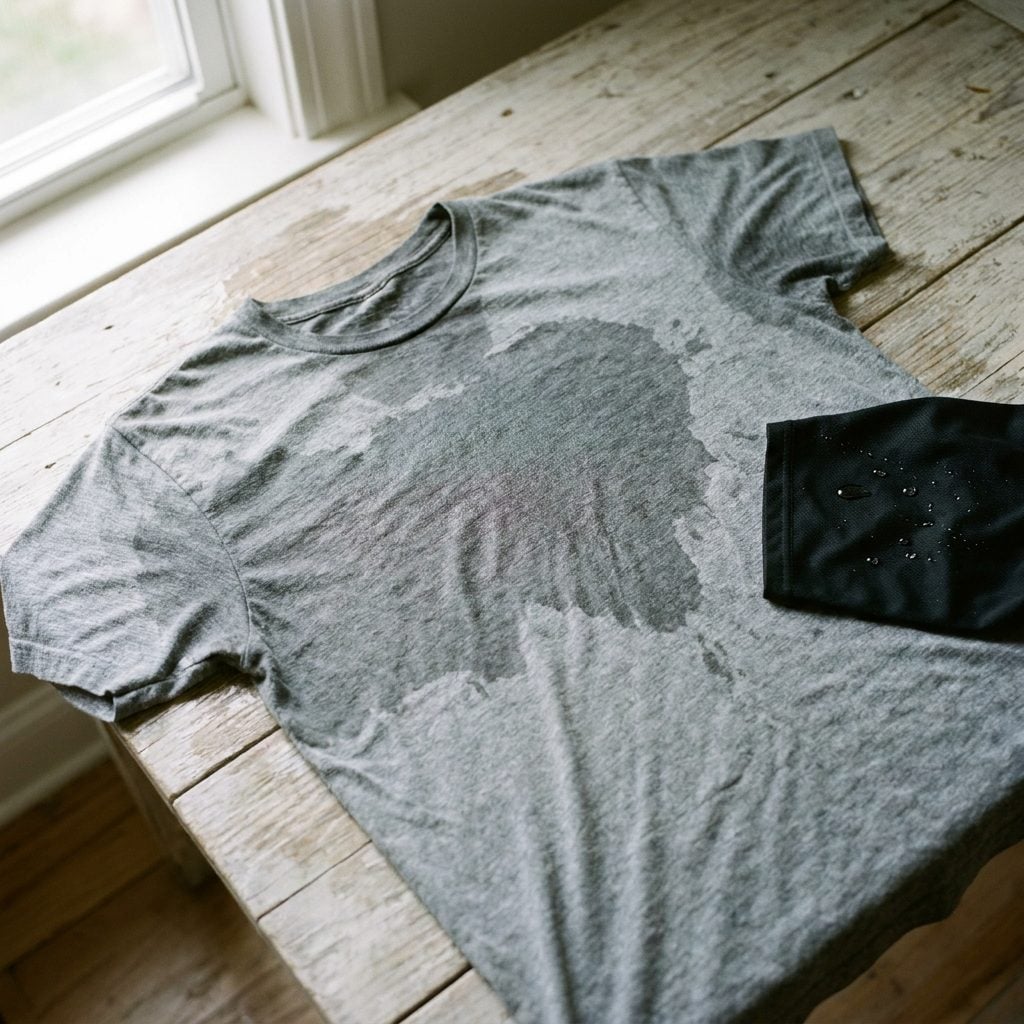
Cotton is comfortable. Cotton breathes. Cotton has exactly one job it refuses to do: dry out. Once it’s wet, from rain, from a creek crossing, from two miles of uphill, it stays wet, and wet cotton against skin in moving air is how a 55-degree day becomes genuinely dangerous.
The replacement is a merino wool base layer or a synthetic moisture-wicking shirt. Both dry fast. Merino also resists odor well enough to wear multiple days without anyone noticing. Neither feels like a sacrifice once you’ve been in wet cotton once.
22. The Giant External Frame Pack for a Two-Night Trip
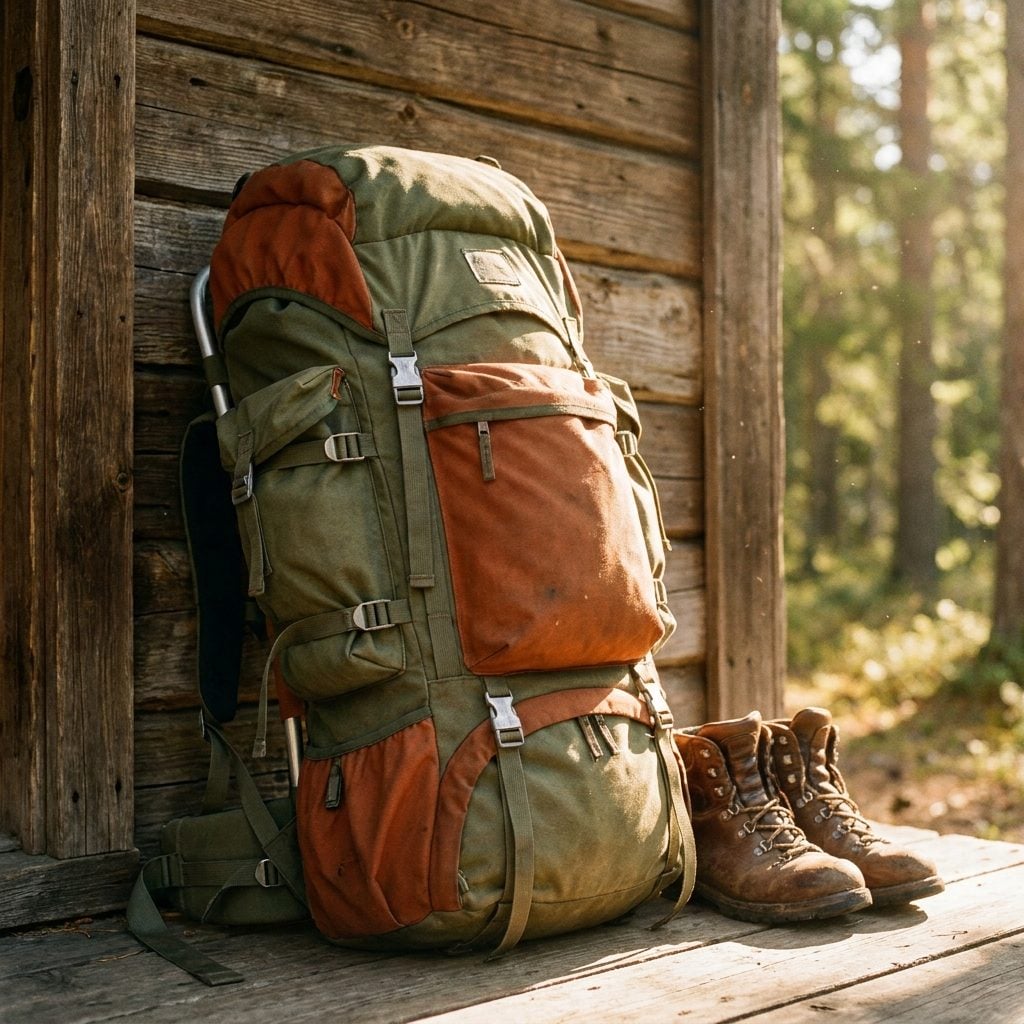
The logic makes sense at the store: a bigger pack means more room, more room means you can bring everything you need, and everything you need sounds like a good idea. What actually happens is you fill whatever space exists, and then you carry all of it.
A 65-liter external frame pack loaded for a two-night trip weighs somewhere between 45 and 60 pounds by the time most beginners are done. A 35-liter hiking pack forces better decisions and sits close to the body, which means the weight you do carry is balanced where your legs can actually handle it.
21. Skipping the Sleeping Pad Because the Bag Was Expensive
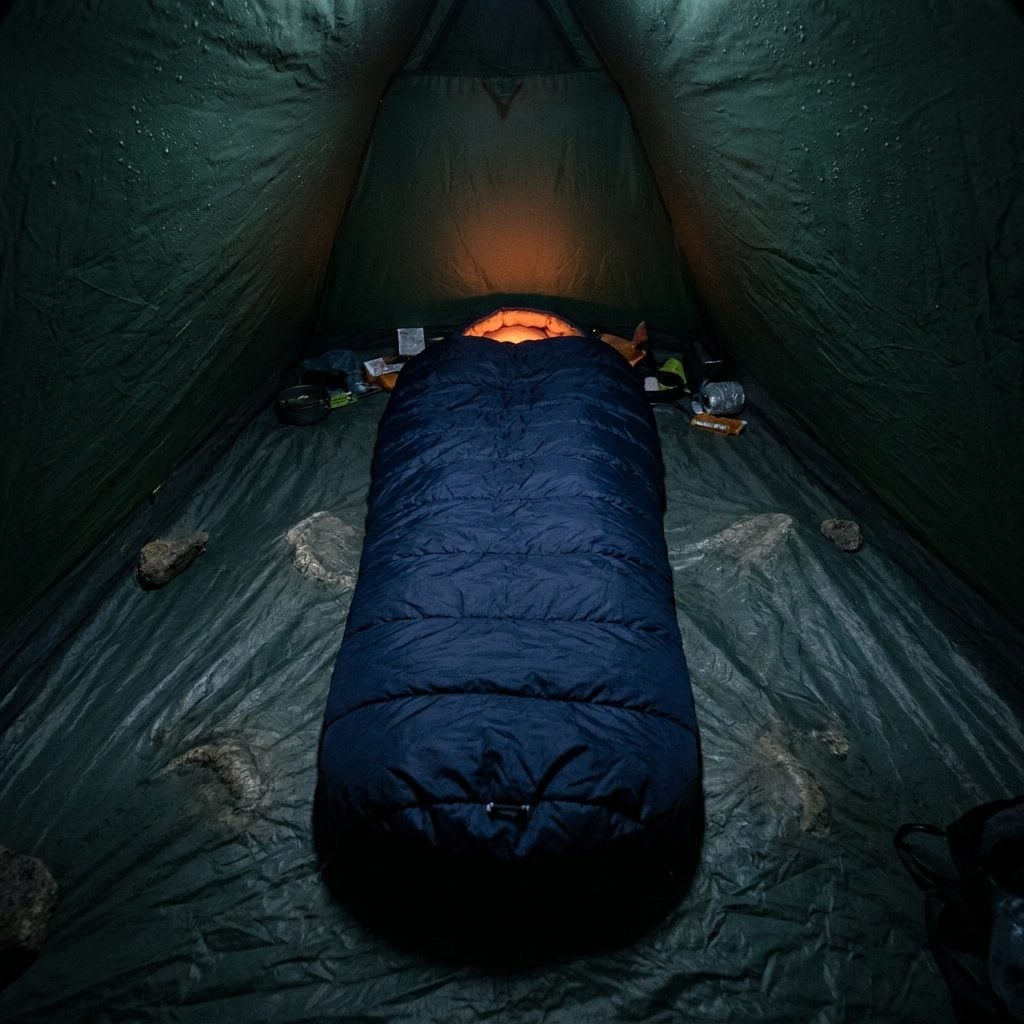
A sleeping bag insulates you from cold air. It does almost nothing for cold ground, because the insulation underneath you compresses flat under body weight and stops working. The earth pulls heat from the body far faster than air does. You can have the warmest bag on the market and still sleep miserably if you’re laying on bare tent floor.
A closed-cell foam sleeping pad costs $20 and solves this completely. An inflatable sleeping pad adds comfort on top of warmth. Either one matters more to a good night’s sleep than the brand name on the bag above it.
20. A Rain Jacket That Hasn’t Been Water-Resistant Since 2019
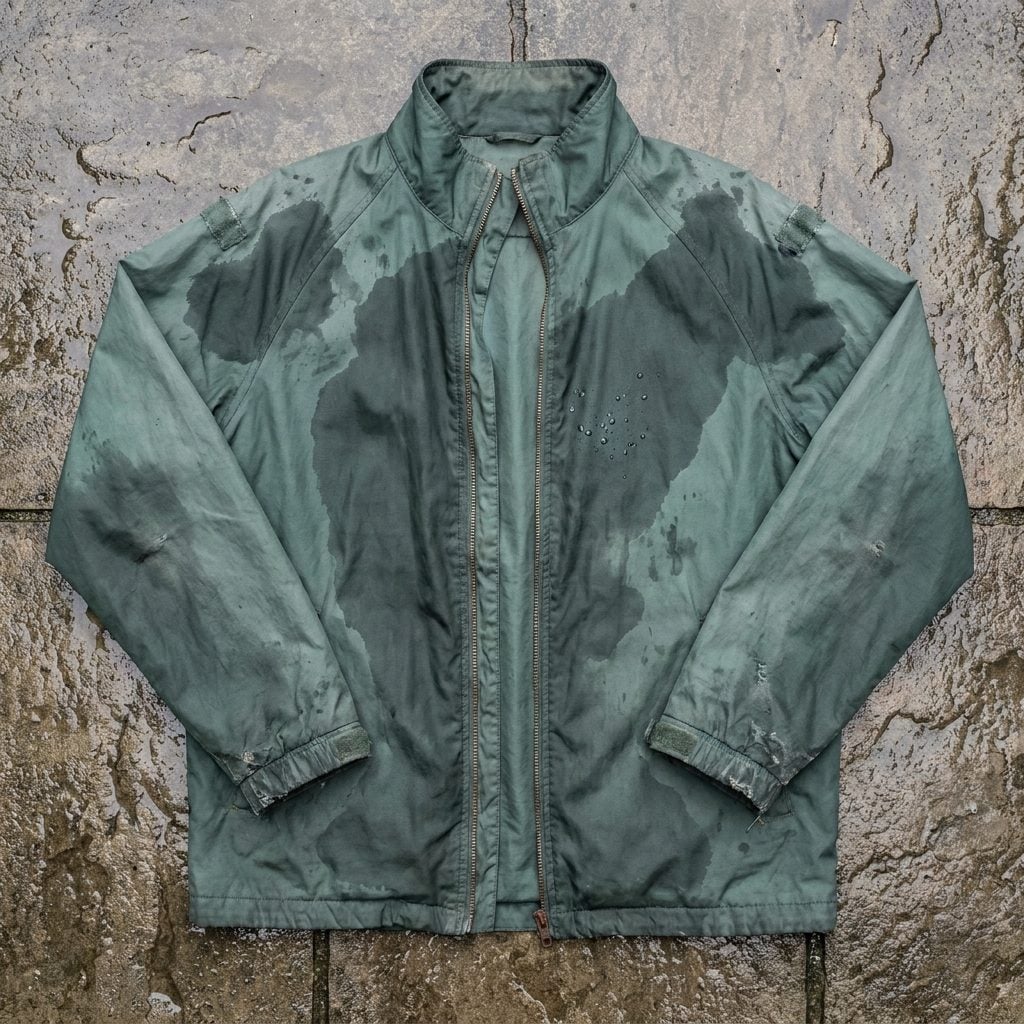
Most rain jackets rely on a DWR coating, durable water repellent, that wears off over time and with washing. When it goes, water stops beading and starts soaking into the face fabric, which means the jacket gets heavy, the breathability drops, and you’re wearing something closer to a wet towel than a shell.
Before the next trip, hold a jacket under water and watch what happens. If it soaks instead of beads, a $10 can of DWR spray waterproofing restores the coating in twenty minutes. Do it once a season and the jacket performs like new indefinitely.
19. Camp Shoes That Are Just Old Running Sneakers with No Grip Left
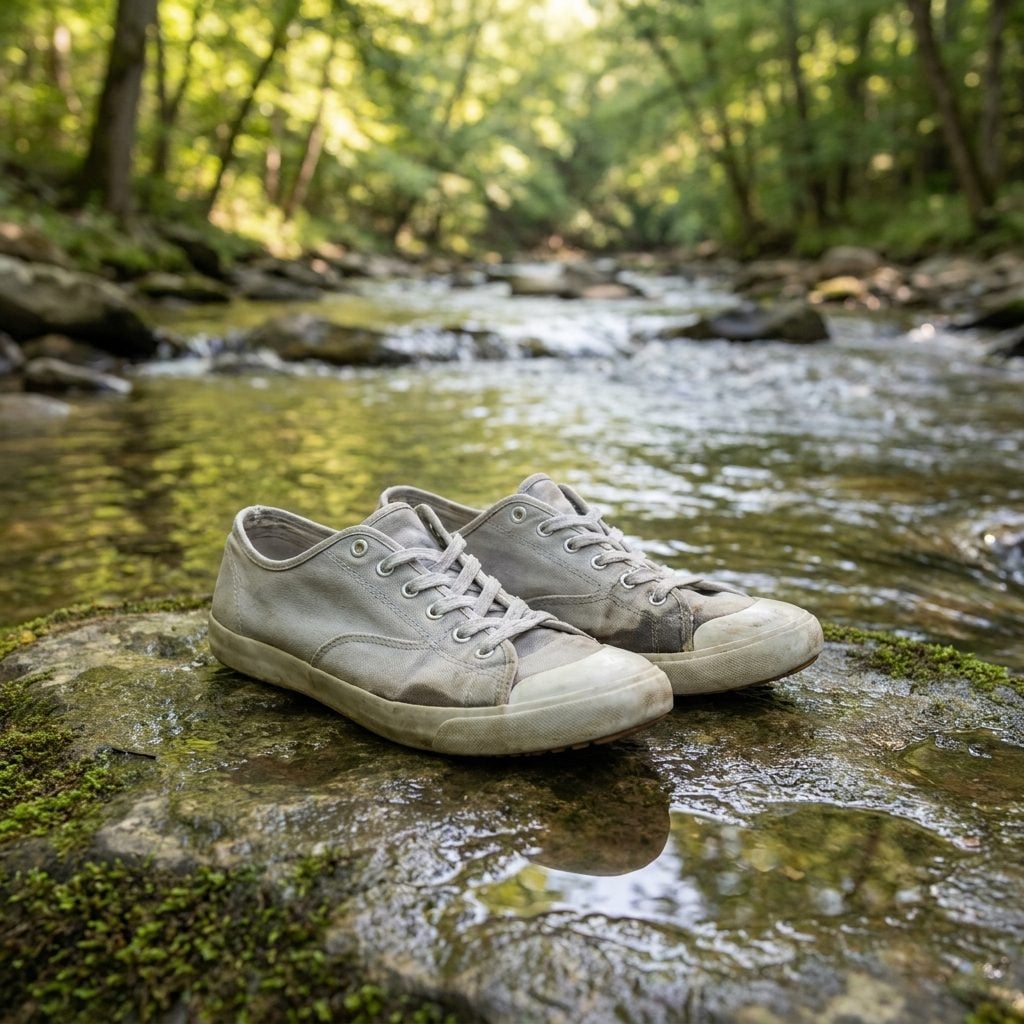
Worn-out sneakers feel like a sensible choice, they’re already ruined, so it doesn’t matter if they get wrecked. The problem isn’t the ruining. It’s the traction, or the total absence of it, on wet rocks, creek crossings, muddy approaches to fire rings at 6am.
A pair of outdoor camp sandals with a lugged sole costs $30 to $50 and handles everything a campsite throws at them: stream crossings, wet grass, rocky ground, and the late-night bathroom run in the dark. They also pack flat in a side pocket, which old sneakers do not.
18. Forgetting That Cookware Set Doesn’t Include a Way to Light the Stove
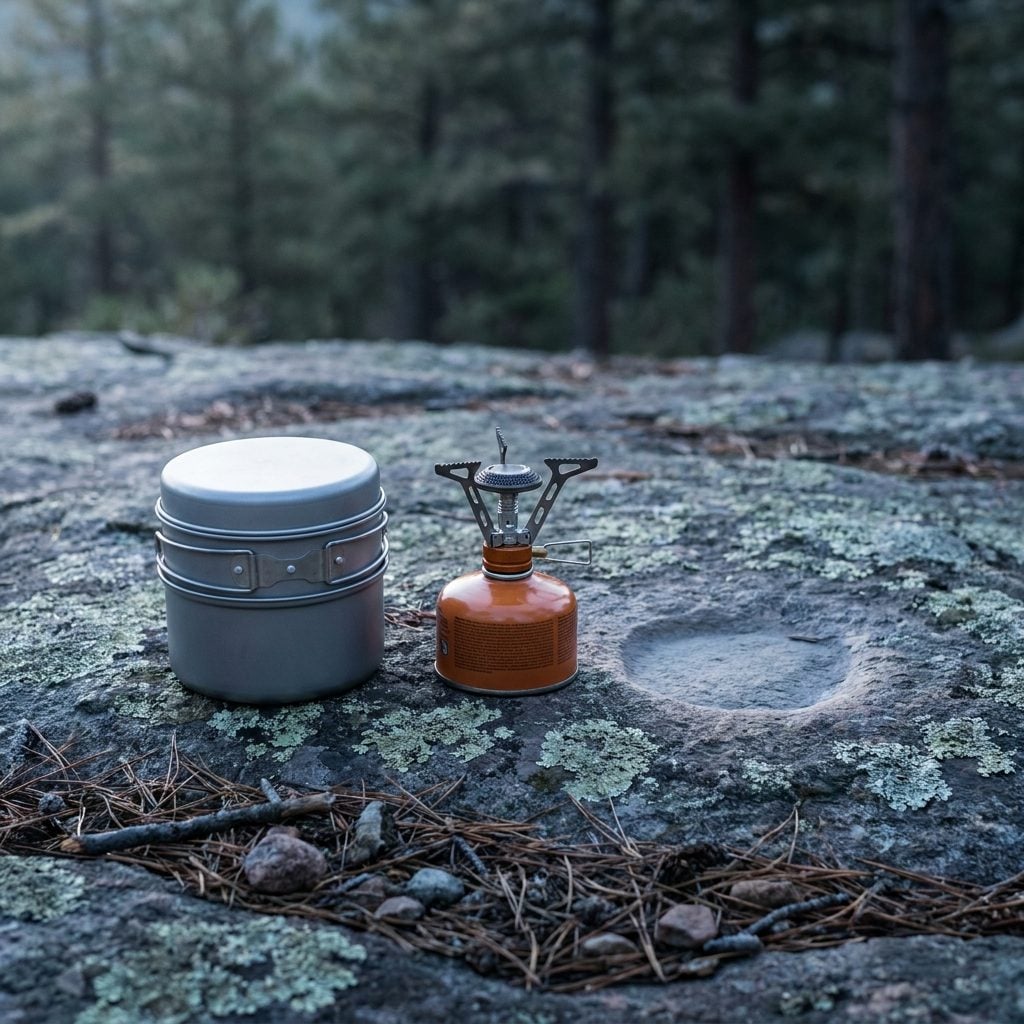
This one happens to almost everyone exactly once. The stove is right there. The fuel canister is threaded on. The cookware is out. The coffee is measured. And there is no lighter, no matches, and no way to produce fire within a half-mile radius.
Keep a waterproof match case clipped to your pack and a windproof lighter in your hip belt pocket as backup. Two fire sources. Never one. And store them separately so losing the pack doesn’t mean losing both.
17. The Ultralight Tarp Shelter You Bought Without Practicing the Setup
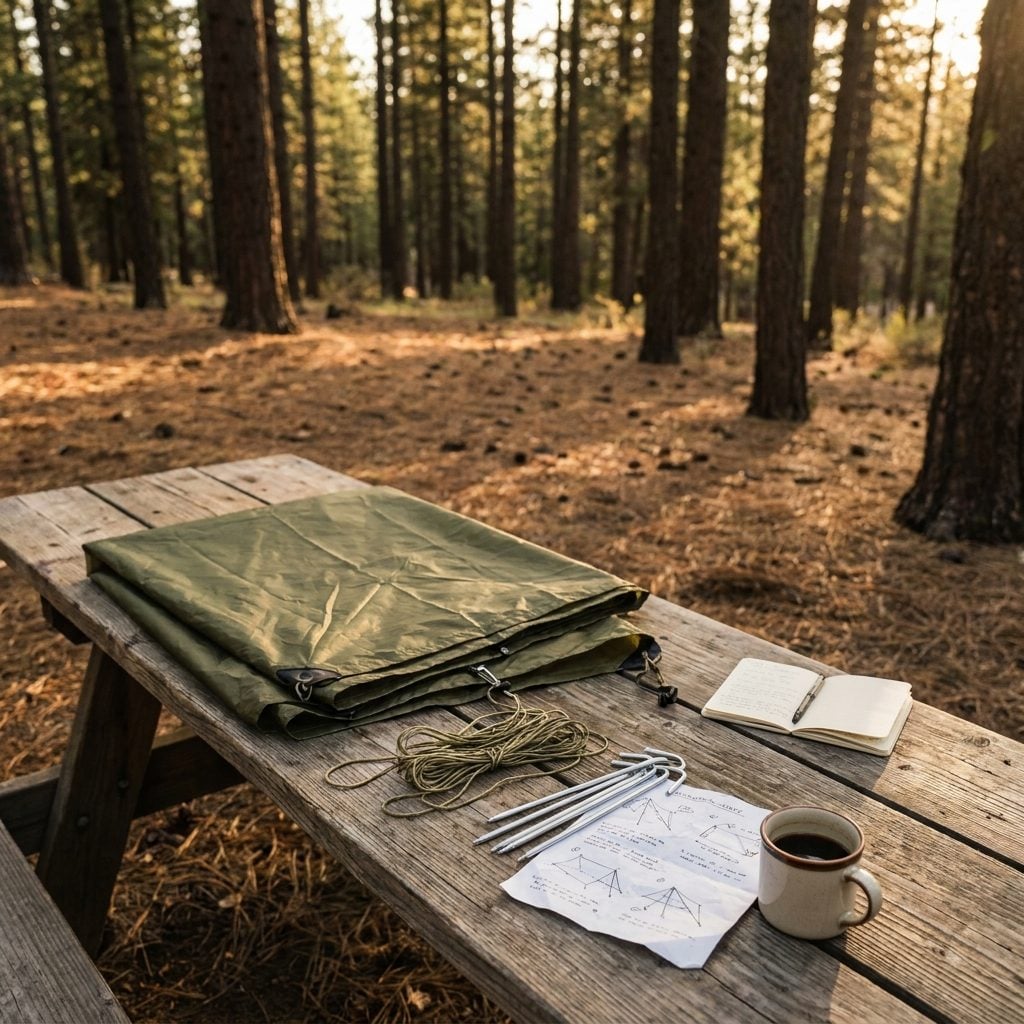
It looked so simple in the YouTube video. Twelve minutes, three anchor points, weatherproof shelter. Then you’re standing in a darkening campsite with a tangle of guylines that somehow has no obvious starting point, and the sky is doing something you don’t like.
A tarp shelter has a steep learning curve that disappears entirely if you practice in the backyard first. Rig it three or four times at home, in daylight, without rain coming. Learn which anchor goes first, how tight the ridgeline needs to be, and where the low points will pool water. The technique has to be in your hands before you need it in the dark.
16. Packing Three Layers of Fleece and Zero Wind Protection
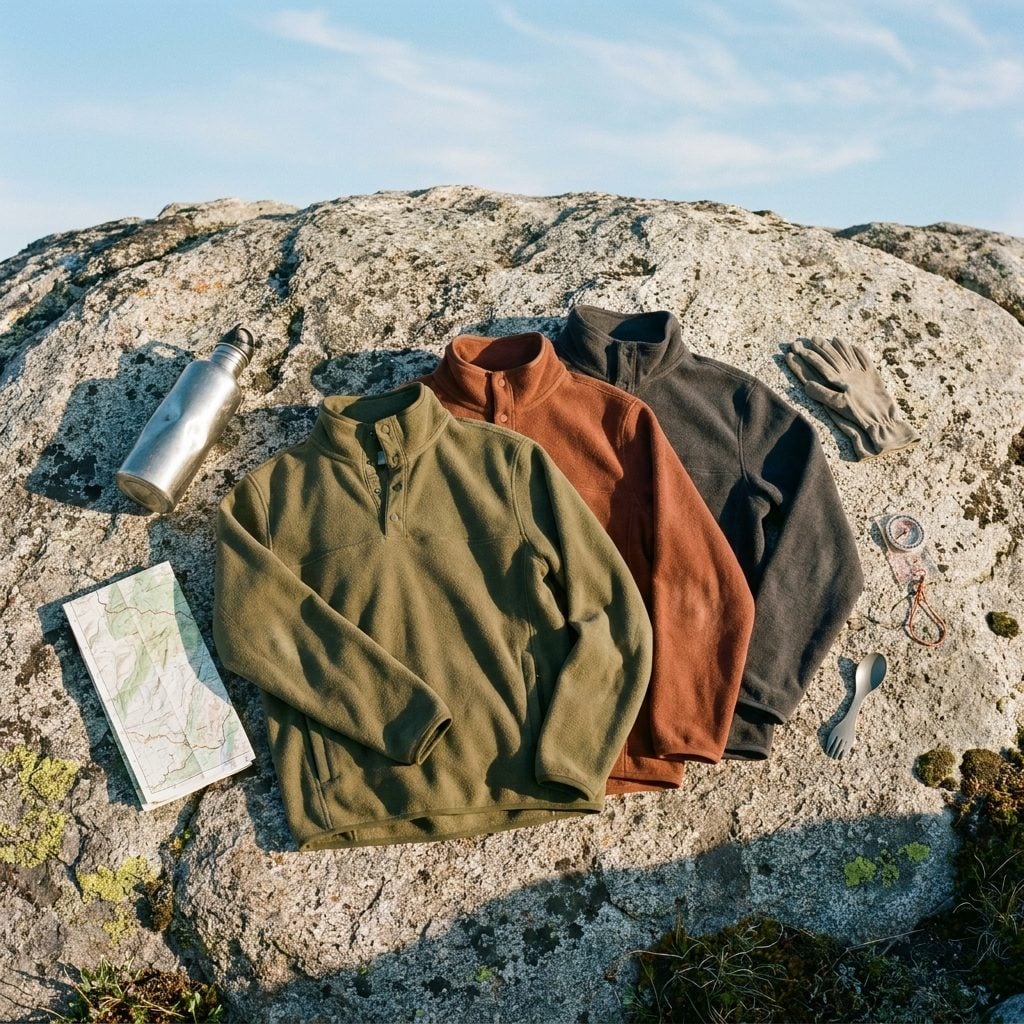
Fleece is warm. Fleece in thirty-mile-an-hour ridge wind is a very efficient way to lose body heat in all directions at once. Fleece insulates by trapping air, and wind simply removes that air.
A windshell that weighs four ounces and compresses to the size of a sandwich solves this completely. Pack one layer of fleece and one hardshell or lightweight windshell jacket instead of stacking three of the same thing. You stay warmer with less weight and less bulk. The combination matters more than the quantity.
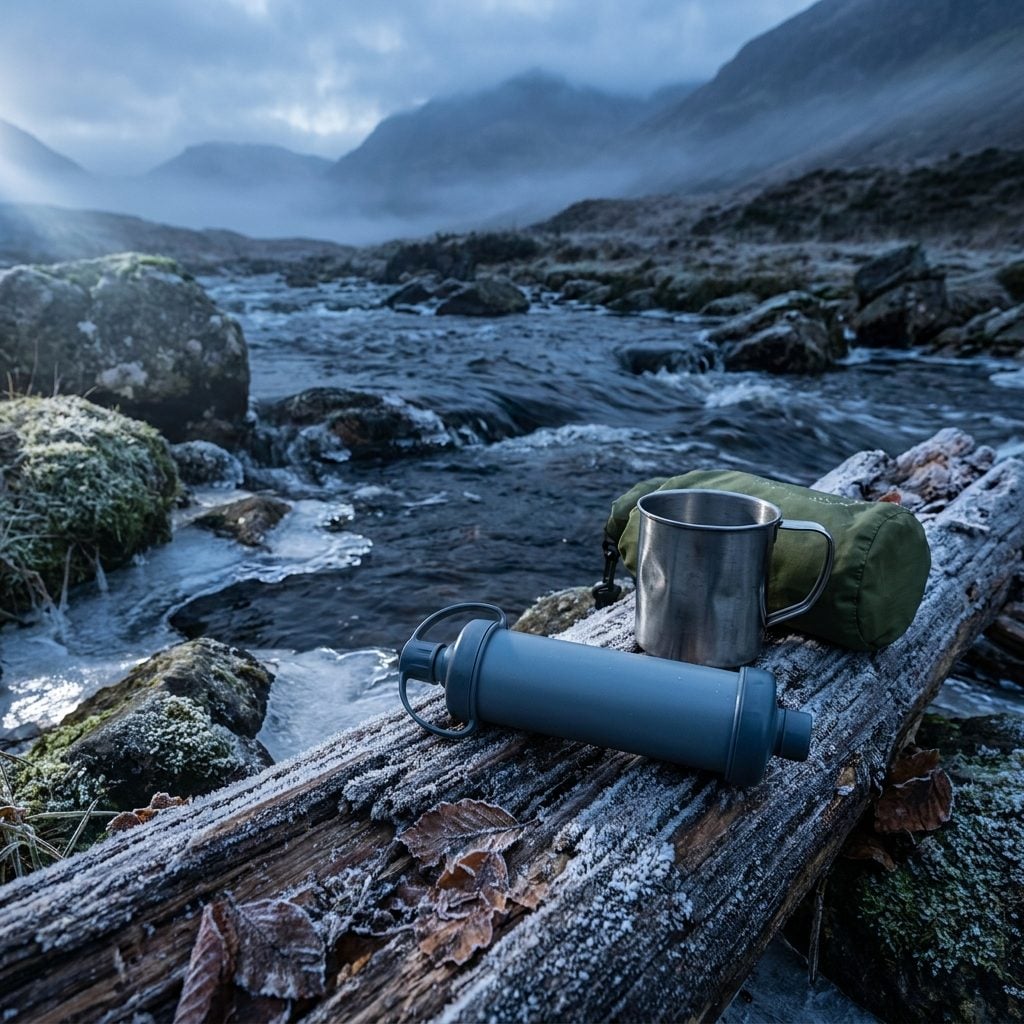
15. Buying a Water Filter Without Checking How It Handles Near-Freezing Temperatures
🔥 Would you like to save this?
Most hollow-fiber filters freeze. Not eventually, not if you’re careless: at a certain temperature, the membrane cracks microscopically and the filter passes pathogens straight through without any visible sign that it’s failed. You can’t tell by looking at it.
If you’re camping anywhere that dips below freezing overnight, keep your filter inside your sleeping bag. Or switch to a chemical treatment like Aquatabs as a backup. Know the actual cold-weather rating of any filter you carry, and have a second option. This isn’t a scenario where optimism is useful.
14. Choosing a Mummy Bag Because It Was Listed as ‘Backpacking Grade’ Without Checking If You Can Sleep in One
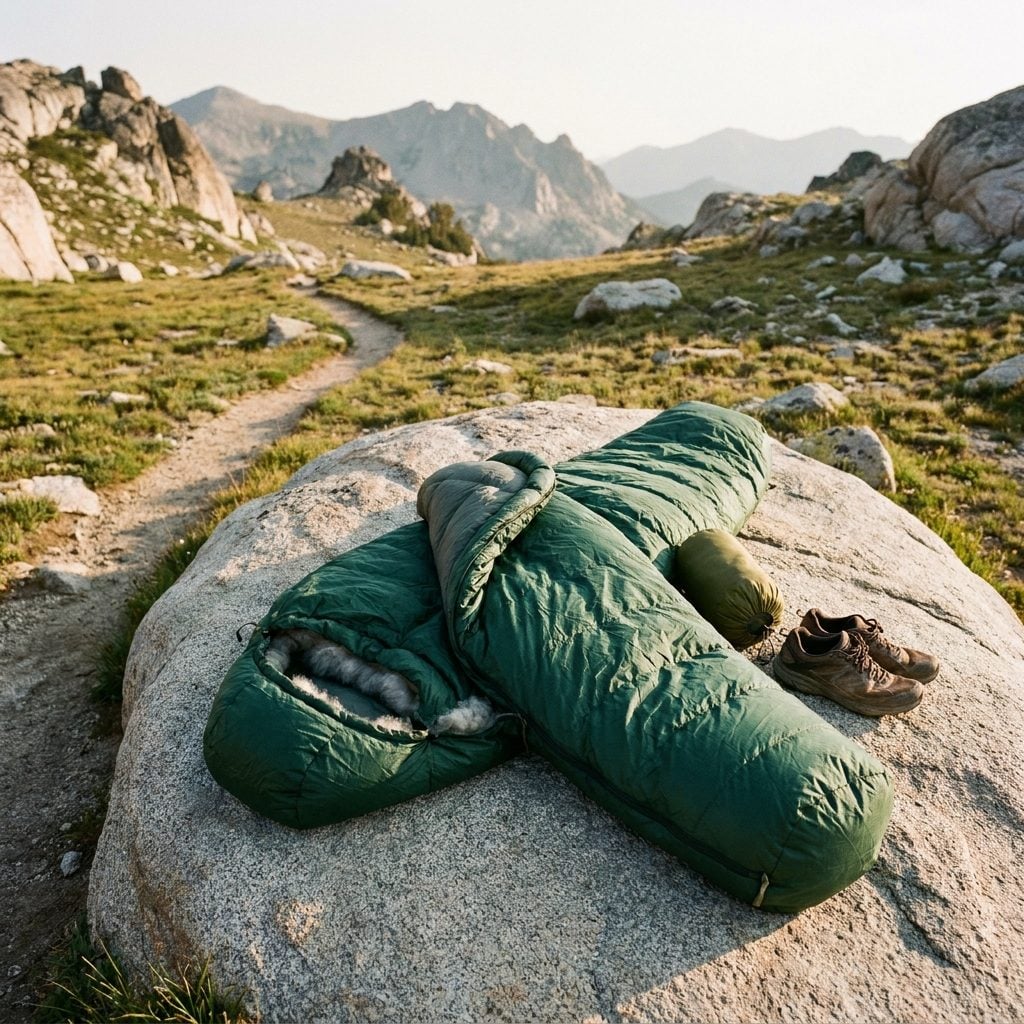
Side sleepers, restless sleepers, anyone who runs warm: a mummy bag can feel like being sewn into a tube all night. The efficiency that makes them light and warm also makes them genuinely claustrophobic for a lot of people, and you will not sleep well enough to hike the next day.
Test the fit before the trip. If a mummy bag wakes you up at 2 a.m. in your living room, it will do the same at elevation. Semi-rectangular cuts exist, weigh only slightly more, and let you actually move. Sleep is not optional gear.
13. Assuming the Camp Stove You Borrowed Burns the Same Fuel Canister You Just Bought
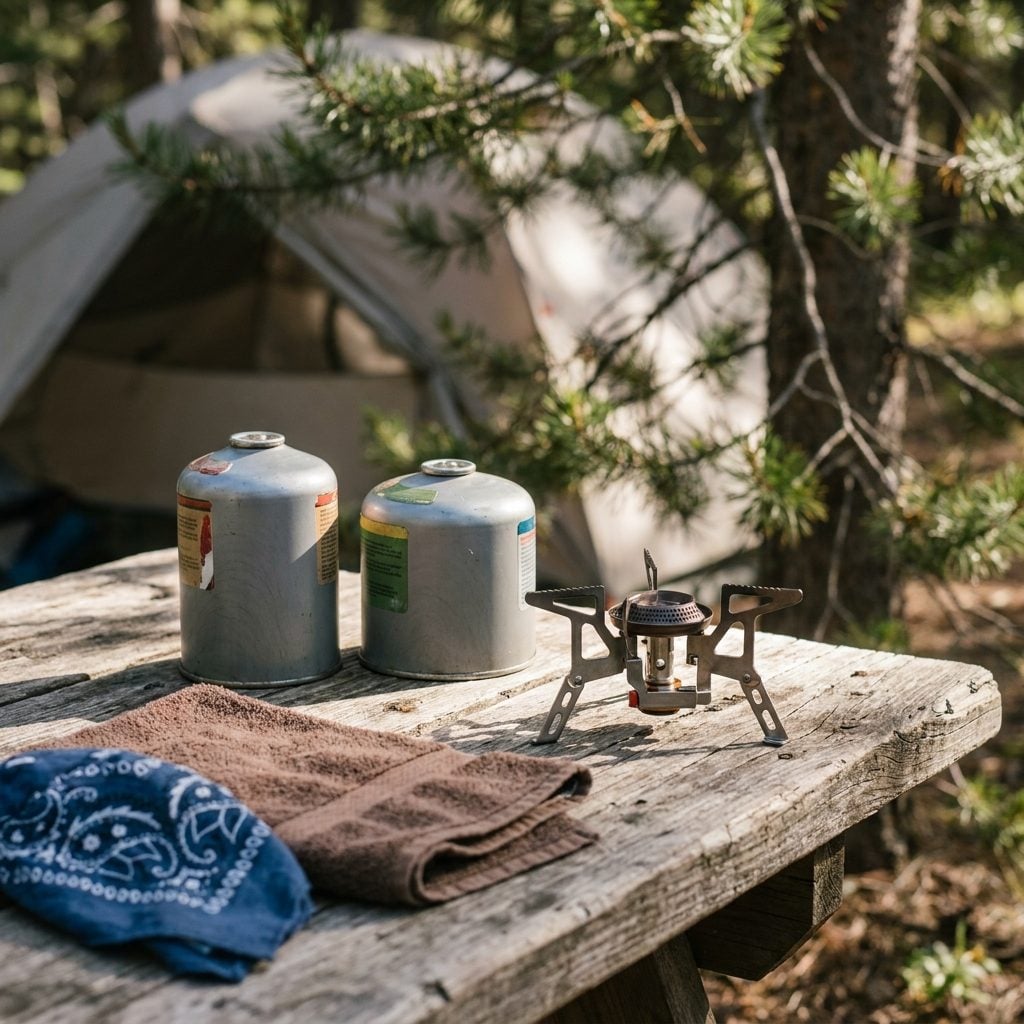
There are at least three different fuel canister standards in common use, and they are not interchangeable. An isobutane canister with a Lindal valve does not fit a stove built for a different thread. You find this out when you’re trying to boil water at 6 a.m. in forty degrees.
Before you borrow gear, confirm the stove and the canister are matched. Photograph the connection type on the stove, bring it to the shop, and match it in person. Takes five minutes. Saves the trip.
12. Stuffing the Backpack Without a Single Dry Bag Inside It
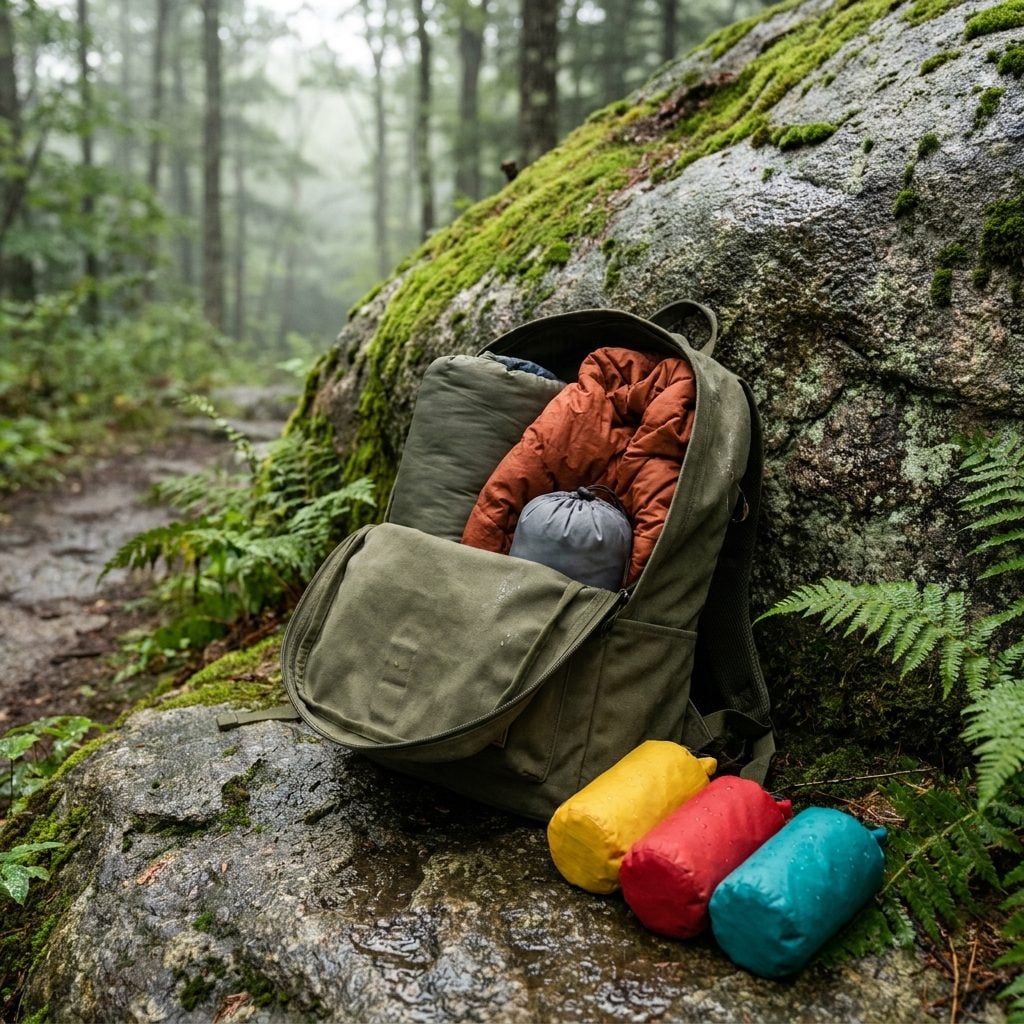
A rain cover over a pack keeps the outside of the pack dry. The inside, depending on seam quality and zipper placement, is another story. A sustained soaking rain finds its way in, and a wet sleeping bag at 9 p.m. in fifty-degree weather is a serious problem, not a minor inconvenience.
Line the main compartment with a lightweight dry bag or a trash compactor bag, and put the sleeping bag and insulation inside it. Cost: about three dollars. The colored dry bag set system also makes finding gear at the bottom of the pack considerably faster.
11. Buying Hiking Boots Two Sizes Too Small Because the Heel Felt Snug in the Store
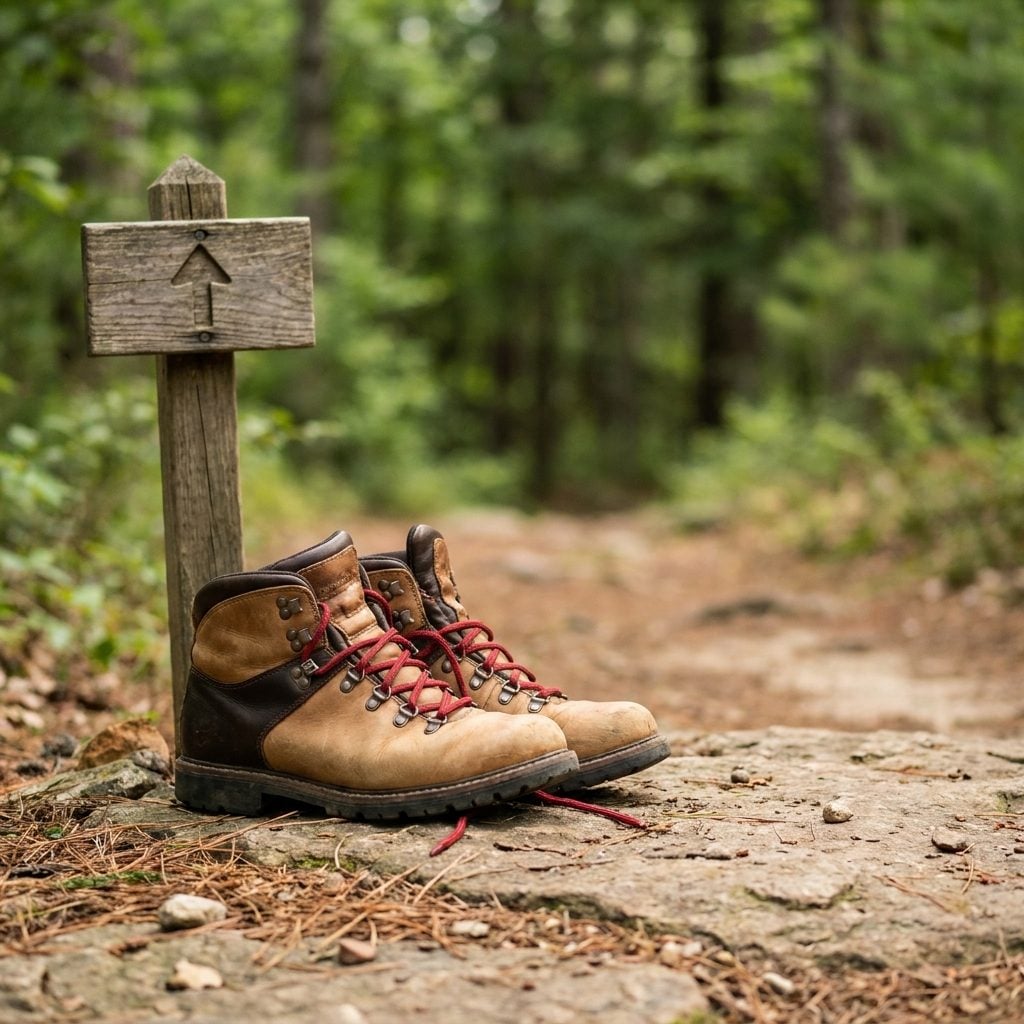
Feet swell on descents. A boot that fits perfectly standing still in a flat store will compress your toes against the toebox on every downhill step for three days. Black toenails, blisters under the nails, and a limp into camp are the consequences.
Fit hiking boots at the end of the day when feet are slightly swollen, with the socks you’ll actually wear. There should be a thumbnail’s width of space between your longest toe and the end of the boot. Lace them tight, walk a ramp downhill in the store, and check that your heel holds. The snug-heel feeling is good. Snug toes are not.
10. Downloading the Trail Map App and Not Saving the Maps for Offline Use
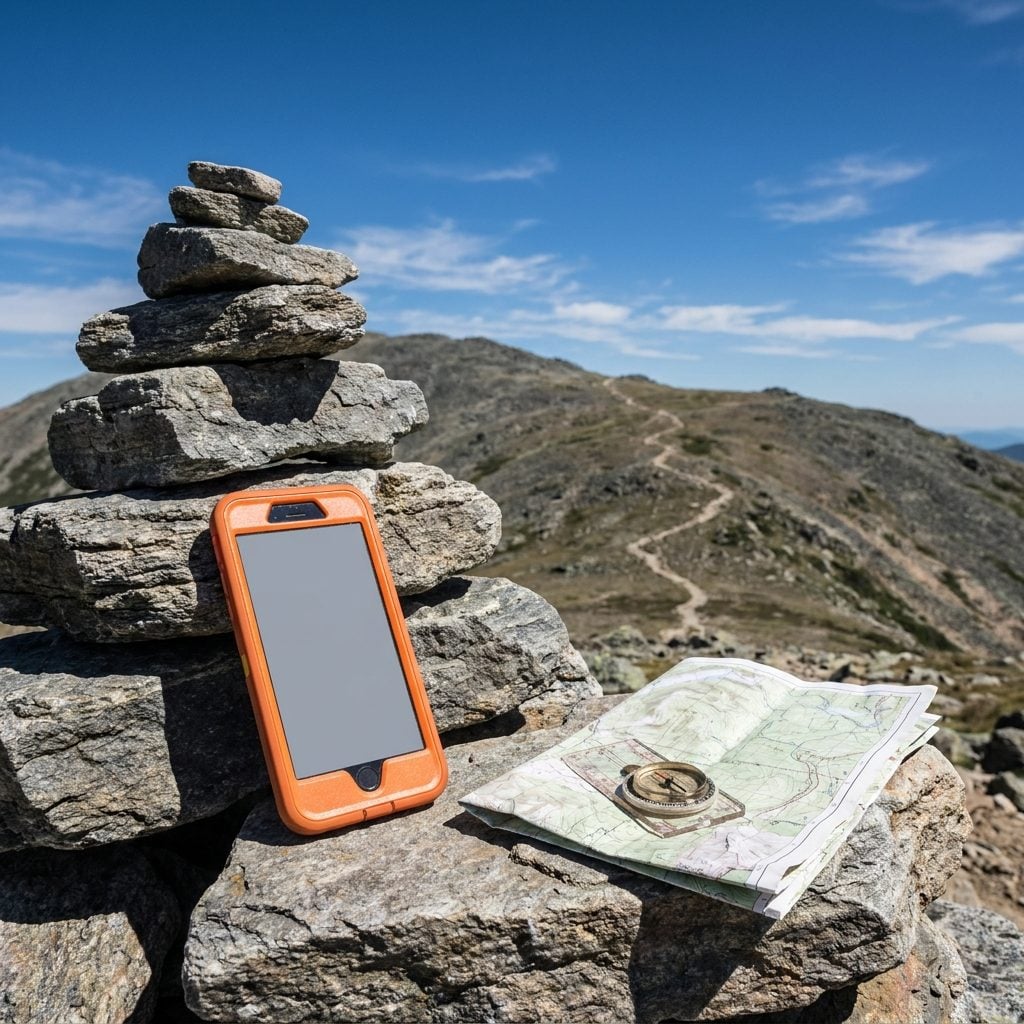
You have the app. You’ve looked at the trail online. What you don’t have, two miles from the trailhead in a no-service canyon, is an actual map that loads.
Every major trail app, AllTrails included, has an offline download feature that takes about forty-five seconds to use. Do it before you leave the parking lot, not when you’re already standing at the junction wondering which fork goes down. And carry the paper map anyway. Phones fall, batteries die, and a soggy folded topo sheet has never needed a software update.
9. Buying a Cotton Sleeping Bag Liner Instead of Silk or Fleece
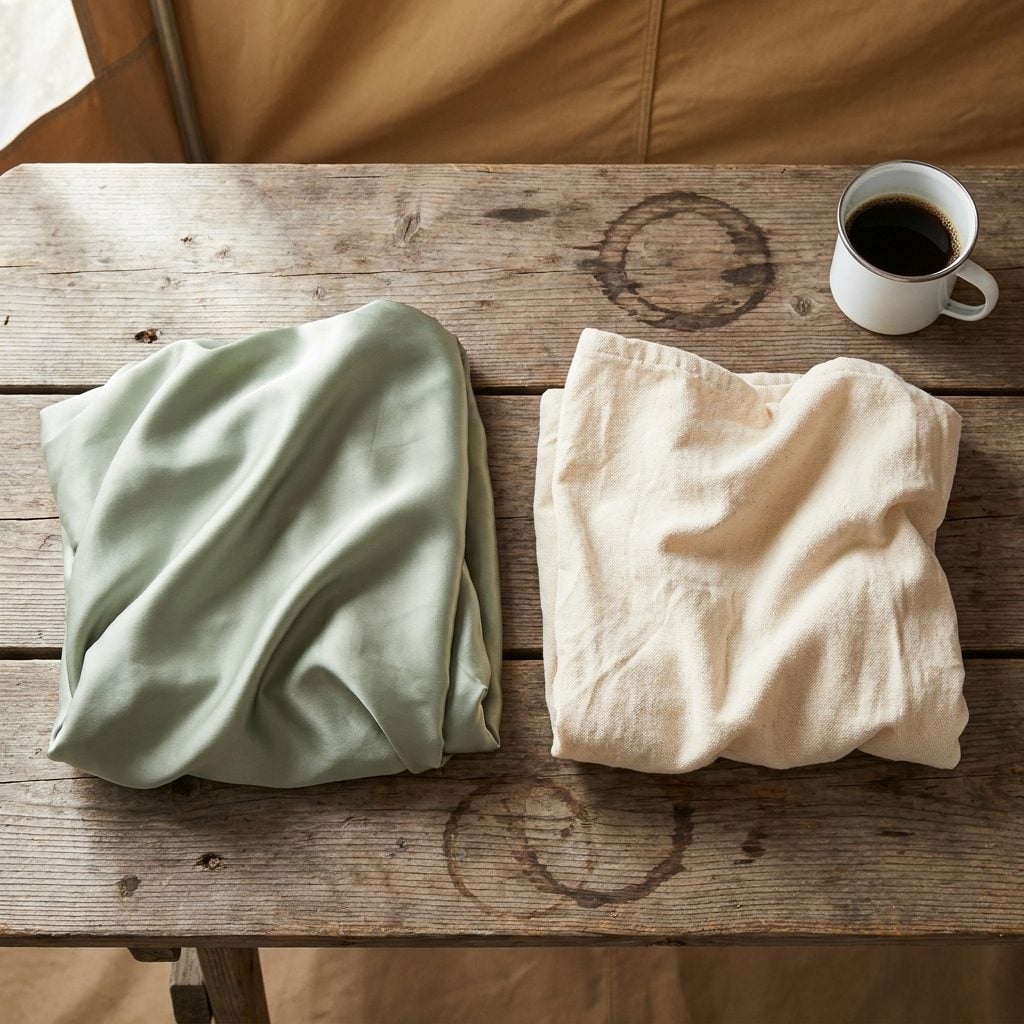
Cotton is comfortable in a bedroom. In the backcountry, it’s a liability. Beginners pick up cotton liners because they feel familiar and cost less than silk or fleece, but cotton absorbs moisture, from your body, from the air, from morning condensation, and holds onto it. That damp chill compounds over a multi-night trip in ways a first-time camper doesn’t see coming until night three when they’re shivering at 55 degrees.
A silk sleeping bag liner adds warmth, wicks away moisture, and compresses to roughly the size of a tennis ball. Fleece runs warmer. Either one will outlast a cotton liner by years of hard use.
8. Packing a Full-Size Cast Iron Skillet for a Backpacking Trip
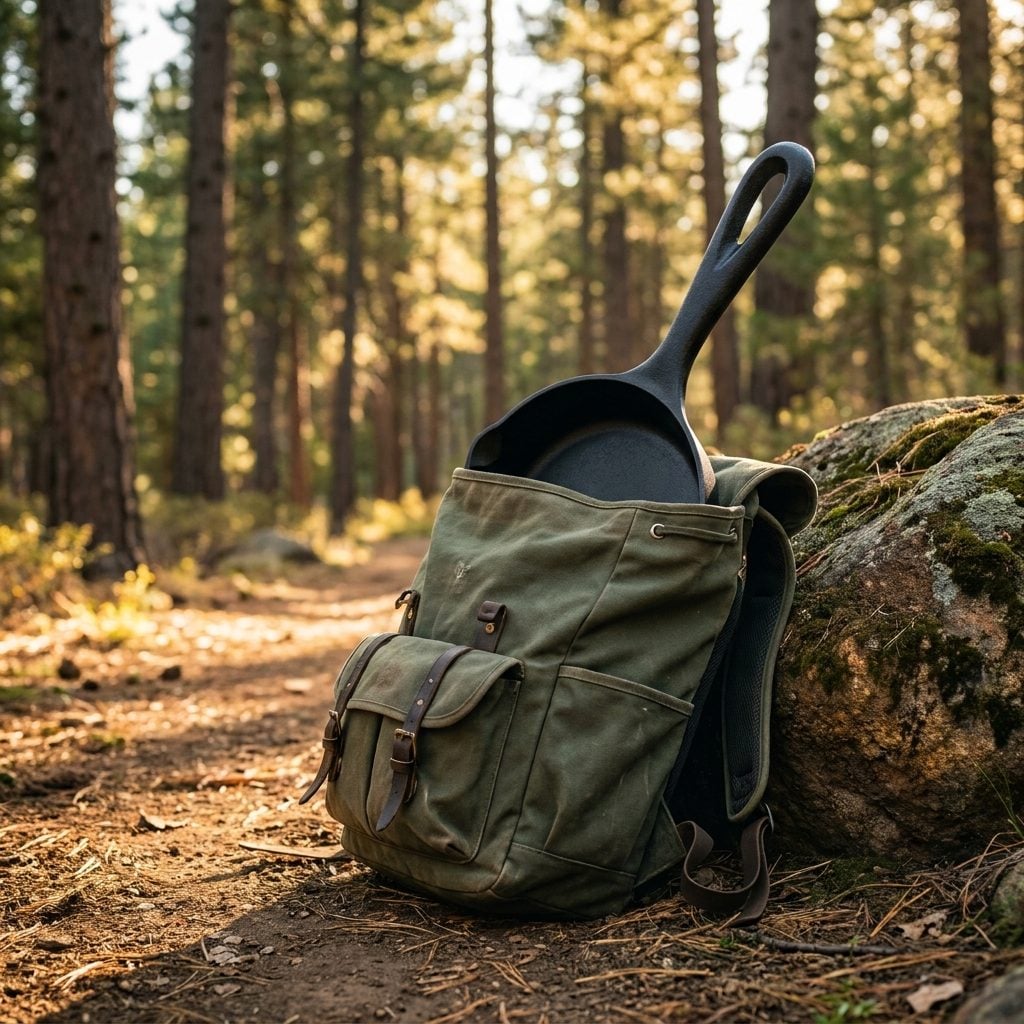
Cast iron has its place. That place is a car campsite with a picnic table and a cooler you drove in. It is not a place seven miles up a switchback trail with 3,200 feet of elevation gain. A full-size skillet weighs five to eight pounds empty. Add food, add a two-day approach, and your lower back will file a formal complaint by mile four.
A titanium backpacking pan does the same job at a fraction of the weight. Even a lightweight aluminum camp skillet is a smarter call. Save the cast iron for the campground with a parking space.
7. Choosing a Two-Person Tent for One Person to Save Money
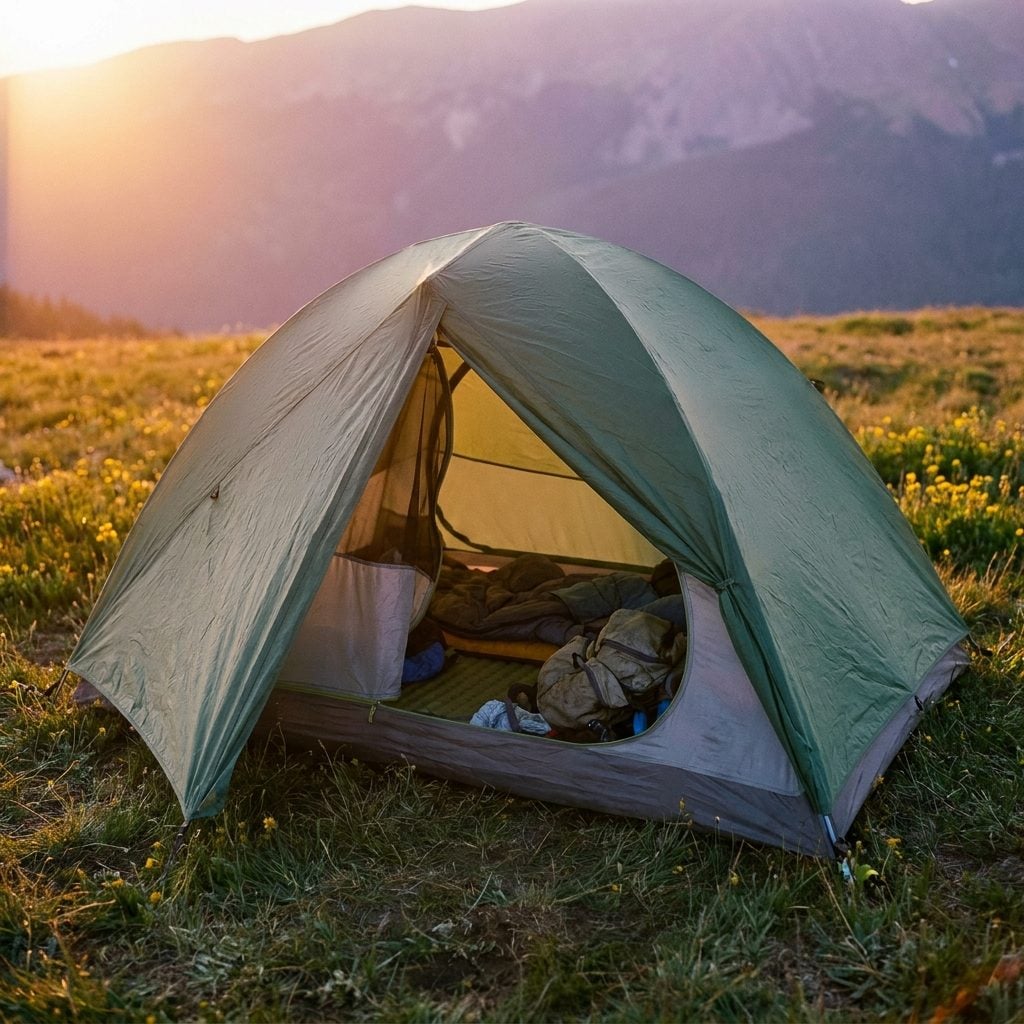
The logic seems airtight: a two-person tent gives more space, it’s barely heavier, and it costs only a little more than a solo tent. What beginners don’t account for is condensation. Two people generate enough body heat to offset a tent designed for that volume. One person in a two-person tent creates a cold, damp envelope where moisture collects on the walls, drips onto the sleeping bag, and makes a miserable night out of a perfectly fine 45-degree evening.
A well-fitted solo backpacking tent traps body heat, dries faster, and pitches in tighter spots. Match the tent to the number of people sleeping in it.
6. Grabbing Cheap Trekking Poles Without Checking the Grip Material
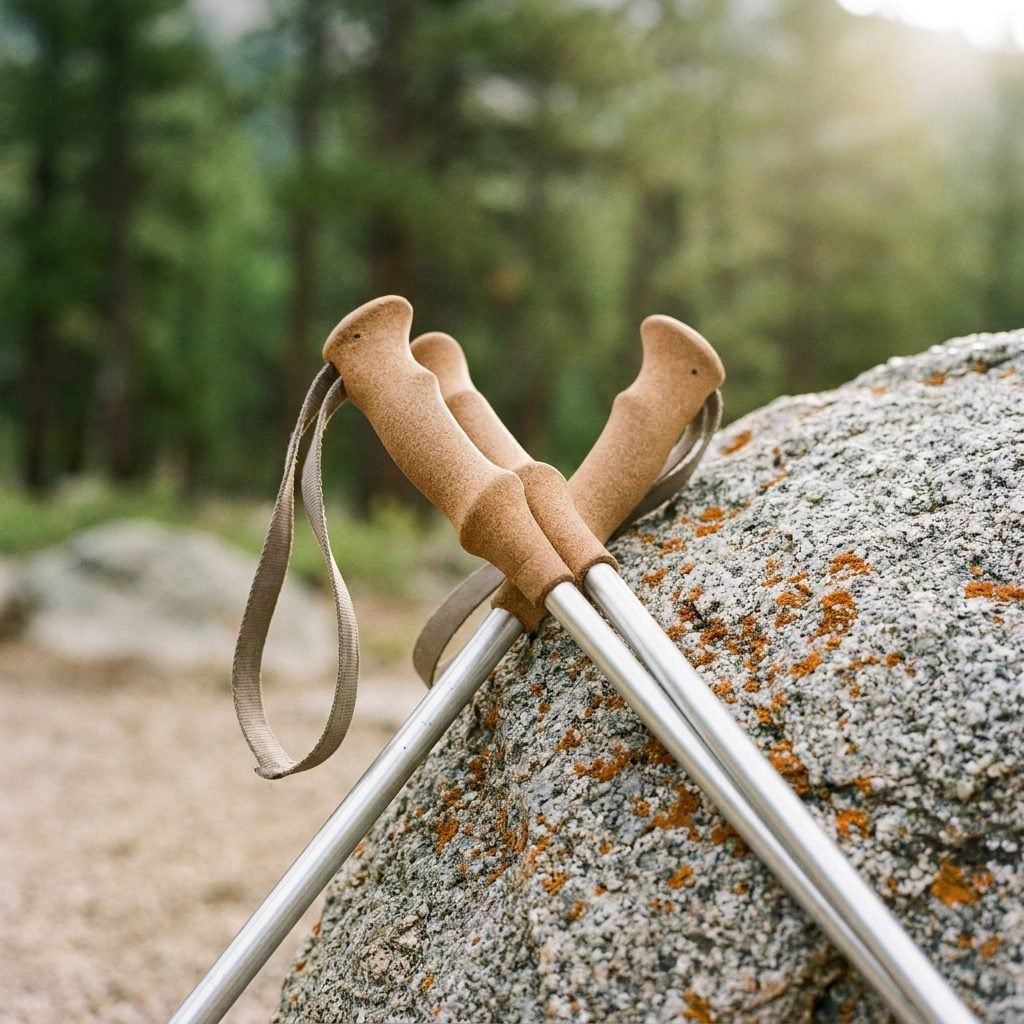
Foam grips absorb sweat and feel good for about forty minutes. After that, on a warm uphill slog, a pair of cheap rubber-grip poles becomes a blister delivery system. Beginners shopping by price skip past grip material entirely, it reads as a minor spec until hour three of a descent when their palms are raw and their wrists ache from fighting a grip that’s gone slick.
Cork grip trekking poles conform to hand shape over time and handle moisture without turning slippery. Foam is a decent second. Rubber is fine for a dog walk, not a ridge trail.
5. Buying a Headlamp With Only One Brightness Setting
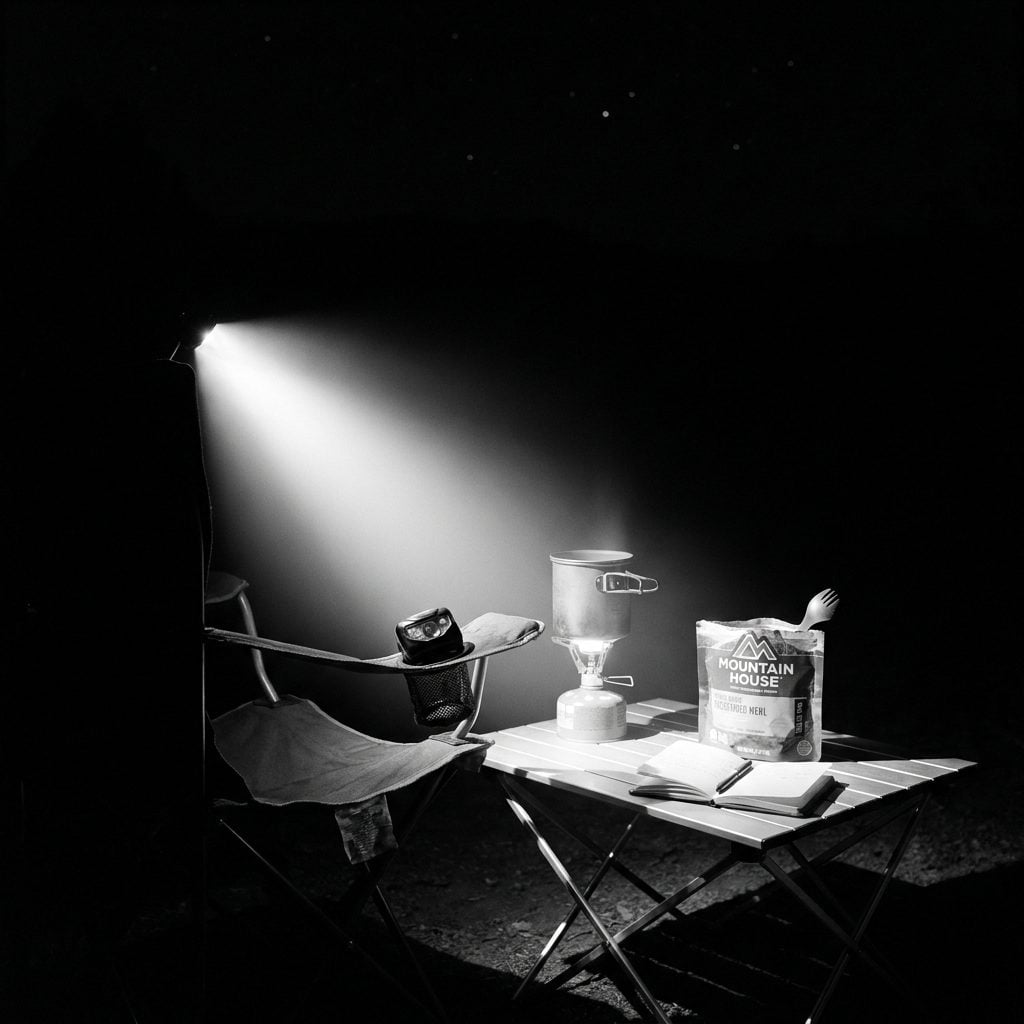
One setting means one problem you didn’t know you had. At full blast, a single-mode headlamp is fine for bushwhacking in the dark. It’s not fine for reading in the tent at 10pm when your campmate is trying to sleep, or for navigating to the bathroom at 2am without temporarily blinding yourself. Single-mode lamps seem like simplicity. They’re actually just less lamp.
A rechargeable headlamp with multiple brightness modes, including a red light setting, costs about the same as the single-mode version and solves about four problems you haven’t had yet.
4. Packing Sunscreen in a Spray Can That Won’t Work Above 7,000 Feet
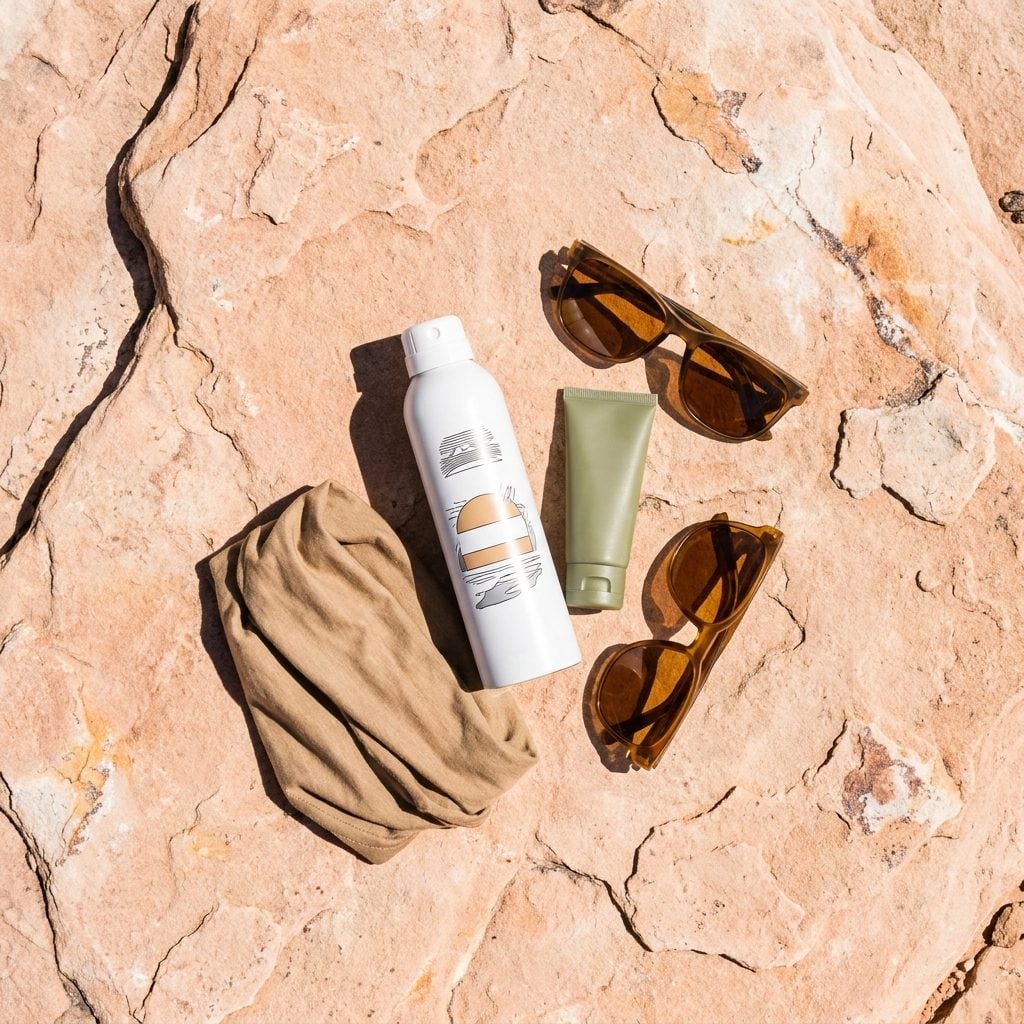
Spray sunscreen stops dispensing reliably at altitude. The aerosol mechanism depends on air pressure, and above 7,000 feet that pressure drops enough to turn a confident spritz into a sad, stuttering hiss. You end up rubbing the nozzle on your arm like a scratch ticket and hoping something transferred. This is a mistake that unfolds slowly, over the course of a long exposed summit day, and the consequences are not subtle.
Pack a lotion-formula SPF 50 instead. A small mineral sunscreen lotion SPF 50 in a 3-ounce tube weighs almost nothing, works at any altitude, and goes exactly where you put it.
3. Using a Regular Bungee Cord to Hang a Bear Canister
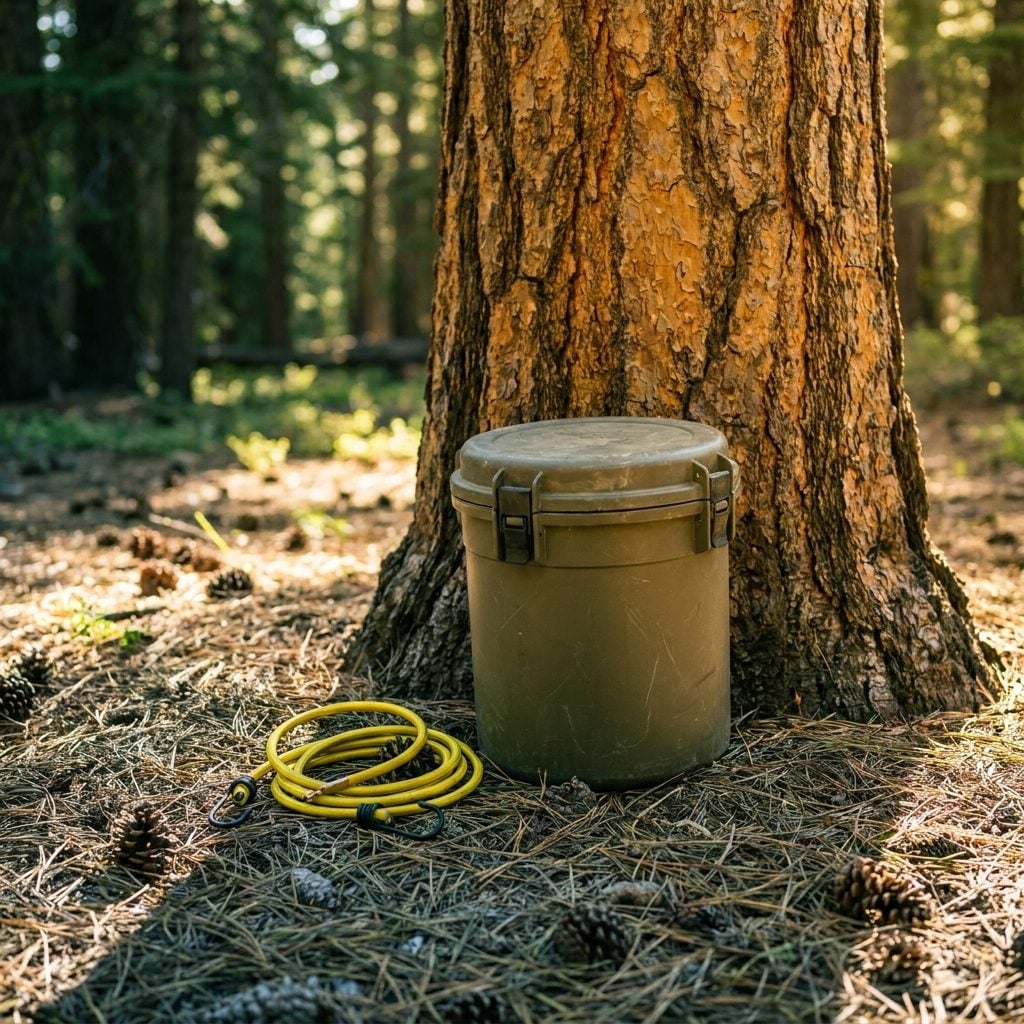
Bungee cords exist to hold a cooler lid down on a tailgate. They are not a wildlife management tool. Hanging a bear canister from a bungee attached to a branch gives a determined black bear a puzzle that takes about eight seconds to solve, the cord stretches, the canister swings, the bear pulls it down. The canister was the right call. The attachment method was not.
Most land managers require food to be stored in a certified hard-sided bear canister placed on the ground at least 200 feet from camp, with no hanging involved at all. Read the regulations for the specific wilderness area before you leave. They’re on the permit. The rules are there for the bear and for you.
2. Bringing a Hatchet When a Folding Saw Weighs Half as Much and Does the Job Better
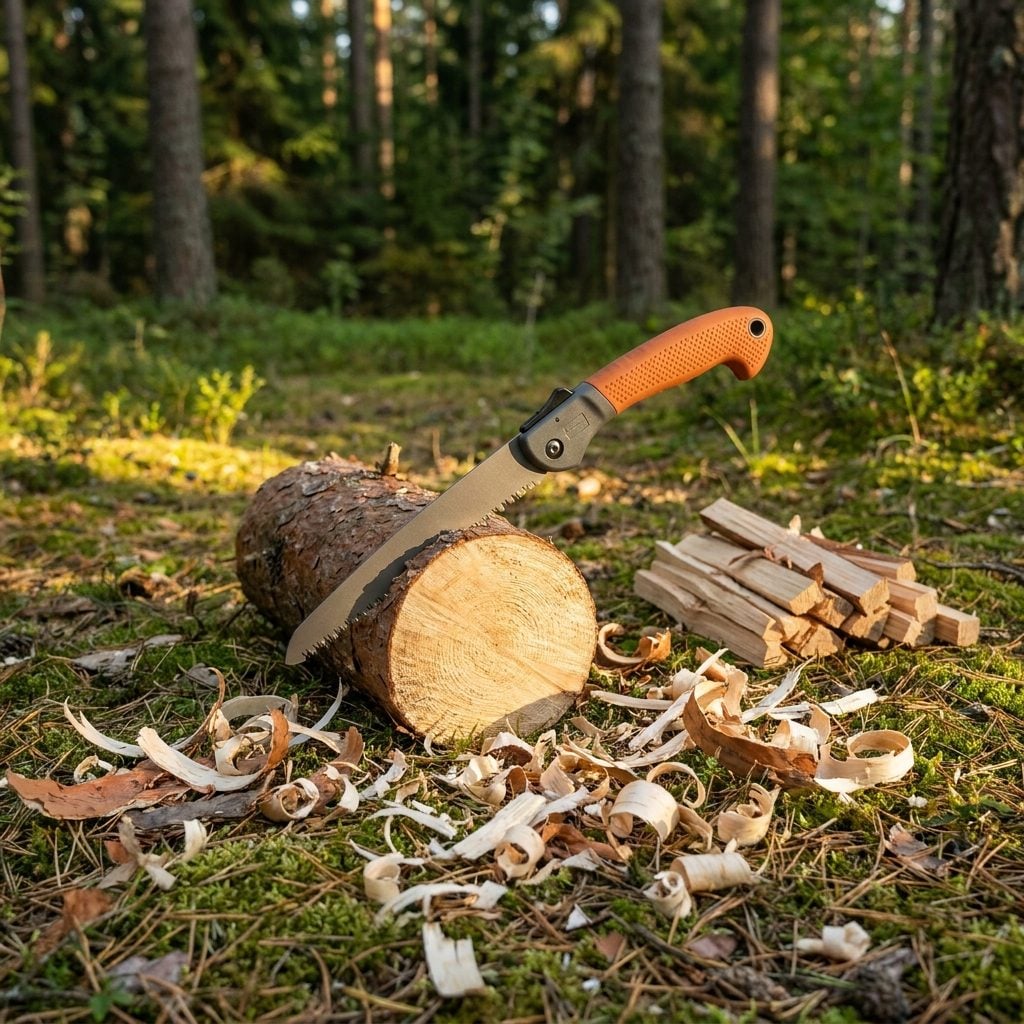
The hatchet looks right — it looks like camping. But it weighs a pound and a half, hogs awkward space in a pack, and unless you’ve actually spent time splitting wood, that blade is more likely to bounce off a round than split it clean. Dull hatchets are genuinely dangerous, and most beginners never bother sharpening theirs.
A folding camp saw weighs a fraction of that, tucks along the side of a pack, and rips through four-inch limbs fast. Faster, safer, quieter than any hatchet a first-timer is swinging. Save the hatchet for car camping where weight is irrelevant. On a backpacking trip? The saw wins and it’s not even a conversation worth having.
1. Relying on a Single Knife When You Actually Need Three Tools
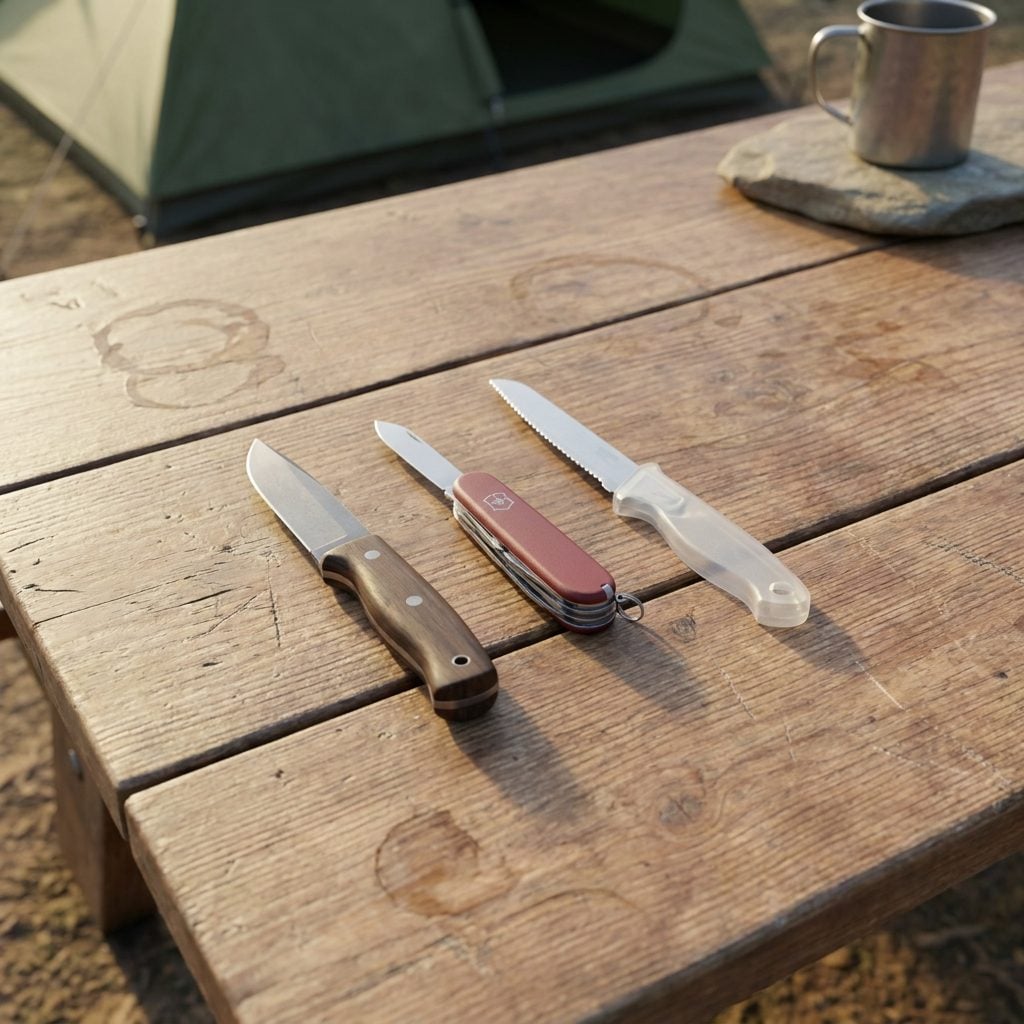
I got this wrong for years. Buy one big knife, assume it handles everything. It doesn’t. A six-inch fixed blade batons kindling just fine — but try slicing cheese with it. Or cutting moleskin to size. Or trimming cord. Hopeless for all of it.
Three cheap, light tools outperform one expensive heavy one every single time. A small fixed-blade camp knife for wood tasks. A Swiss Army knife or multi-tool for camp chores. And a lightweight serrated blade you don’t mind getting filthy for food prep. Combined weight runs about the same as that one overbuilt survival knife sitting in its leather sheath looking impressive and doing nothing well. Nobody needs a ten-inch blade in the backcountry unless they’re starring in something on cable television — and even then, the prop department probably has a lighter version.
🔥 Would you like to save this?
Please note that some of the imagery in this article were created with the aid of AI image generators.